Comic Book Text
 This tutorial will teach you how to create the look of action text seen in comics. Comic book style text can be a fun addition to your image or project, and it is fun to create too!
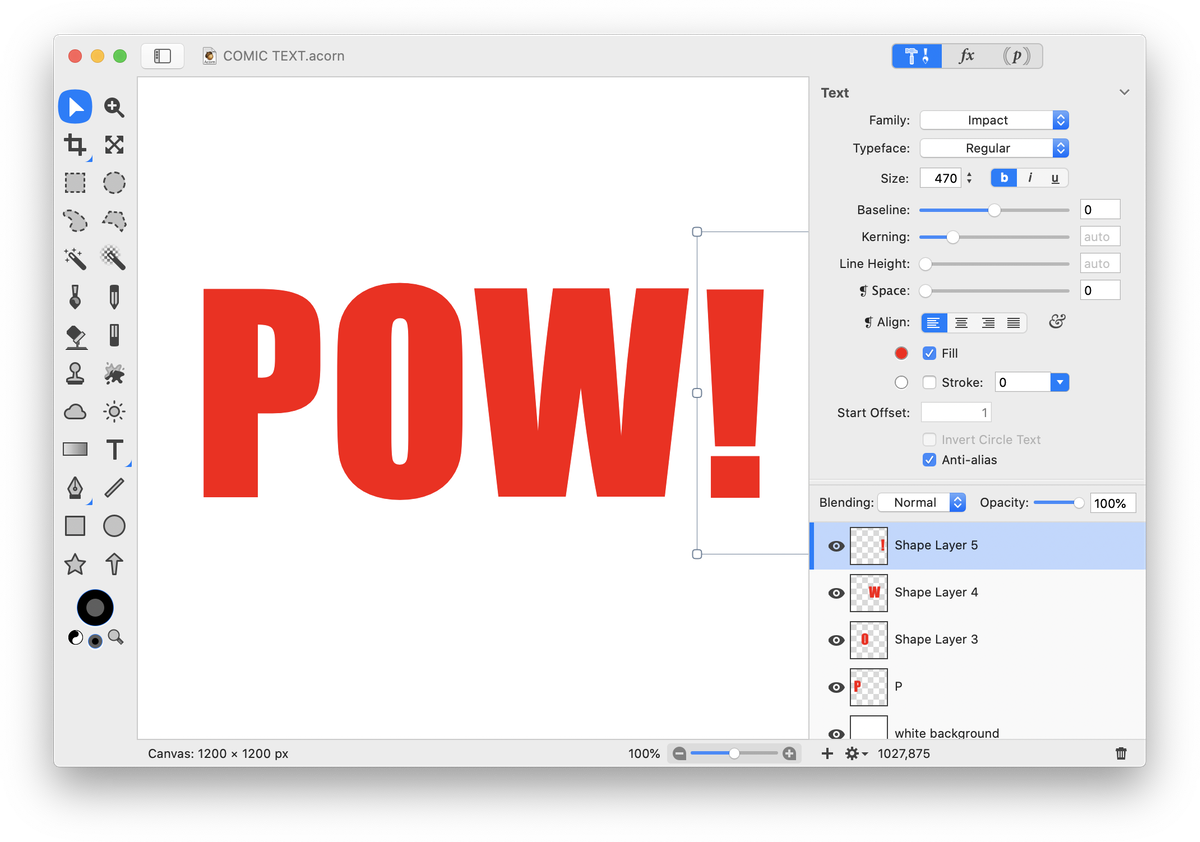
Create a new image in Acorn, File ▸ New. The example used here is 1200 x 1200 pixels with a white background. Select the text tool. Write each letter on its own separate layer by choosing Layer ▸ New Shape Layer after writing each letter. The color of the text doesn't currently matter, it will be changed later. The font, size, stroke, etc. can be seen in the inspector palette below. Using the move tool, move each letter of your text so it is roughly lined up and spaced fairly closely.
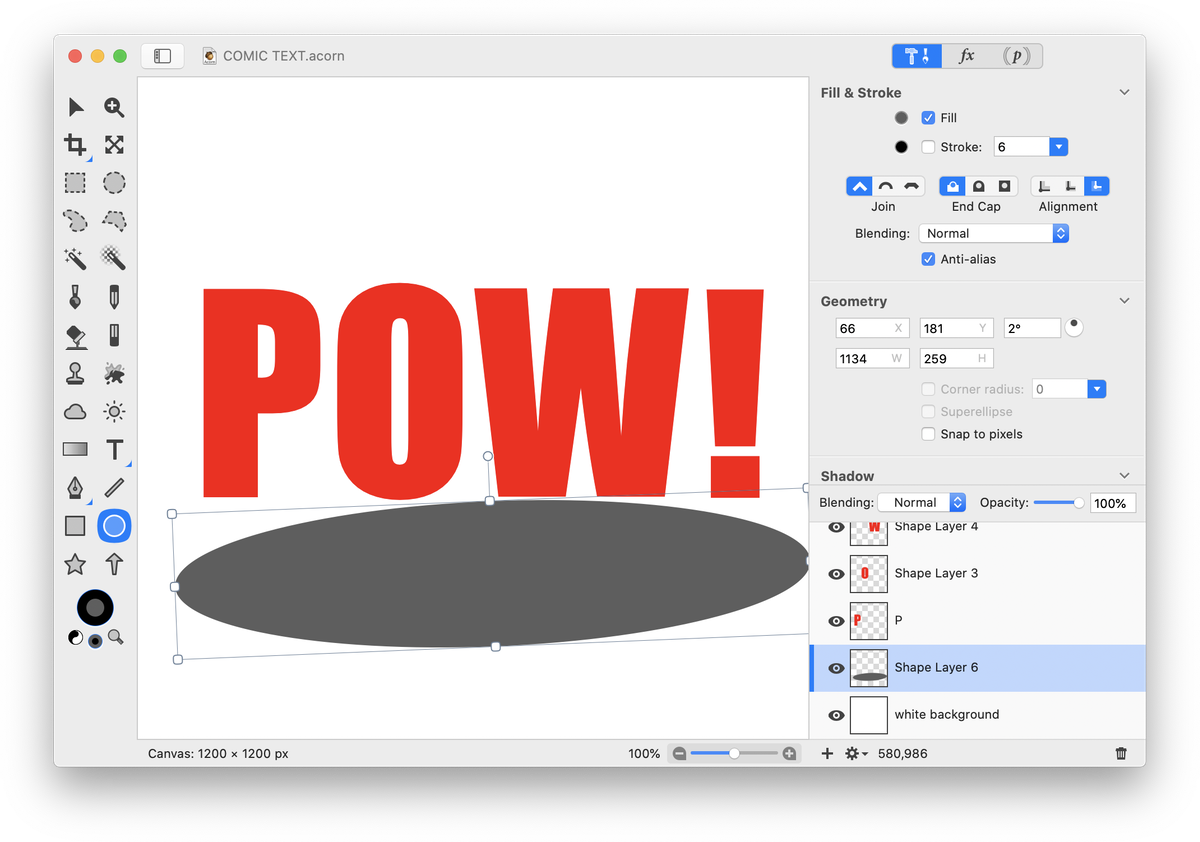
 Create another Shape Layer, Layer ▸ New Shape Layer. Move it in the layers list so it is placed between the 'white background' layer and the 'P' layer. Choose the circle shape tool and draw out an oval. Preferably choose a color for your oval that is different from the text so it is easy to see. Make sure the oval is longer than the width of your text. Rotate the oval slightly by hovering over a corner of the shape selection. A rotate icon will appear.
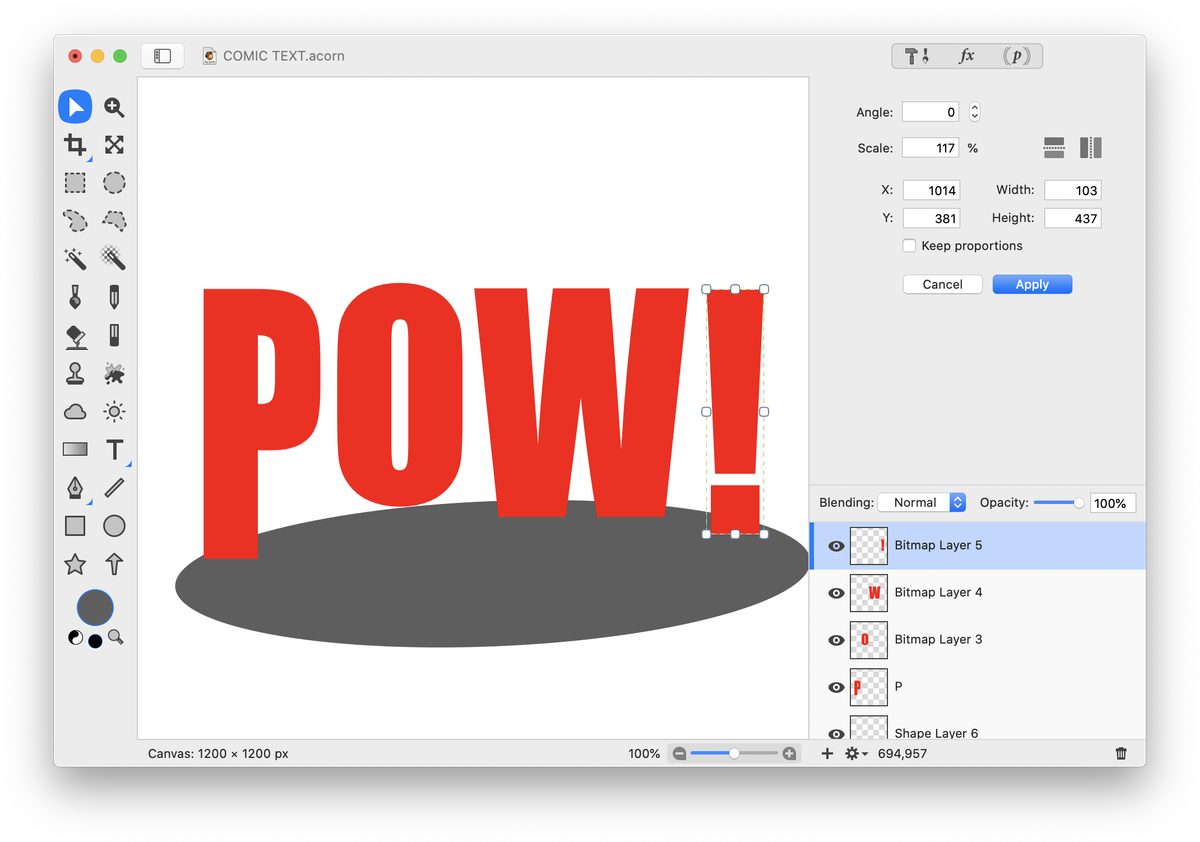
 Now click on the 'P' layer. Choose Layer ▸ Rasterize Shape Layer. Repeat this process for the rest of the text layers. Then, choose Layer ▸ Rotate and Transform ▸ Scale and Rotate. Uncheck the ‘keep proportions’ box. Drag the lower boundary of the 'P' down into the oval. Double click to commit the transform. Repeat this process for the other text layers. Don't drag the 'O' into the oval, just have it touch the boundary.
 Click on the 'oval' shape layer. Go to Select ▸ Make Selection from Layer. Click on the visibility icon in the layers list to hide the oval layer. Click on each layer with text in it and hit the 'delete' key. Choose ⌘D to deselect when you are done.
 Now select the 'P' layer and choose Layer ▸ Rotate and Transform ▸ Perspective Transform. Push the upper right hand corner in slightly. Repeat for the rest of the letters.
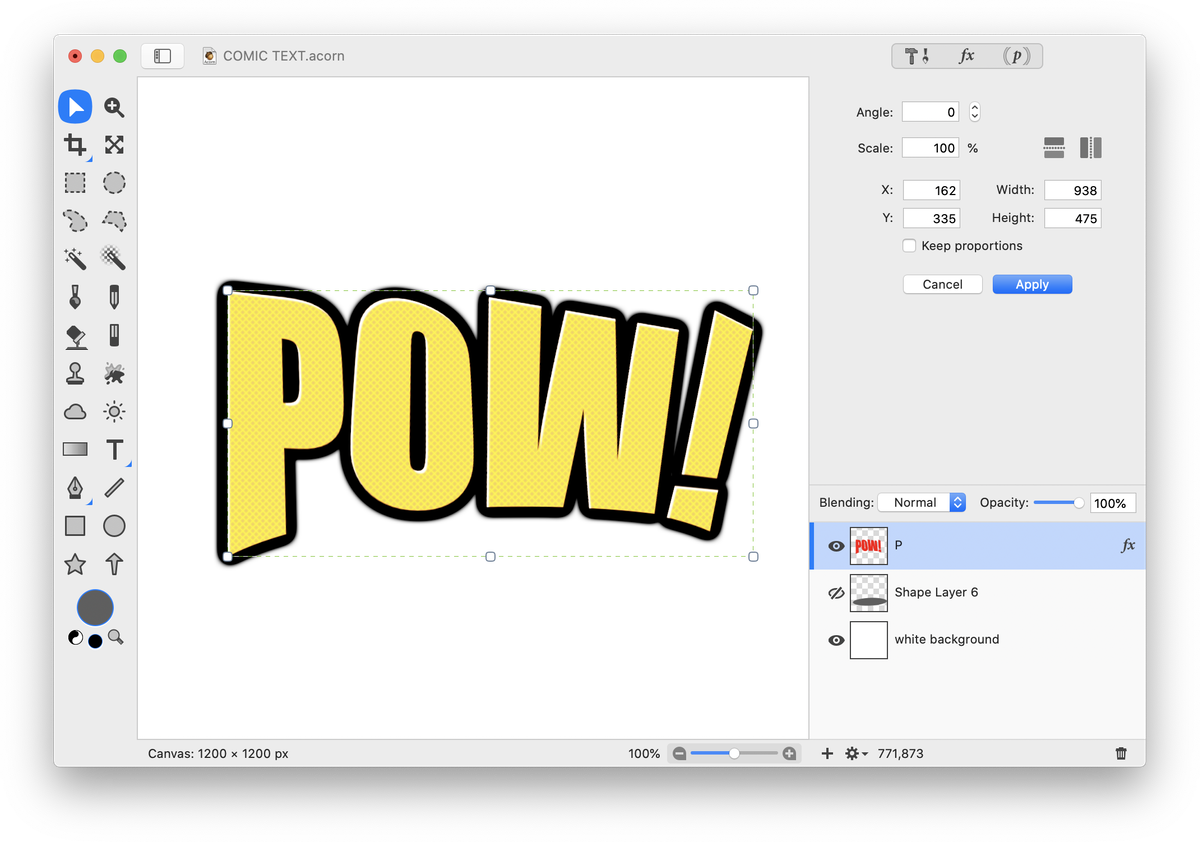
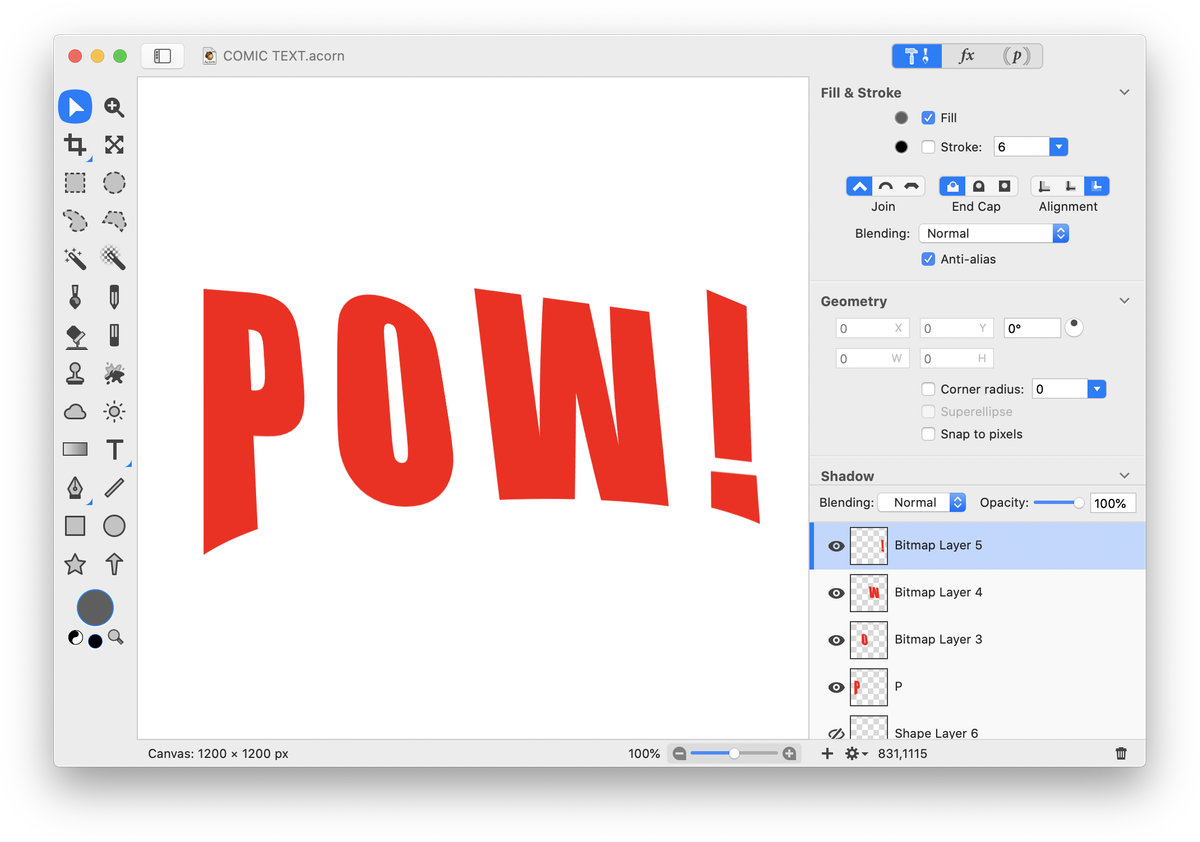 The letters are slightly further away from each other now, use the move tool to bring them closer again. Merge your letter layers down into one layer, Layer ▸ Merge Down. Hit the ’fx' button at the bottom of the layers list and add the following filters.

It's time to skew the letters again. Go to Layer ▸ Rotate and Transform ▸ Perspective Transform. Pull the upper right hand corner of the box to the right a little. Double click to commit the transform.
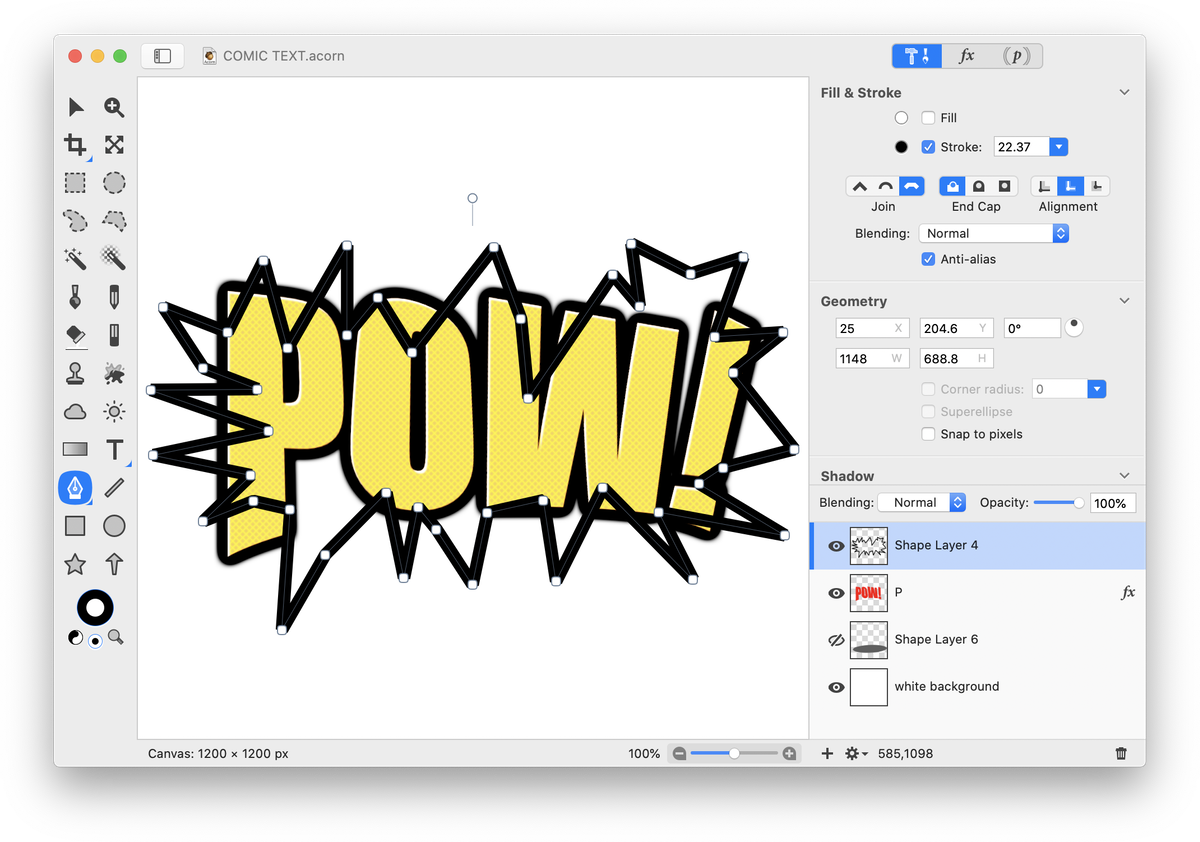
 Add a new shape layer, Layer ▸ New Shape Layer. Select the Bezier shape tool from the tools palette. Uncheck the fill and select a stroke of around 20 in the inspector palette. Click on your canvas repeatedly to create a jaggedy edge outline.
Choose the bevel line join style.

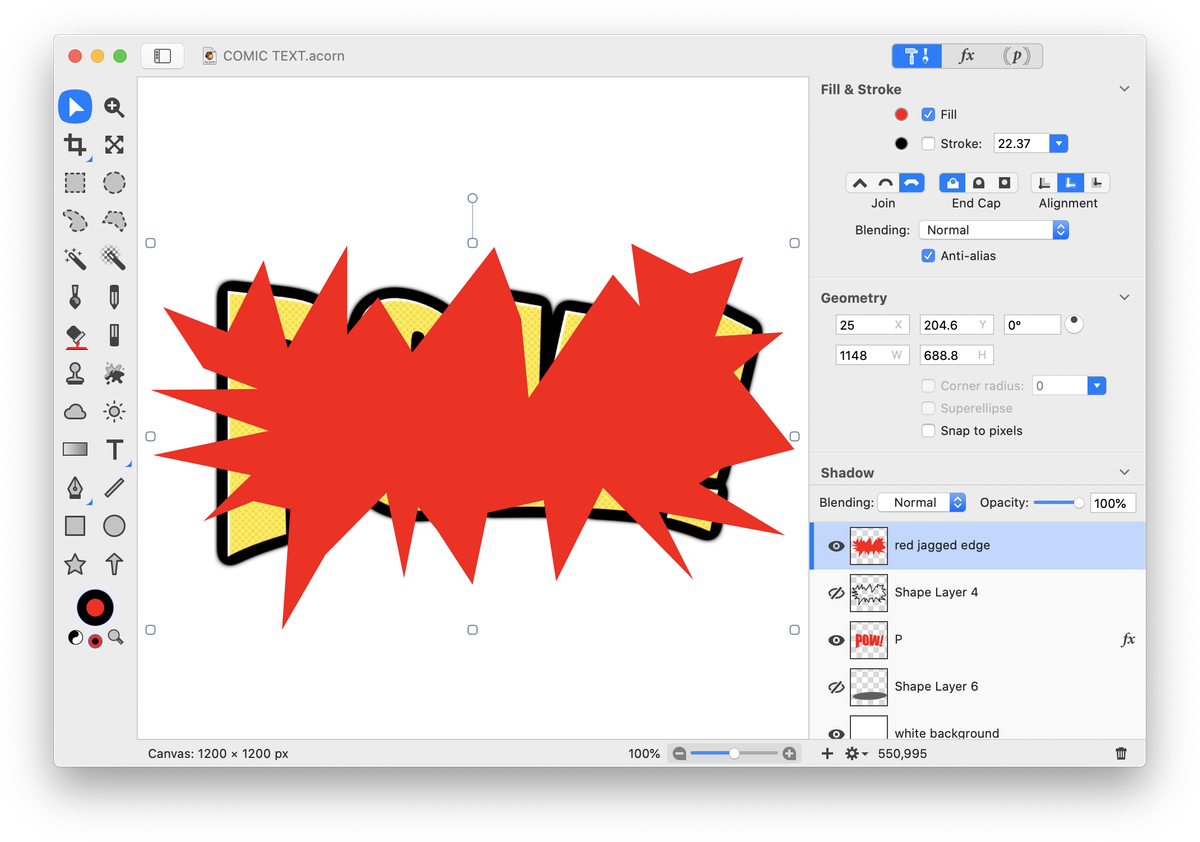
Duplicate your Bezier outline layer (⇧⌘D). Go ahead and hide your original 'Outline' layer by clicking the visibility icon to the left of it in the layers list to make your work clearer. On your top layer, select your shape and decrease the stroke to 0. Add a bright red fill by checking the 'fill' box in the inspector palette. Choose a red color in the fill color well in the tools palette
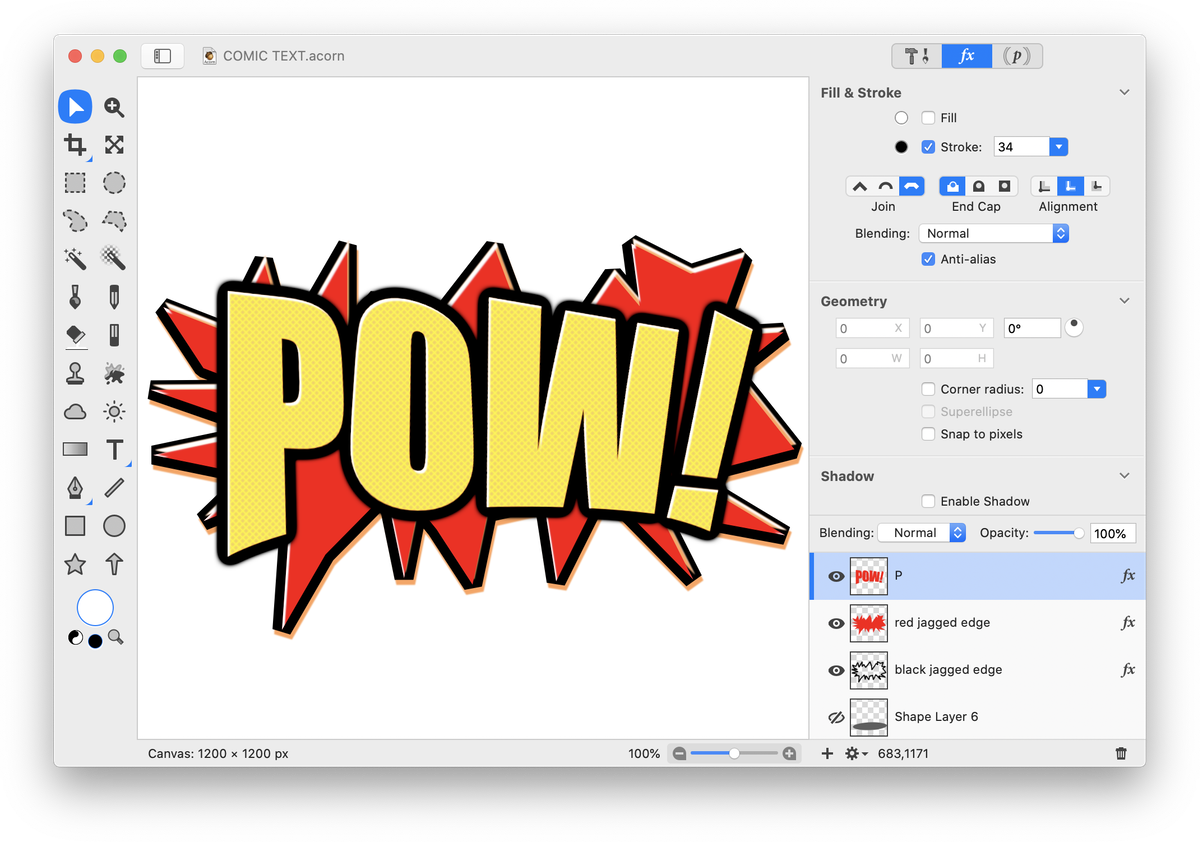
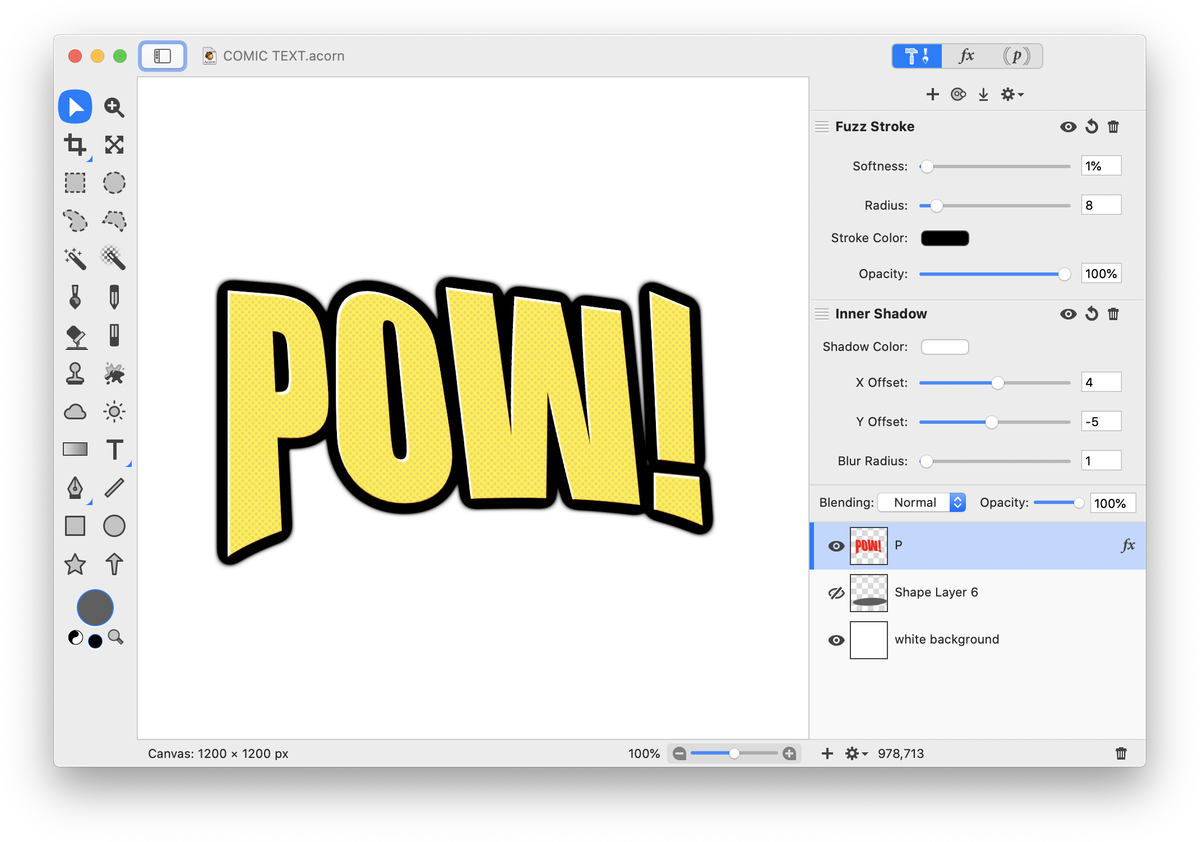
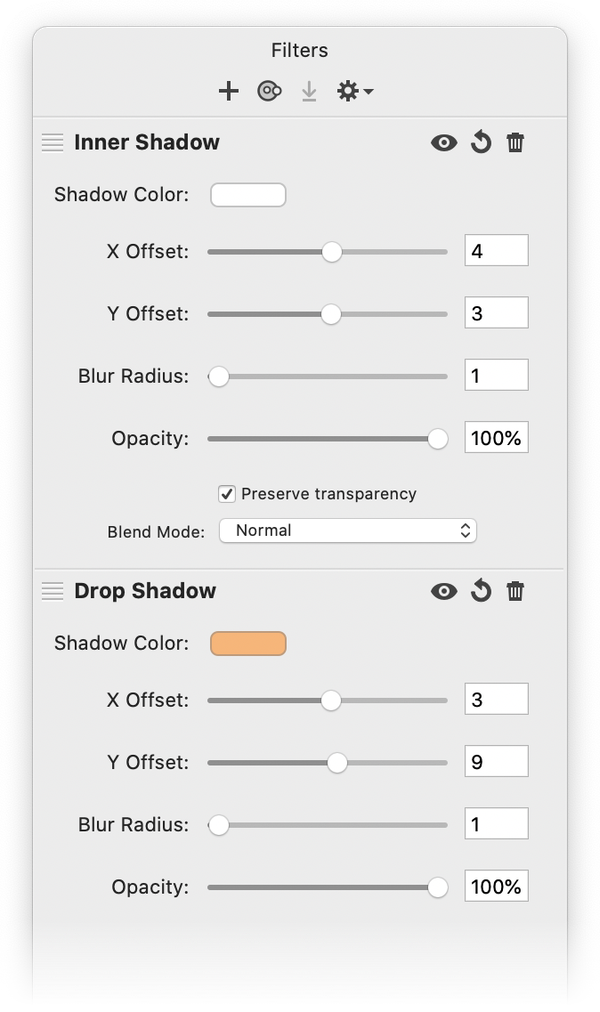
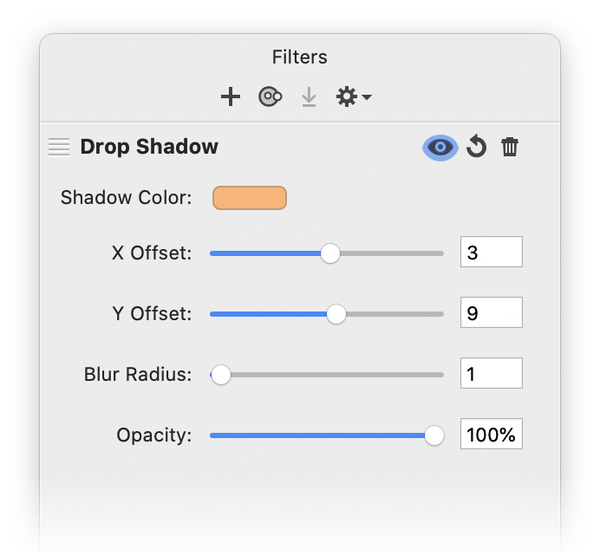
 While still on the red jagged edge layer, click on the 'fx' at the bottom of the layers list and add the following filters:
 Then, click on the original black jagged edge layer. Click the visibility icon again in the 'Outline' layer to have it re-appear. Click on the 'fx' and add the following filter:
 Move both of the jagged edge outline layers below the 'POW!' layer. Click on the 'POW!' layer and using the move tool, re-center it if necessary over the outline layers.