Drop Shadow Variations
Acorn offers the ability to quickly apply drop shadows to your image with filters. If you are looking for a different drop shadow appearance you can read up on the Drop Shadows tutorial, Lifted Image Edges tutorial, or follow the examples below.
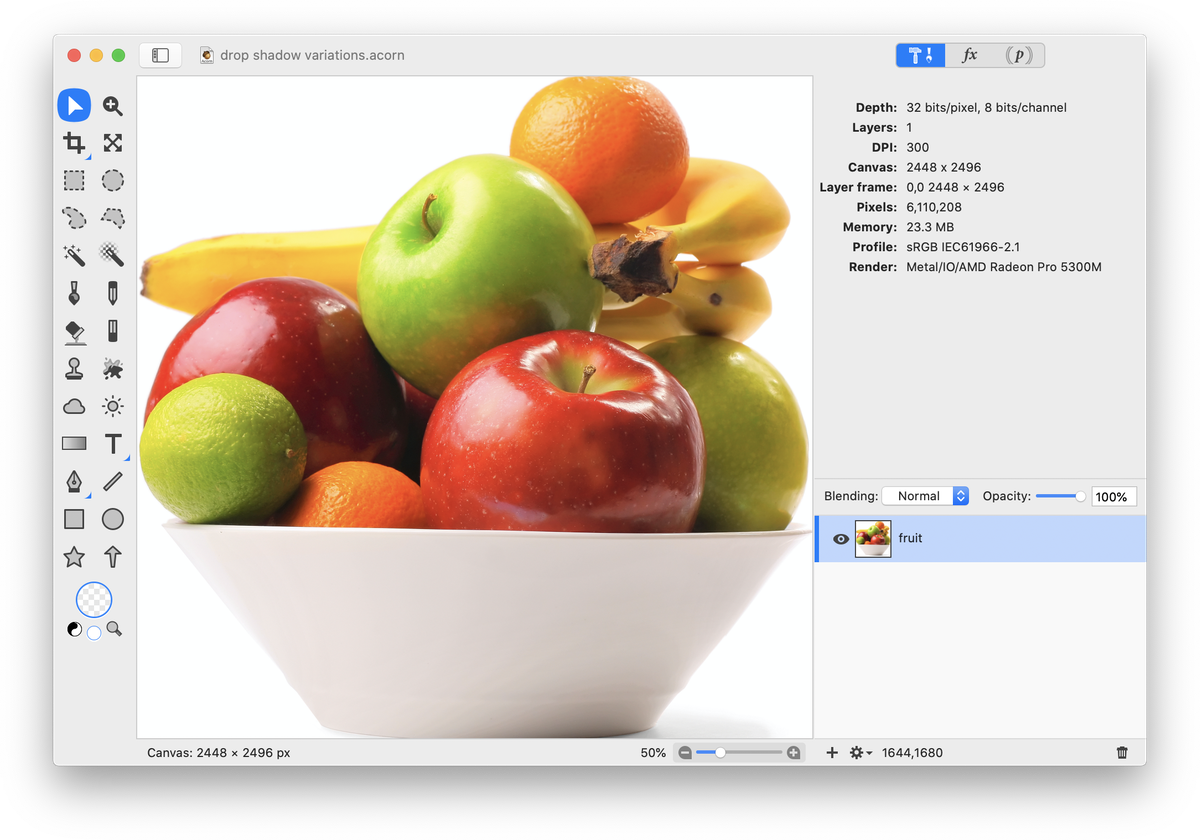
Open your image in Acorn, File ▸ Open. The image used here can be found in the photo credits below.
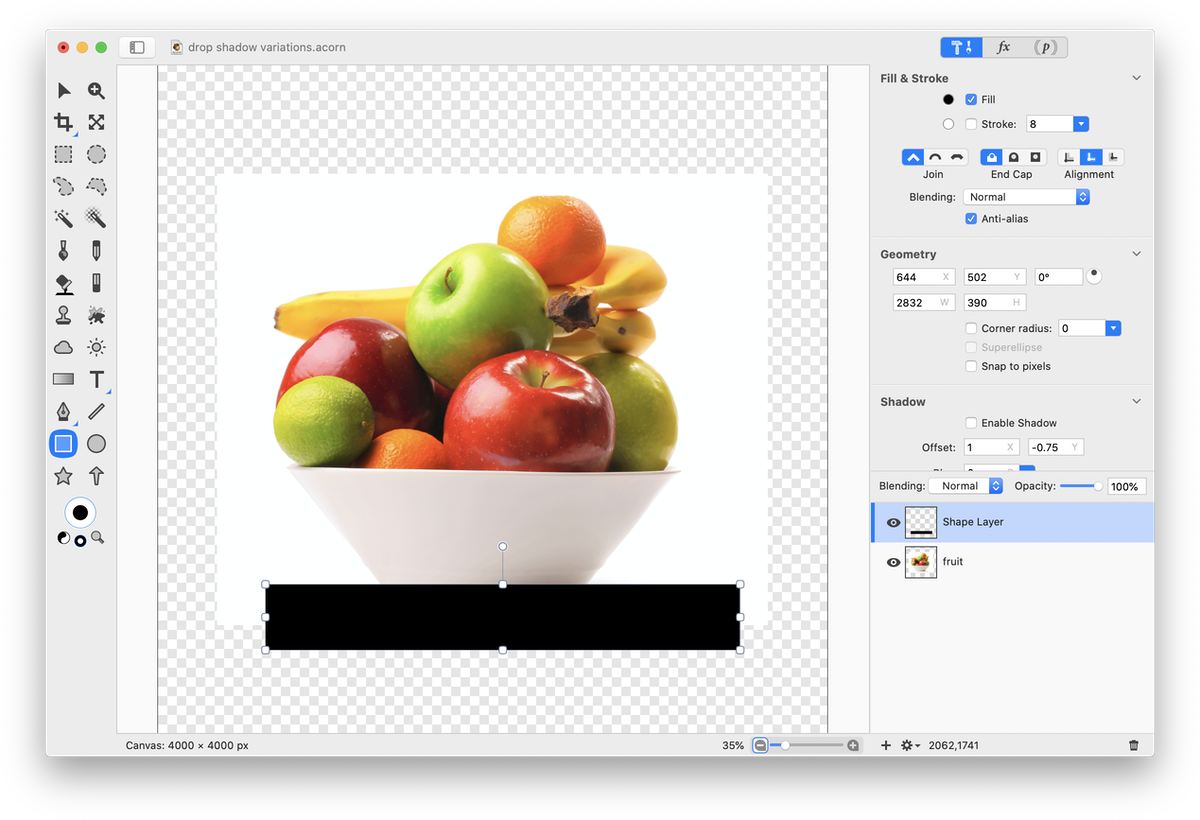
 Resize your canvas to give yourself some room around your image, Image ▸ Resize Canvas. Select the rectangle shape tool in the tools palette and make sure your shape is set to have a fill but no stroke. Draw out a rectangle. The color of the rectangle doesn't matter, but you want to pick a color that is easy to see in contrast to your image.
 If you want your drop shadow to be exactly centered, then choose View ▸ Guides and Grids and make sure ‘Snap To Canvas’ is checked. Using the move tool, snap the center of the shape to the center of the canvas. You want your shape to be set in slightly from the edges of your image, so resize your shape if necessary.
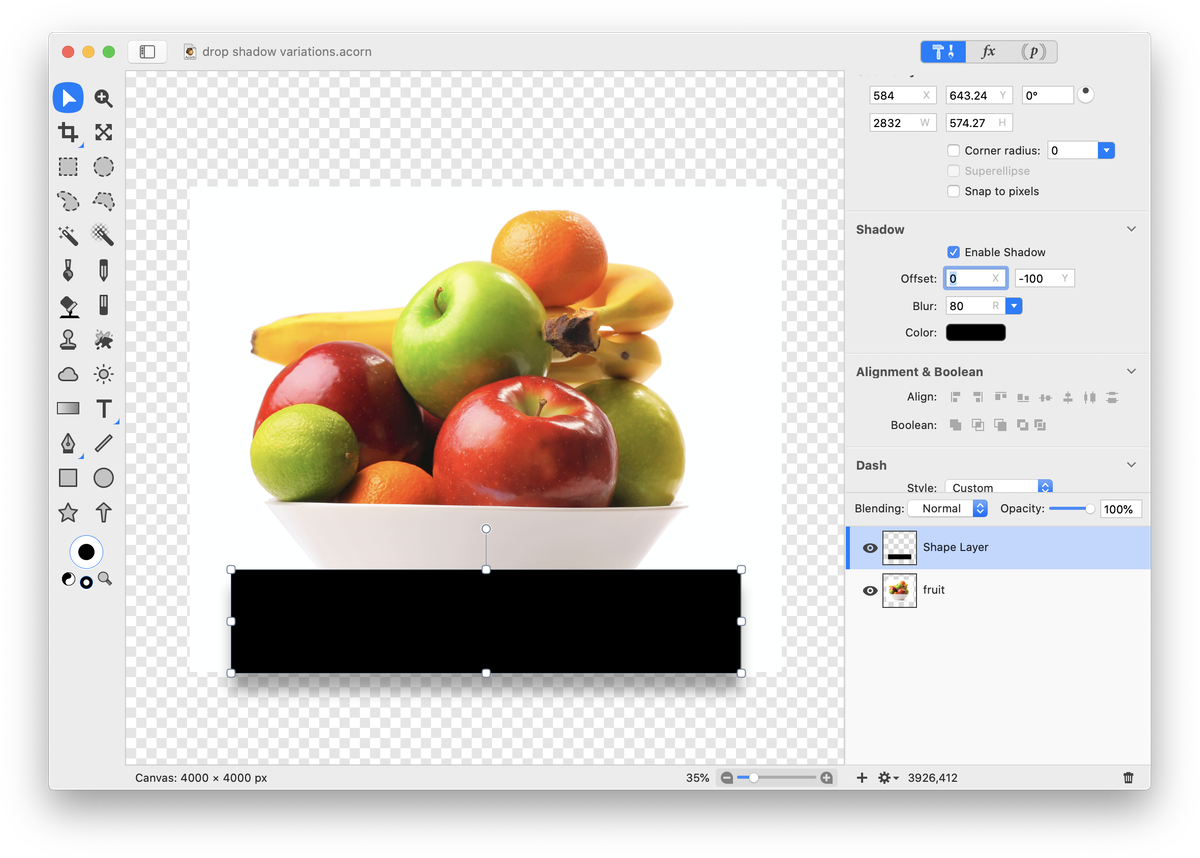
Now make sure your rectangle shape is still selected. Click on ‘enable shadow’ under the Shadow section in the shape tool palette. This allows you to add a drop shadow to shapes. The settings used here can be seen below.
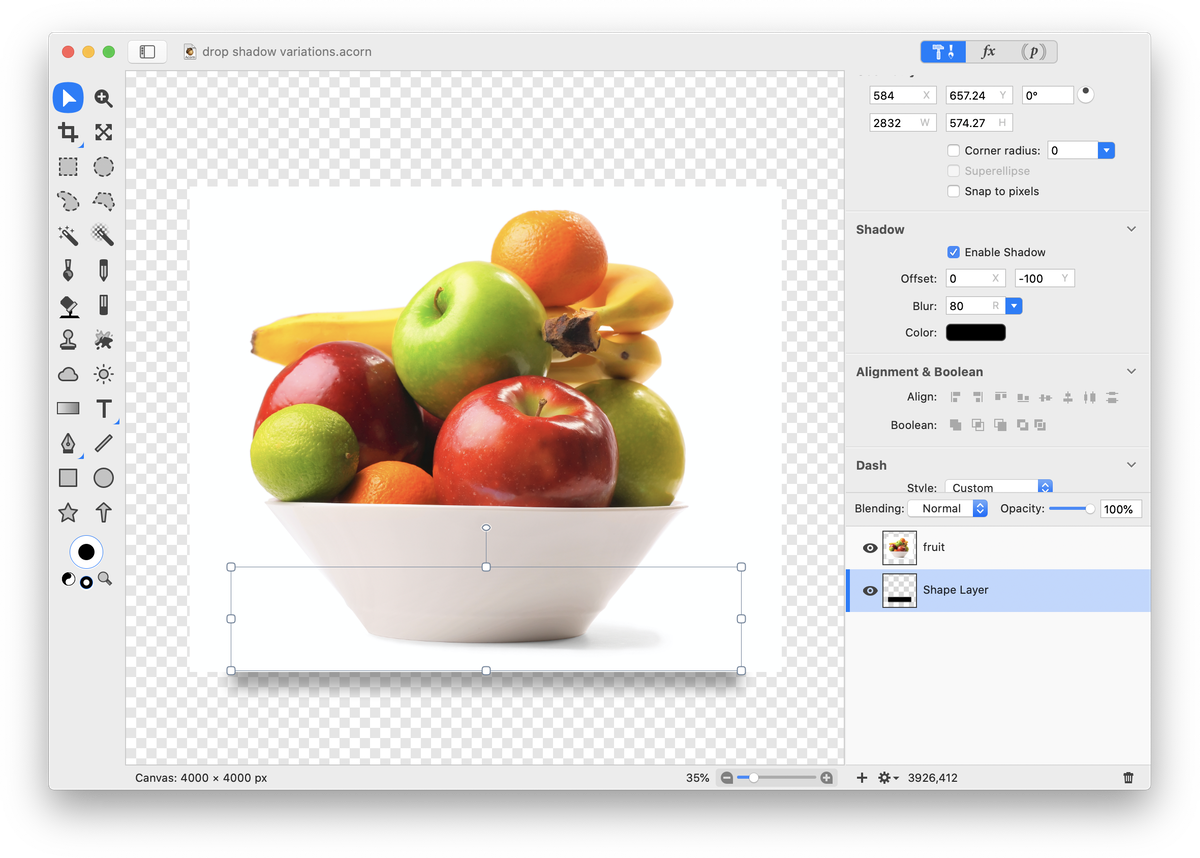
 Move your shape layer below the fruit bowl layer in the layers list.
 At this point, play around with how strong you want your drop shadow to appear. You can decrease the opacity of the shadow layer in the layers list, modify the color of the drop shadow by clicking on the color well in the shape shadow inspector palette, or increase the shadow's boundaries by modifying the 'y axis' value of the shadow. There are many options!
 You can also use the above steps, but substitute an oval shape to create a more rounded drop shadow appearance:
 A border has been added to the final product images shown here. For more information on how to do this, read the tutorial 'Add a Border'.
Photo Credits
© Dudarev Mikhail
