Sharpen, Stylize, & Miscellaneous Filters
Many of the filter definitions below come directly from Apple’s core image filter reference.
Sharpen
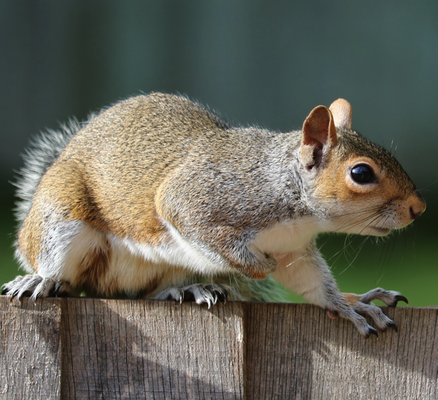 Original
|
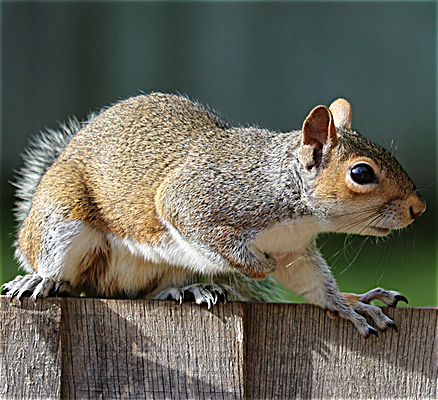 Sharpen Luminance
|
 Unsharp Mask
|
Sharpen Luminance: Increases image detail by sharpening. It operates on the luminance of the image; the chrominance of the pixels remains unaffected.
Unsharp Mask: Increases the contrast of the edges between pixels of different colors in an image.
Stylize
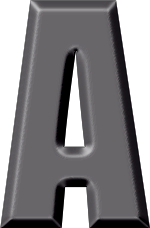 Bevel |
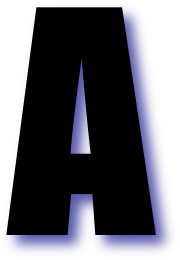 Drop Shadow |
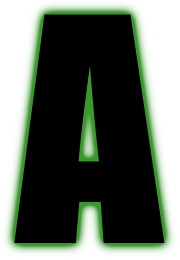 Fuzz Stroke |
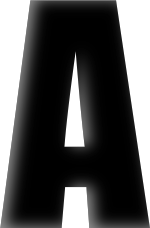 Inner Shadow |
Bevel: Adds a configurable bevel to your image.
Bloom: Softens edges and applies a pleasant glow to an image.
Canny Edge Detector: Applies the canny edge detection algorithm to an image.
Comic Effect: Simulates a comic book drawing by outlining edges and applying a color halftone effect.
Crystallize: Creates polygon-shaped color blocks by aggregating source pixel-color values.
Depth of Field: Simulates a depth of field effect. See Depth of Field tutorial.
Drop Shadow: Creates a drop shadow with modifiable color, positioning, blur, and opacity.
Edge Work: Produces a stylized black-and-white rendition of an image that looks similar to a woodblock cutout.
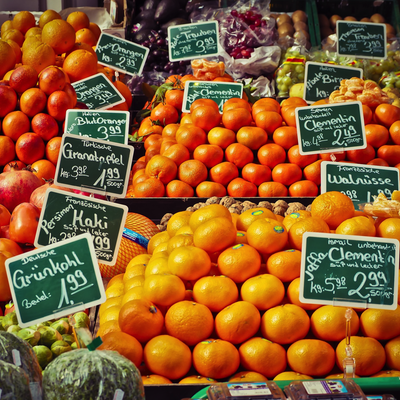 Original |
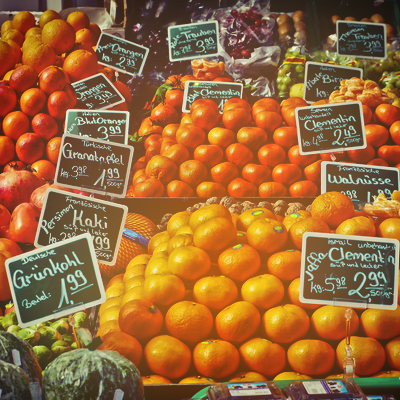 Bloom |
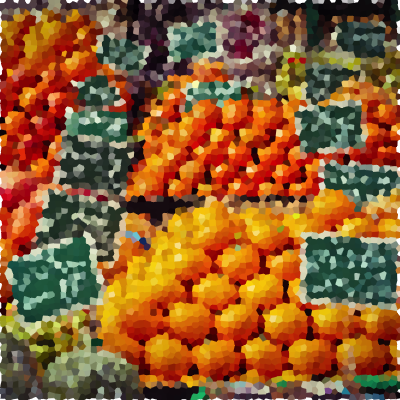 Crystallize |
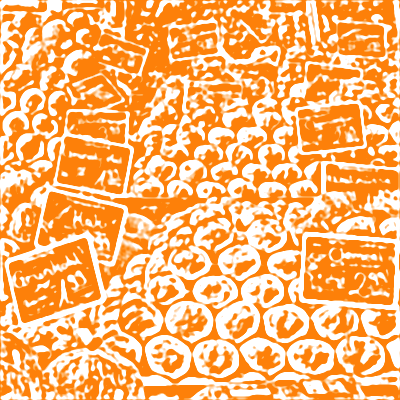 Edge Work |
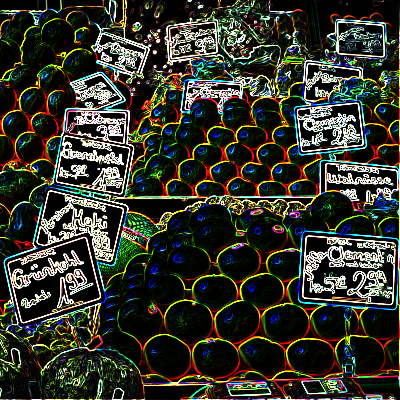 Edges |
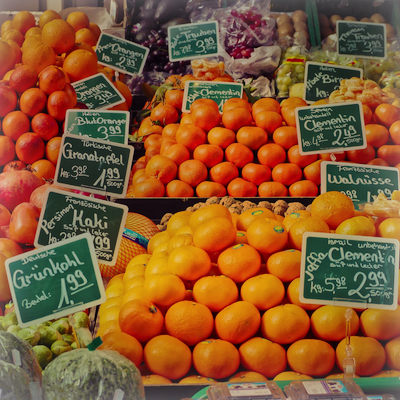 Gloom |
Edges: Finds all edges in an image and displays them in color.
Fuzz Stroke: Adds a fuzzy stroke to the edges of your layer.
Gabor Gradients: Applies a multichannel 5 by 5 Gabor gradient filter to an image. The resulting image has maximum horizontal gradient in the red channel and the maximum vertical gradient in the green channel. The gradient values can be positive or negative.
Gloom: Dulls the highlights of an image.
Gus’s Color Wheel: Draws a nice little color wheel with optional segments.
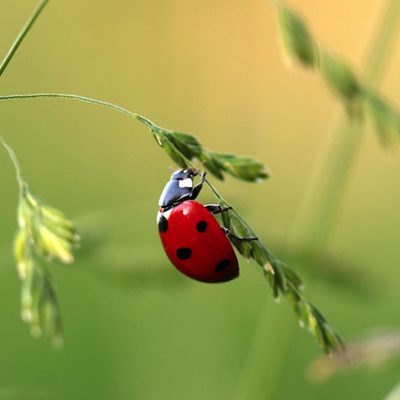
Height Field from Mask: Produces a continuous three-dimensional, loft-shaped height field from a grayscale mask. The white values of the mask define those pixels that are inside the height field while the black values define those pixels that are outside. The field varies smoothly and continuously inside the mask, reaching the value 0 at the edge of the mask. You can use this filter with the CIShadedMaterial filter to produce extremely realistic shaded objects.
Original |
Hexagonal Pixellate |

Line Overlay |
Pixelate |
Pointilize |
Spot Light |
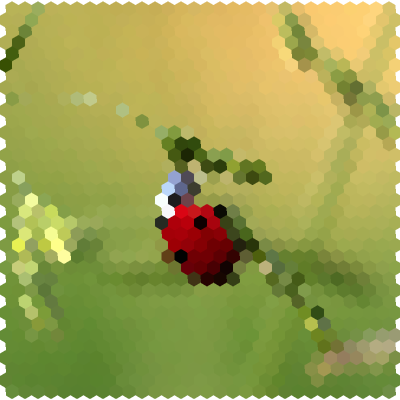
Hexagonal Pixellate: Maps an image to colored hexagons whose color is defined by the replaced pixels.
Highlight and Shadow Adjust: Adjust the tonal mapping of an image while preserving spatial detail.
Inner Shadow: Generates a shadow on the inside edges of your image.
Line Overlay: Creates a sketch that outlines the edges of an image in black. The portions of the image that are not outlined are transparent.
Opacity: Adjusts the opacity of an image.
Person Segmentation: Returns a segmentation mask that is red in the portions of an image that are likely to be persons. The returned image may have a different size and aspect ratio from the input image.
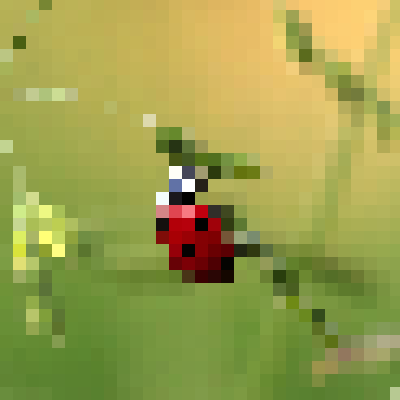
Pixelate: Makes an image blocky by mapping the image to colored squares whose color is defined by the replaced pixels.
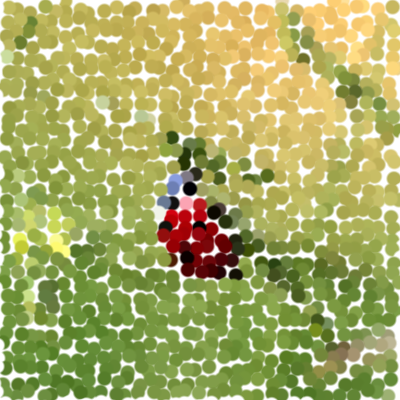
Pointilize: Renders the source image in a pointillistic style.
Shaded Material: Produces a shaded image from a height field. The height field is defined to have greater heights with lighter shades, and lesser heights (lower areas) with darker shades. You can combine this filter with the CIHeightFieldFromMask filter to produce quick shadings of masks, such as text.
Simple Film Grain: Creates a simple film like grain across an image.
Snapshot Reblend: Replays the last snapshot and reblends it with the input image as a mask. Check out this example for inspiration on how to use this filter.
Snapshot: Saves the input image for later use. Used in conjunction with the Snapshot Reblend filter. Check out this example for inspiration on how to use this filter.
Sobel Gradients: Applies multichannel 3 by 3 Sobel gradient filter to an image. The resulting image has maximum horizontal gradient in the red channel and the maximum vertical gradient in the green channel. The gradient values can be positive or negative.
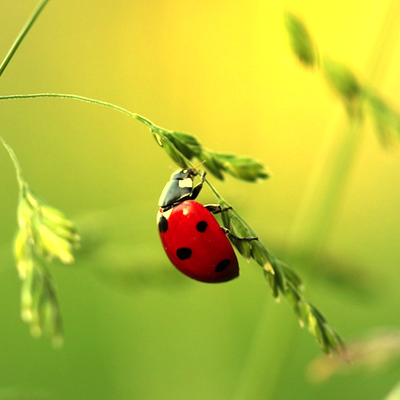
Spot Light: Applies a directional spotlight effect to an image. This works best if you apply the filter to a duplicate of your layer, with the duplicated layer above the original layer in the layers list.
Tilt Shift: Simulates a tilt-shift lens. See Depth of Field tutorial.
Miscellaneous
Box blur |
Box blur with clamp filter |

|
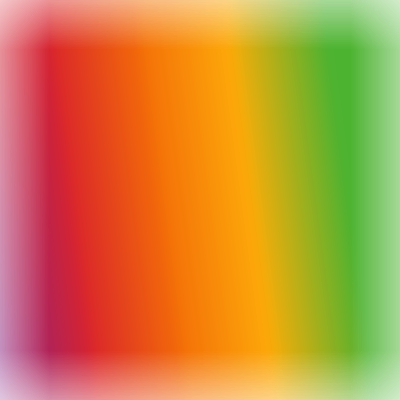
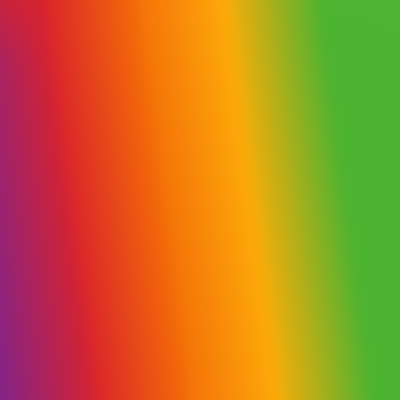
Clamp: Clamp your layer's pixels to the edge of the image, so transparent pixels won't be pulled in. This is useful when combined with blur filters.
Custom Filter: Make a custom filter using a 5x5 convolution kernel.
Histogram: View a color histogram of your image.
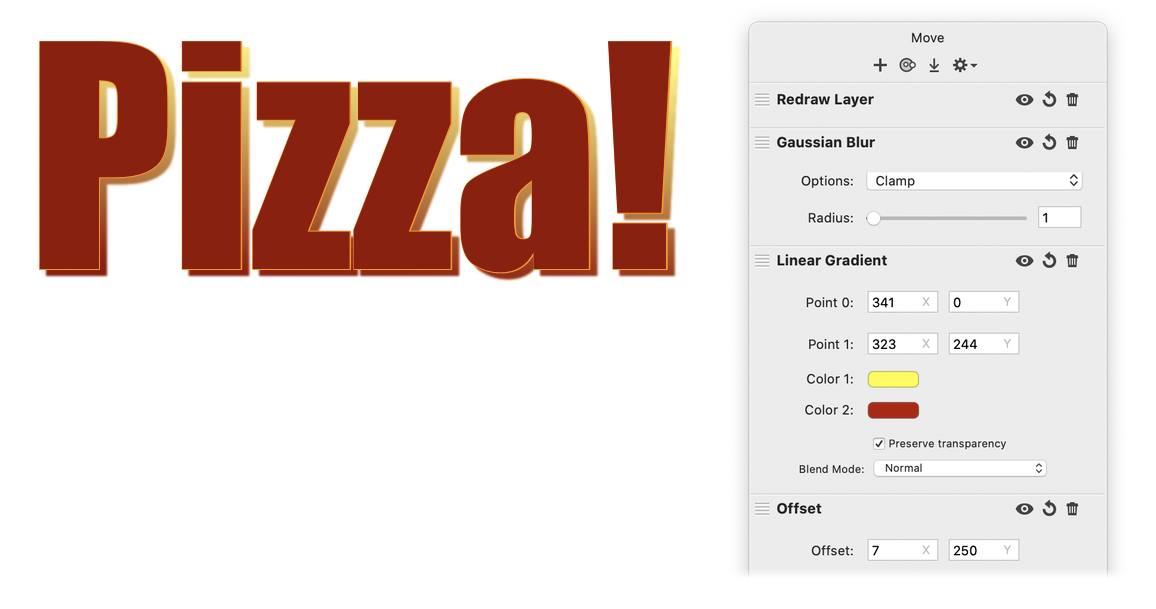 Offset: Offset your layer in the direction of your choosing. Useful for creating custom drop shadows or simple emboss operations in combination with the redraw layer filter.
Redraw Layer: Takes the current layer and draws it on top of what filters you've already applied. Useful for creating custom drops shadows or simple emboss operations in combination with the offset filter.
Rotate: Rotates the image or filter around a specified adjustable point.
Try playing around with some of the filters and experiment, experiment, experiment. For more information, check out the Tutorials or send an email to support@flyingmeat.com and request a tutorial.
Additional Relevant Documentation
Filters Basics (video tutorial)
Filters Basics