Watermarking Images Acorn
Retrobatch Introduction
The tutorial below outlines how to batch process images with Acorn, but if you have recurring batch processing needs consider checking out Retrobatch. Retrobatch is an app dedicated to batch image processing, made by the creators of Acorn. It works on 1, 10, 100, or even thousands of images at once. Add text, watermarks, resize images, and save your images to a variety of file formats. Check Retrobatch out and take advantage of the free trial.
More information can be found in Retrobatch's documentation.
Batch Watermarking Using Shortcuts & Acorn
Acorn comes with a number of actions you can use from the Shortcuts app. One such action is named "Image Overlay" shown below. With this action you can specify an image to use as a watermark, and even position or rotate it.

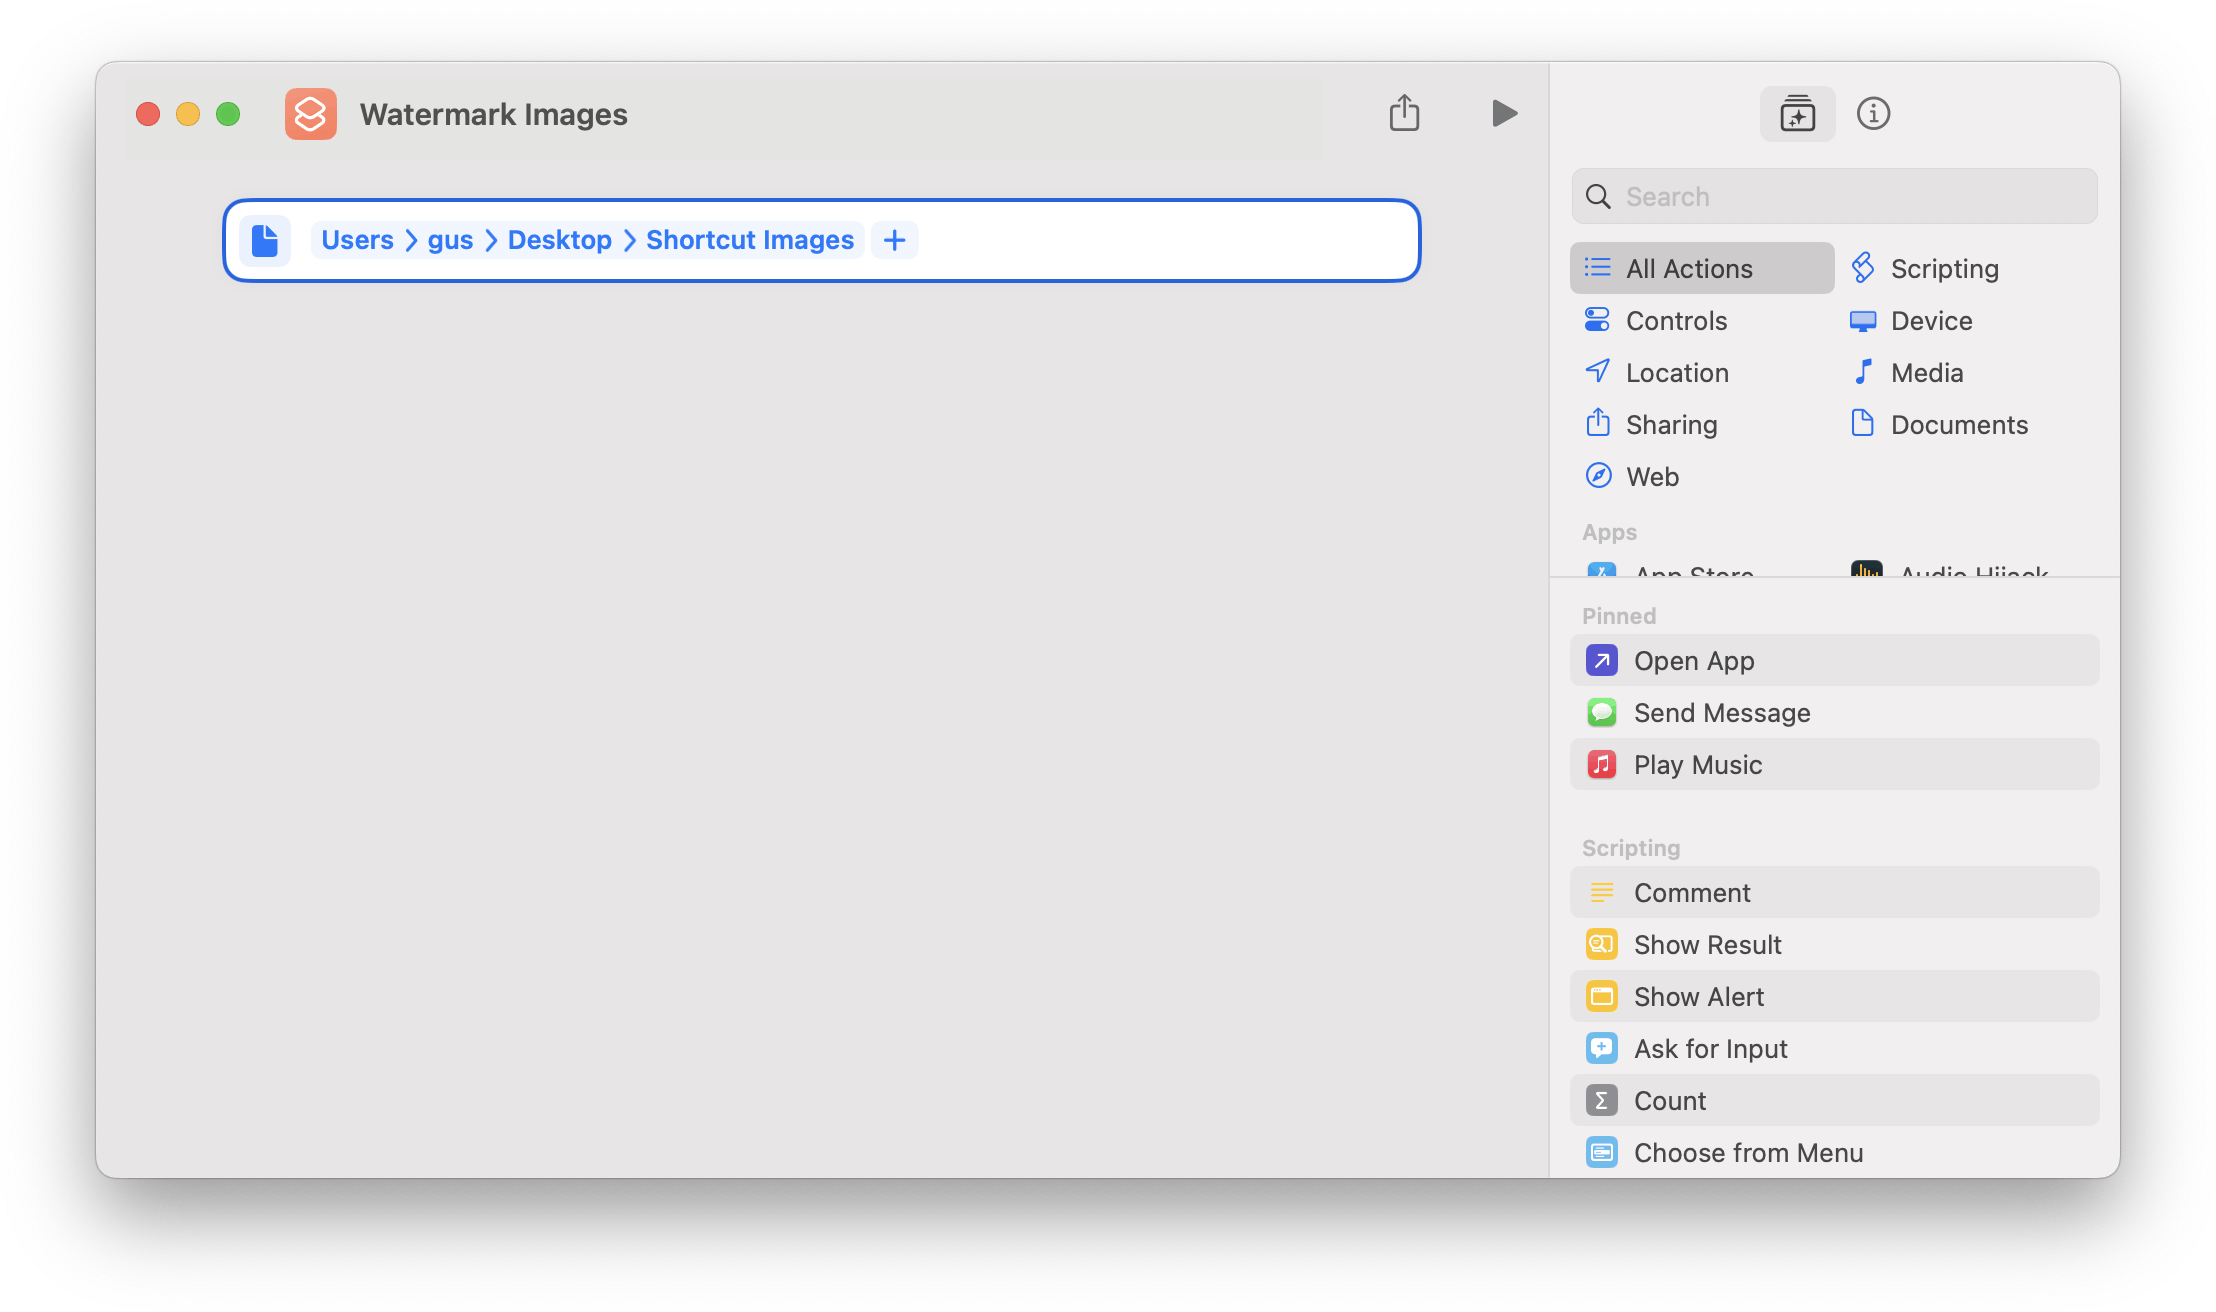
To start, open the Shortcuts app. Create a new shortcut via the File ▸ New Shortcut menu item. An empty window will appear. Click in the title bar and choose a name if desired, "Watermark Images" is used here.
Next, drag in an image, or folder of images onto the blank area of the shortcut. In this example, a folder named "Shortcut Images" is used.

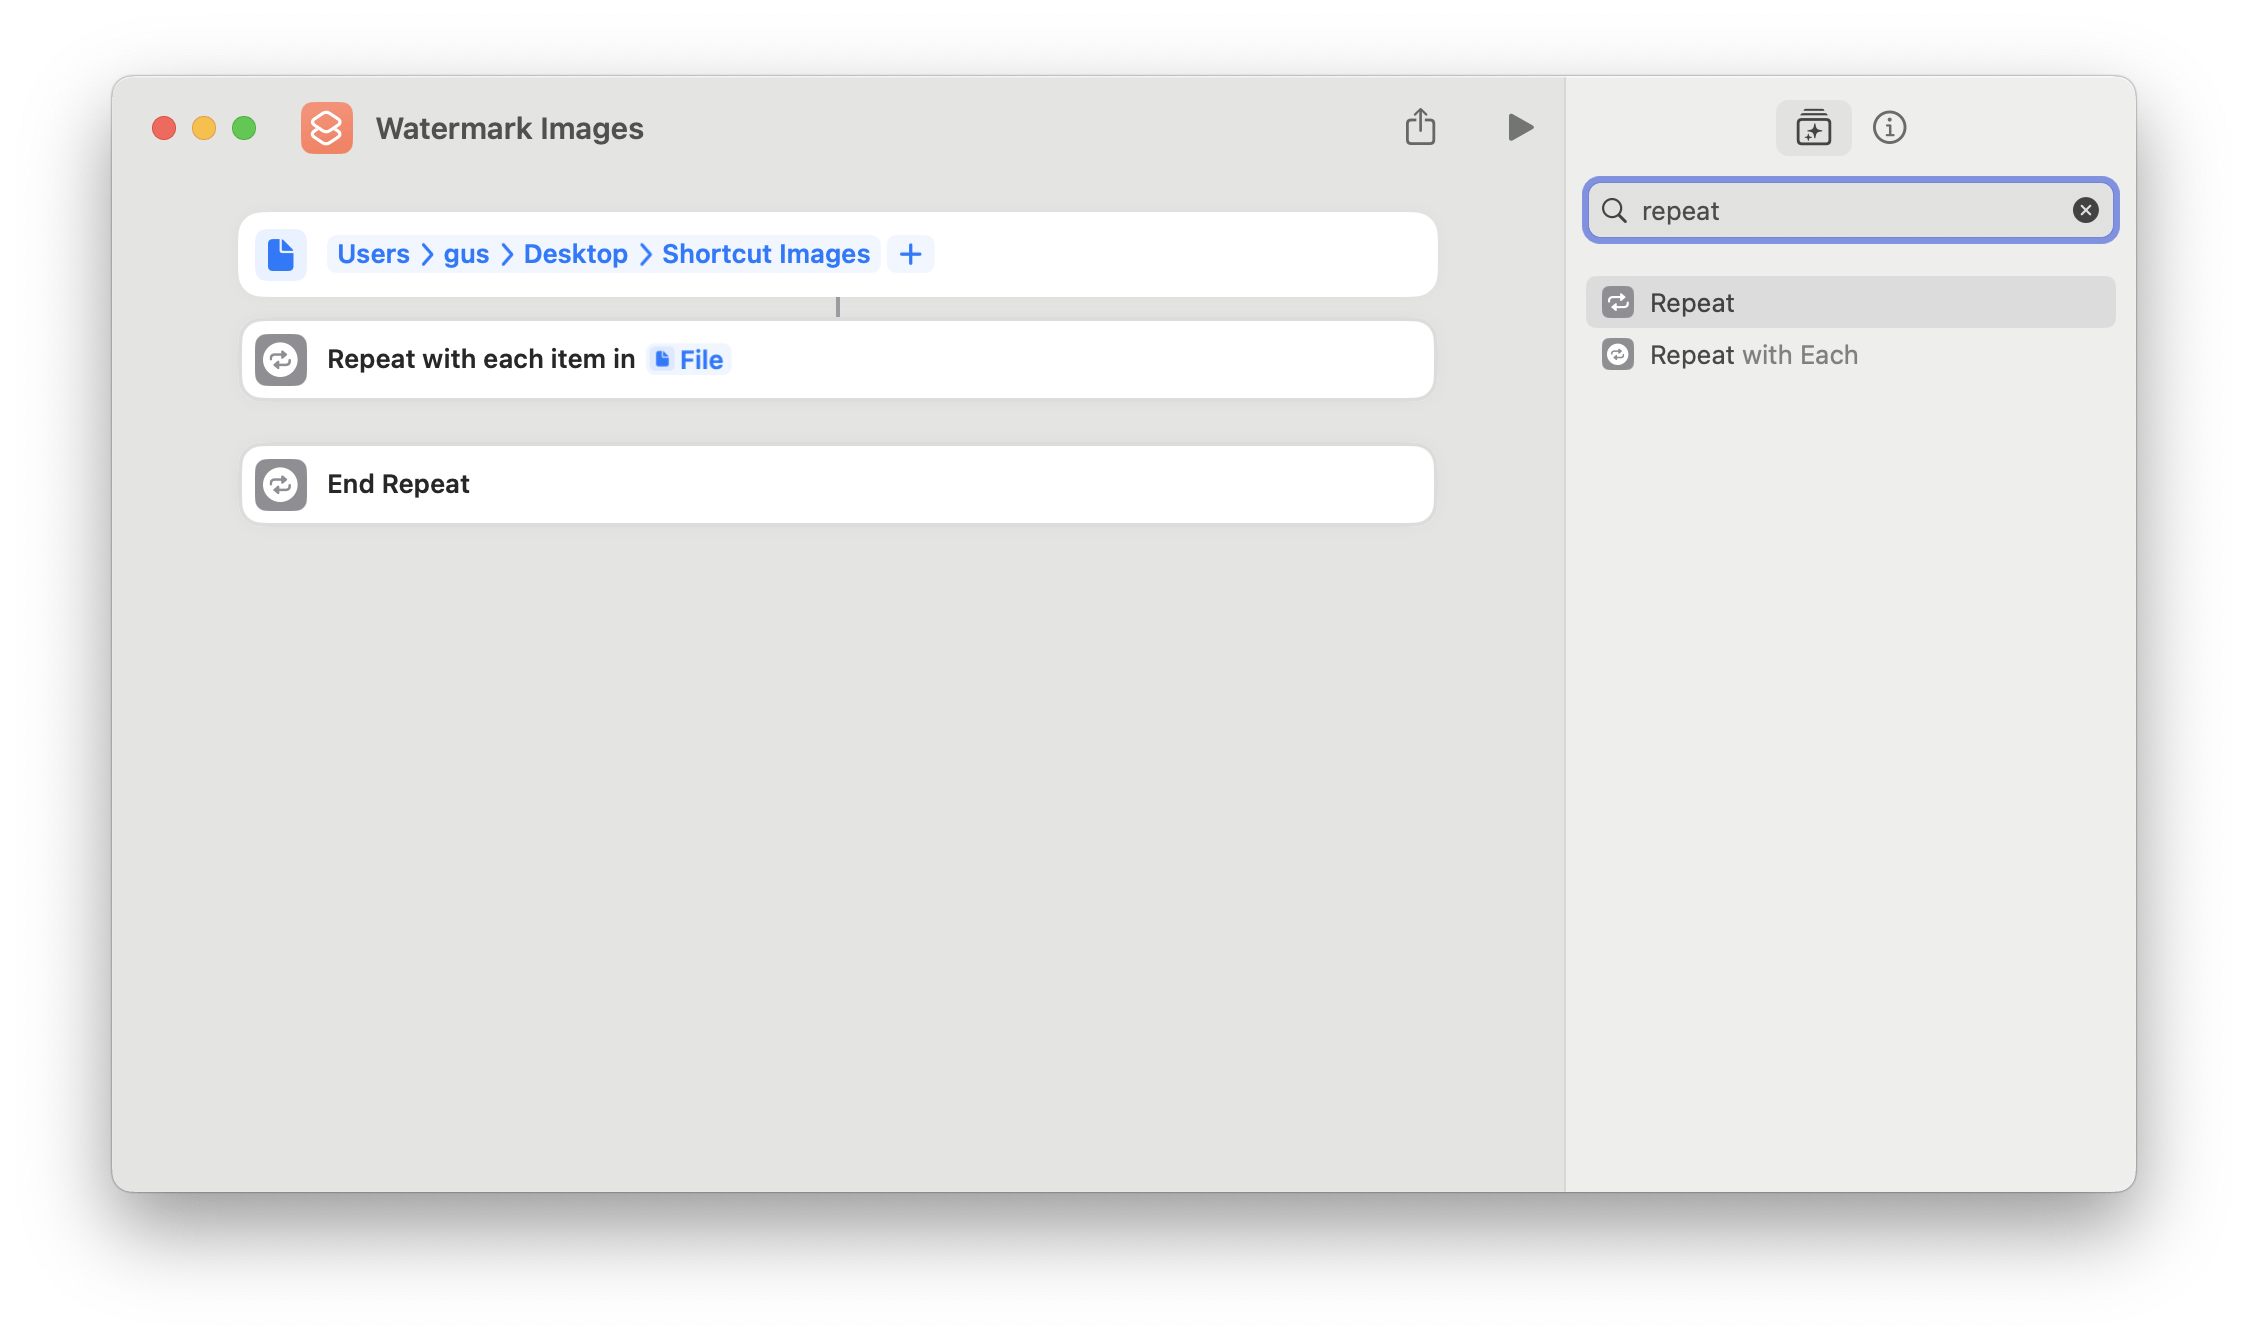
Add the "Repeat with Each" action. Enter the word "repeat" in the search field of Shortcuts to locate it. Drag and drop or double click on 'Repeat with Each' to add it to the action area.

Notice the faint vertical line between the top folder action and the Repeat action. This indicates that the items in the folder will be passed to the repeat action.
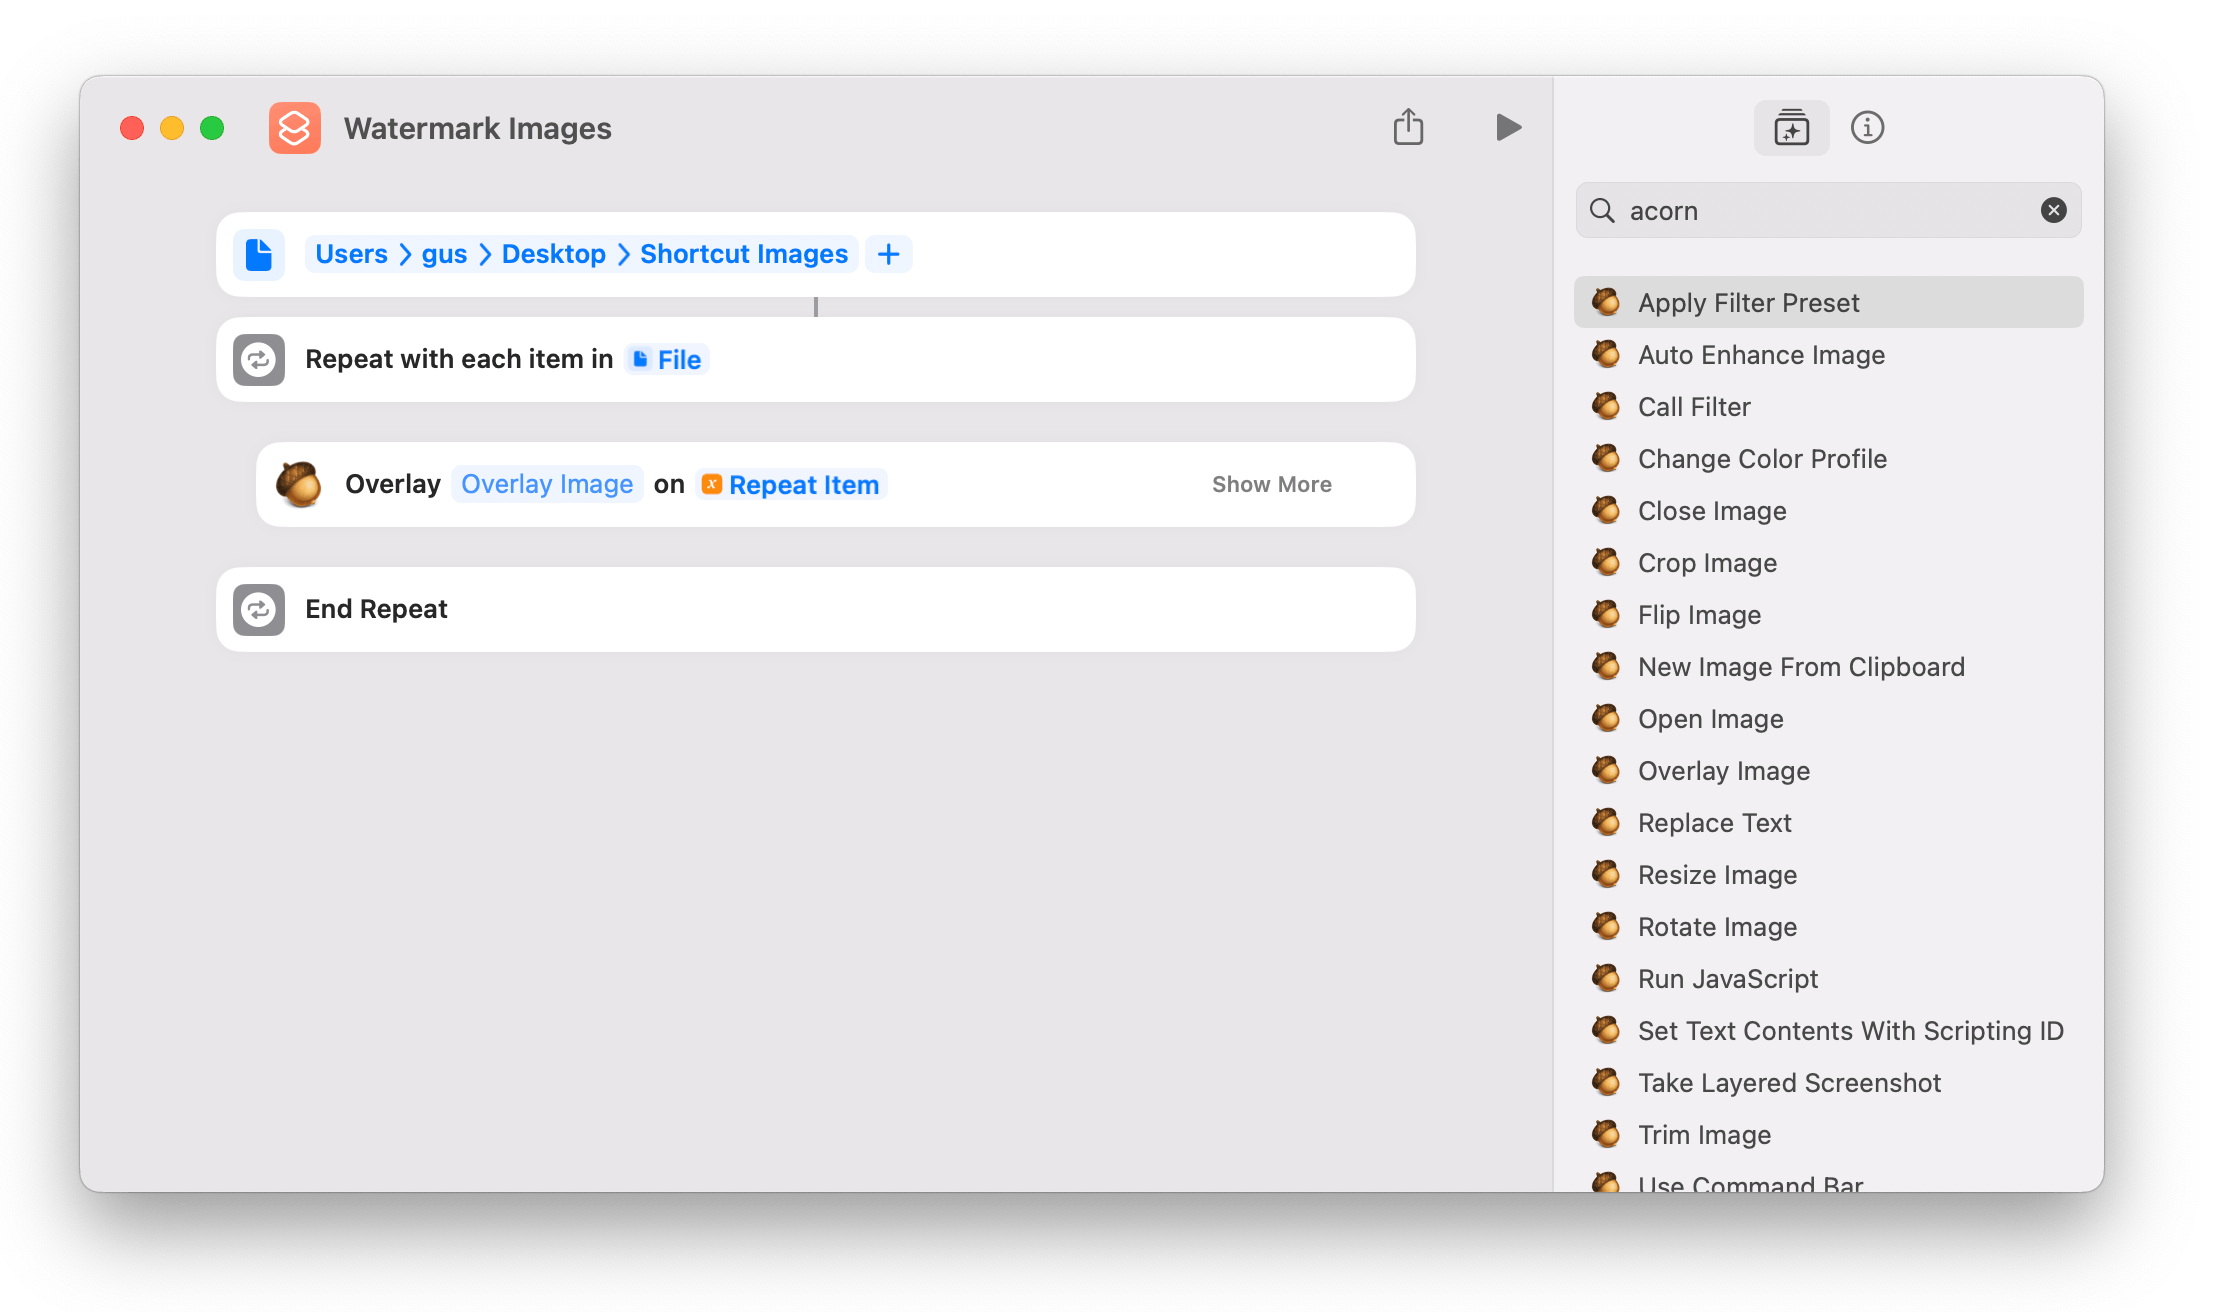
Perform a search for "acorn" in the Shortcuts search field. A list of various actions from Acorn will appear. Locate the one titled "Overlay Image" and drag and drop that between the "Repeat" and "End Repeat" actions.

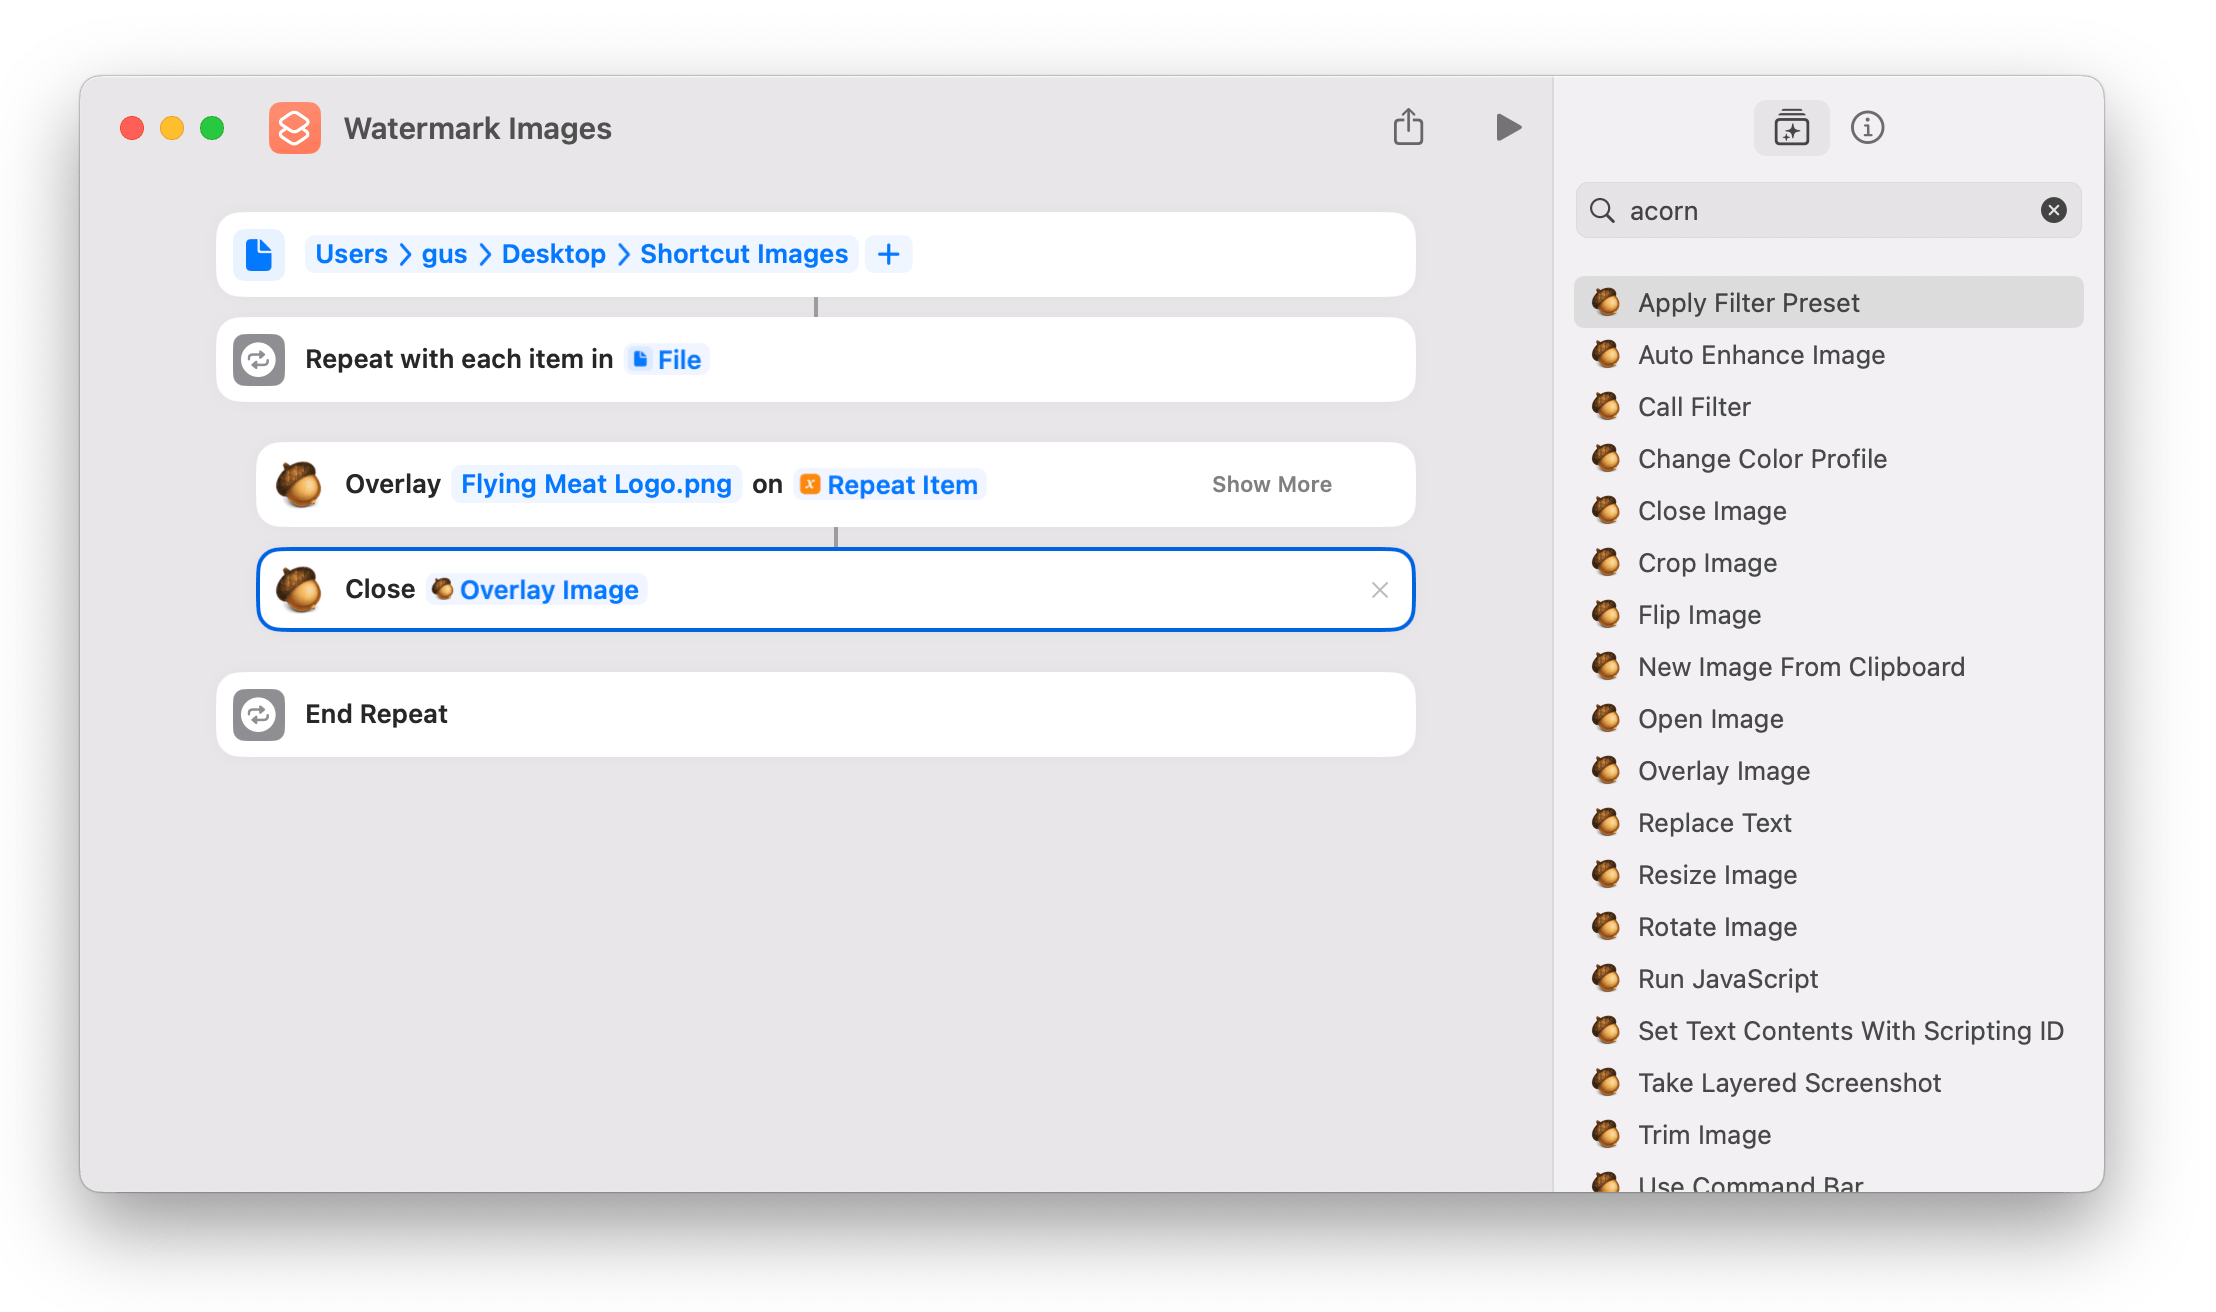
Click on the blue text titled "Overlay Image" in the Overlay action. Select an image to use for a watermark. This example uses the Flying Meat logo. If you don't have a logo, you can use this one: Flying Meat Watermark.png
Add a "Close Image" action. This prevents multiple images from opening simultaneously in Acorn.

One extra step is to tweak where the overlay image or watermark is placed. Click the text that says "Show More" on the Overlay action to view expanded options.

You can change the position, rotation, and the opacity (aka, transparency) of the watermark image.
And that's it! You can now run your shortcut.