Using Shapes to Mask a Layer
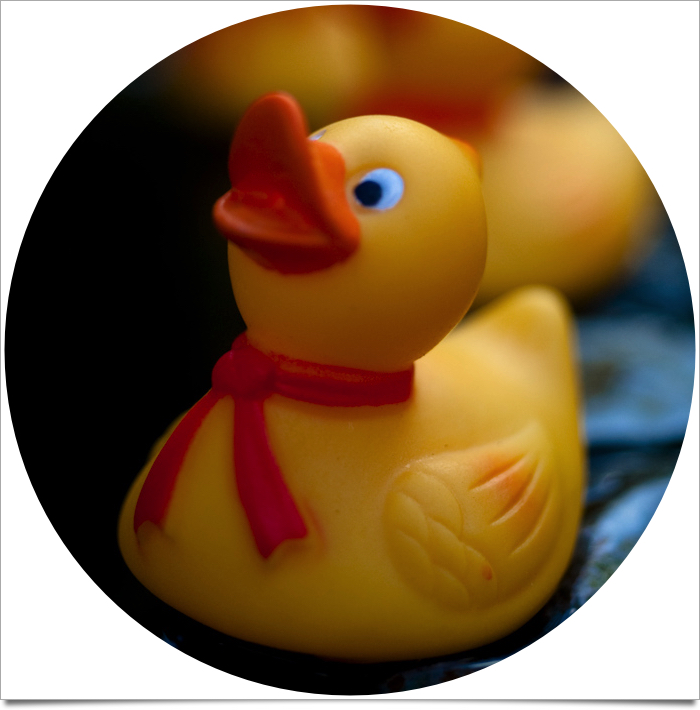 Layer masks are currently bitmap only, which means vector shapes cannot be used in the mask. There is a nifty work around you can use if you want to use a shape as a mask using the ‘mask’ blending mode. If you aren't familiar with how layer masks work, be sure to read the layer masks documentation, and fun with layer masks tutorial as well.
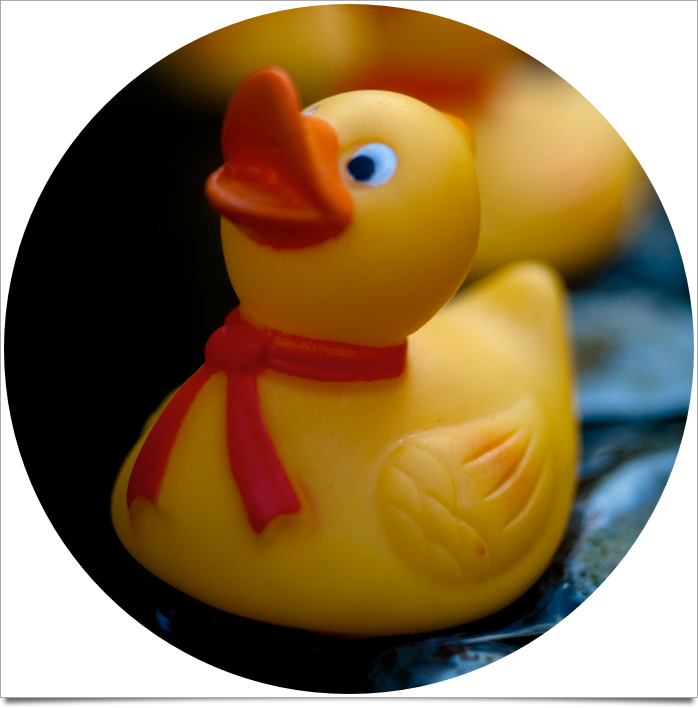
In this example, a circle shape with a mask blending mode will be used to focus on the rubber duck in the image.
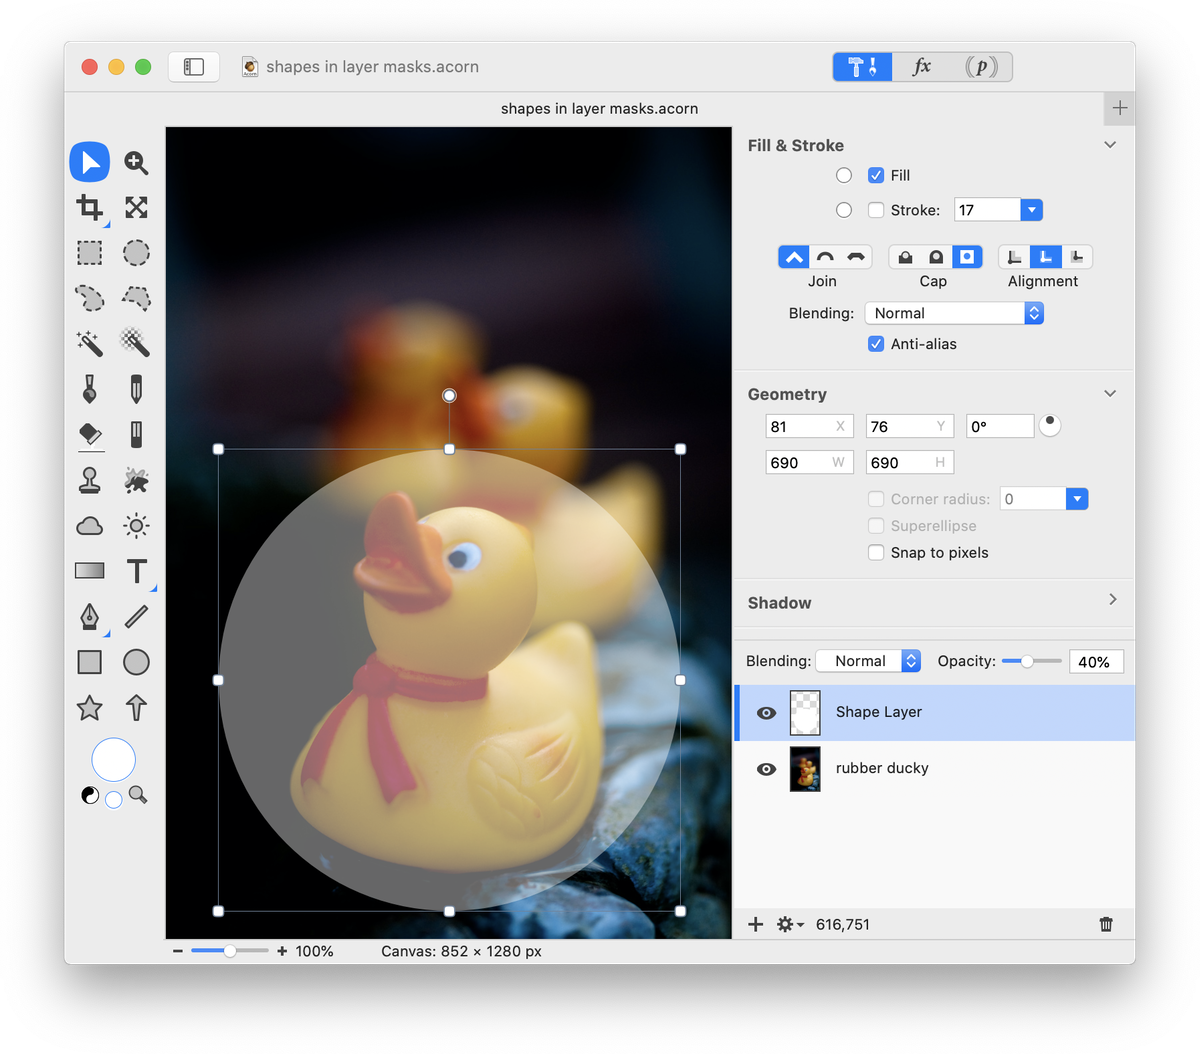
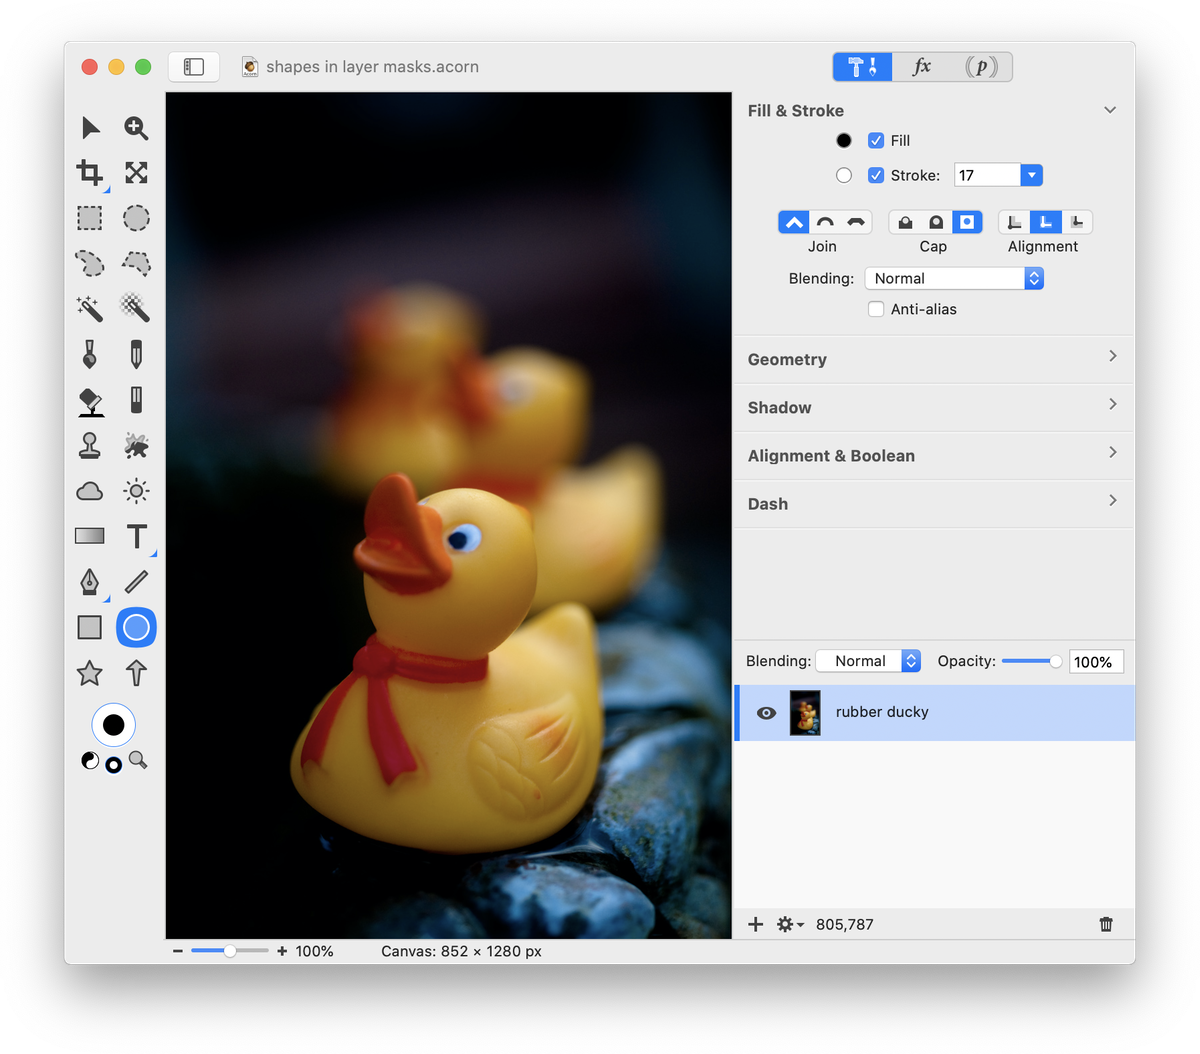 Draw out the shape you would like to use. The shape should have no stroke and a fill of white. The shape will be on its own layer since it is vector based. If you want to base the size of your shape on something in the image, temporarily turn the opacity down on the shape layer so you can see the layer below. In the image below the shape's opacity has been turned down to 40% so the circle shape can be adjusted to the size of the rubber ducky.
 Adjust the shape layer opacity back up to 100%. Change the blending mode to ‘Mask’. Below the rubber ducky image layer is transparency, so that is what shows through the mask.
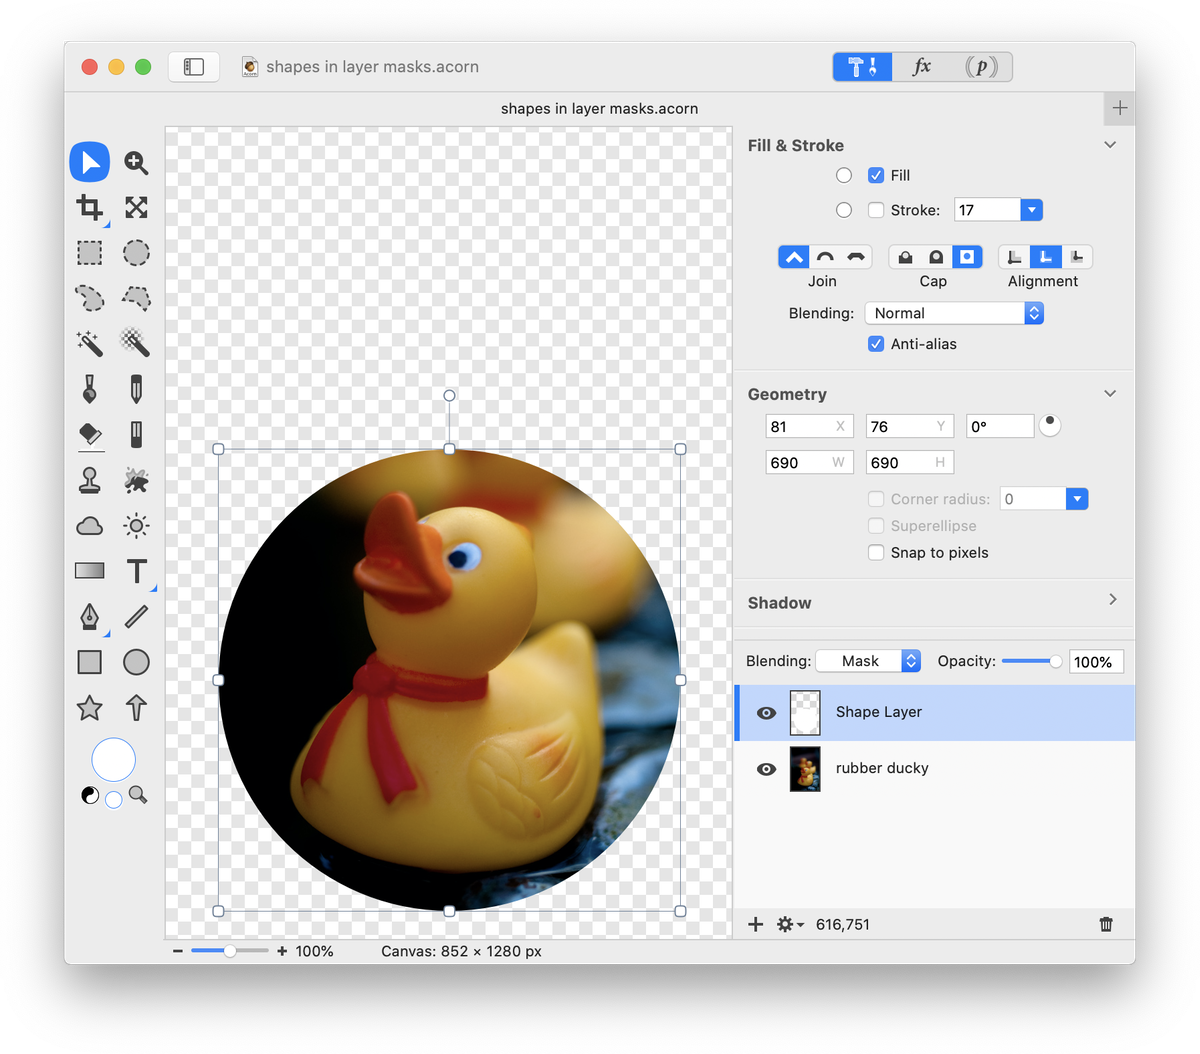 If you want to line things up differently you can easily make adjustments by moving the position of either layer.
Layer masks and the mask blending mode are great ways to play around with your images non-destructively!
Additional Relevant Documentation
Clipping to a Shape Layer (video tutorial)
Layer Mask Basics
Layer Mask Examples
Photo Credit
© tibchris


