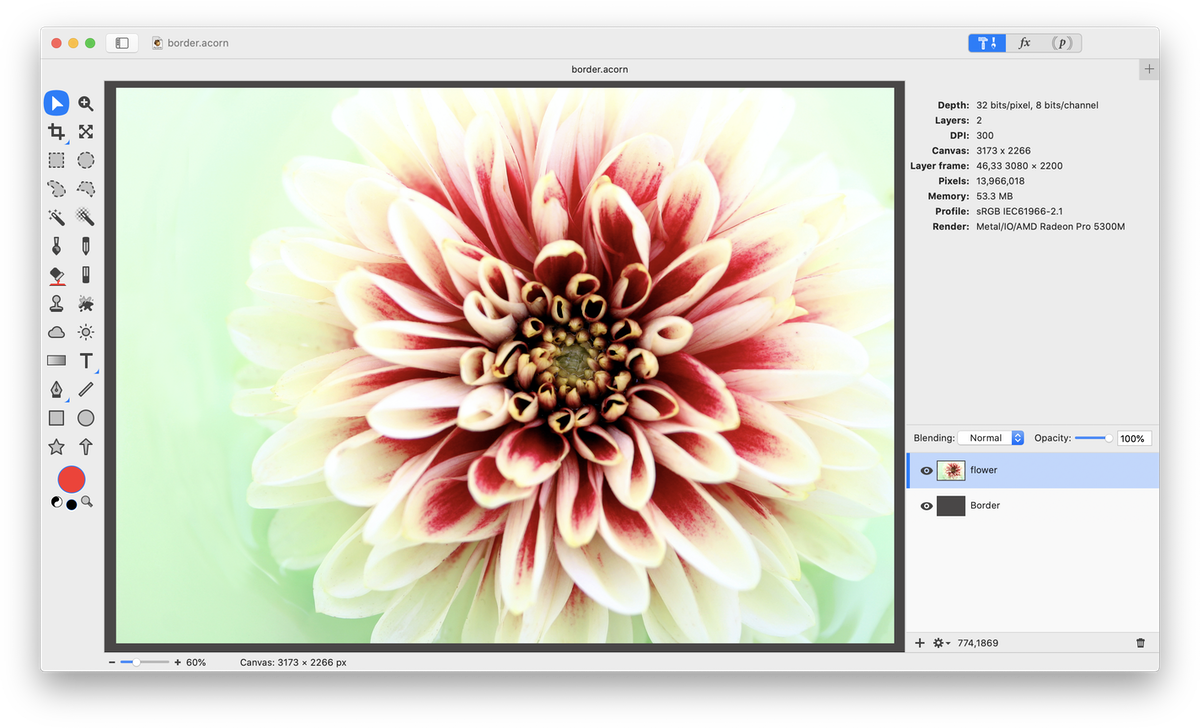
How to Add a Border
This tutorial will outline a few of the different ways you can add a border to your image in Acorn including using a shape, filters, and a background layer.
Adding a Border Using a Shape
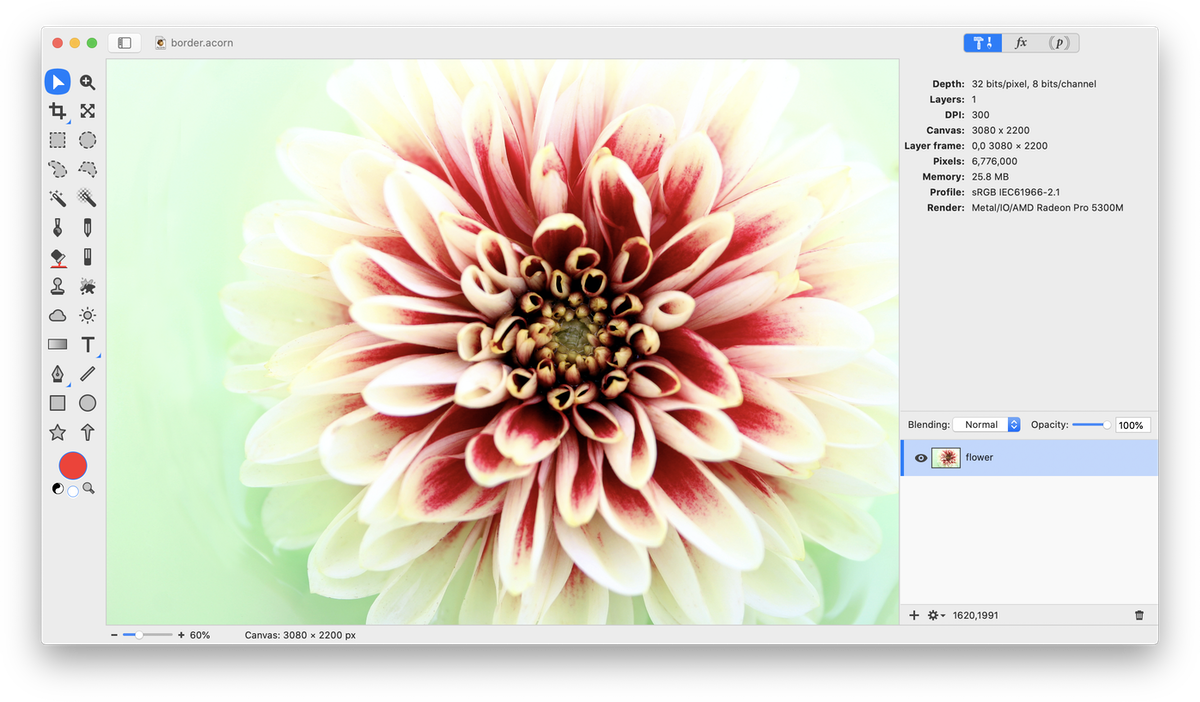
Open your image in Acorn, File ▸ Open
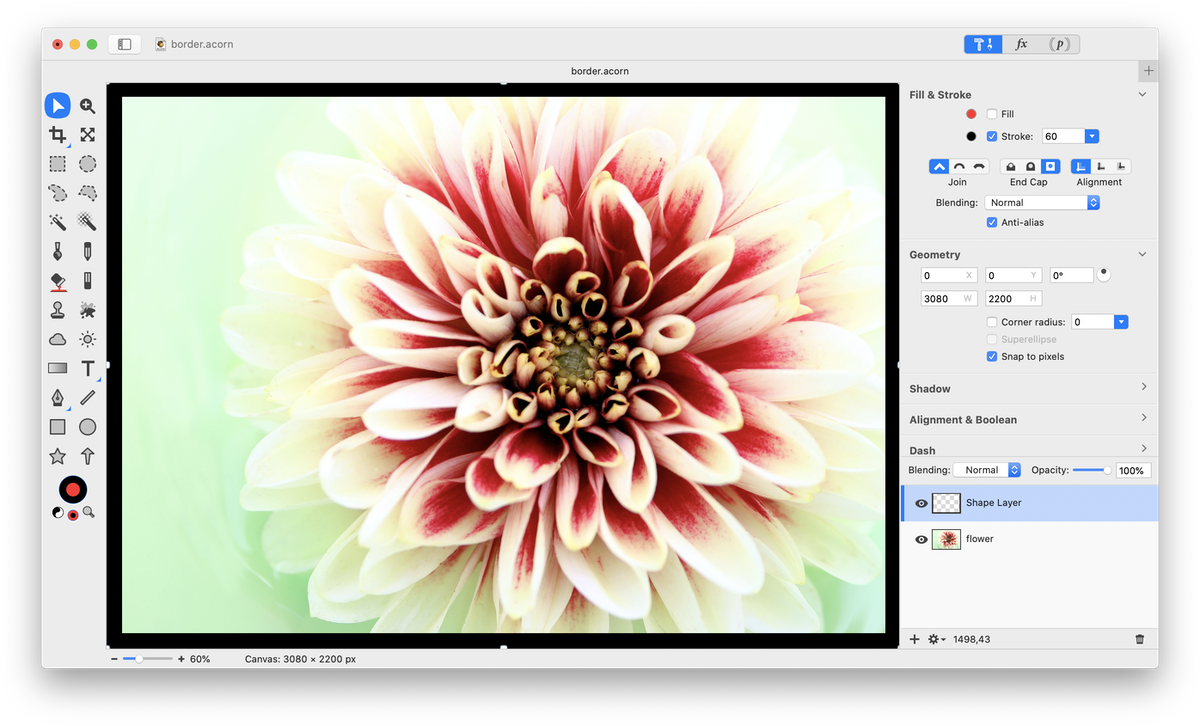
 Go to View ▸ Guides and Grids and make sure 'Snap To Canvas Bounds' is checked. Then, select the rectangular shape tool from the tools palette. Make sure the fill box is unchecked, the 'snap to pixels' box is checked, and increase the size of the stroke to something easily visible. The example below has a stroke of 60. Draw out a rectangle so that each side of the rectangle snaps to a boundary of the image. As an alternative, you can enter the canvas image dimensions found in the lower left hand corner of the canvas into the width and height fields of the shape in the inspector palette.
 You can modify the position of the stroke via the alignment buttons. The stroke can be positioned outside the shape boundary, halfway across the boundary, or on the inside. The stroke in this example is inside the shape boundary.
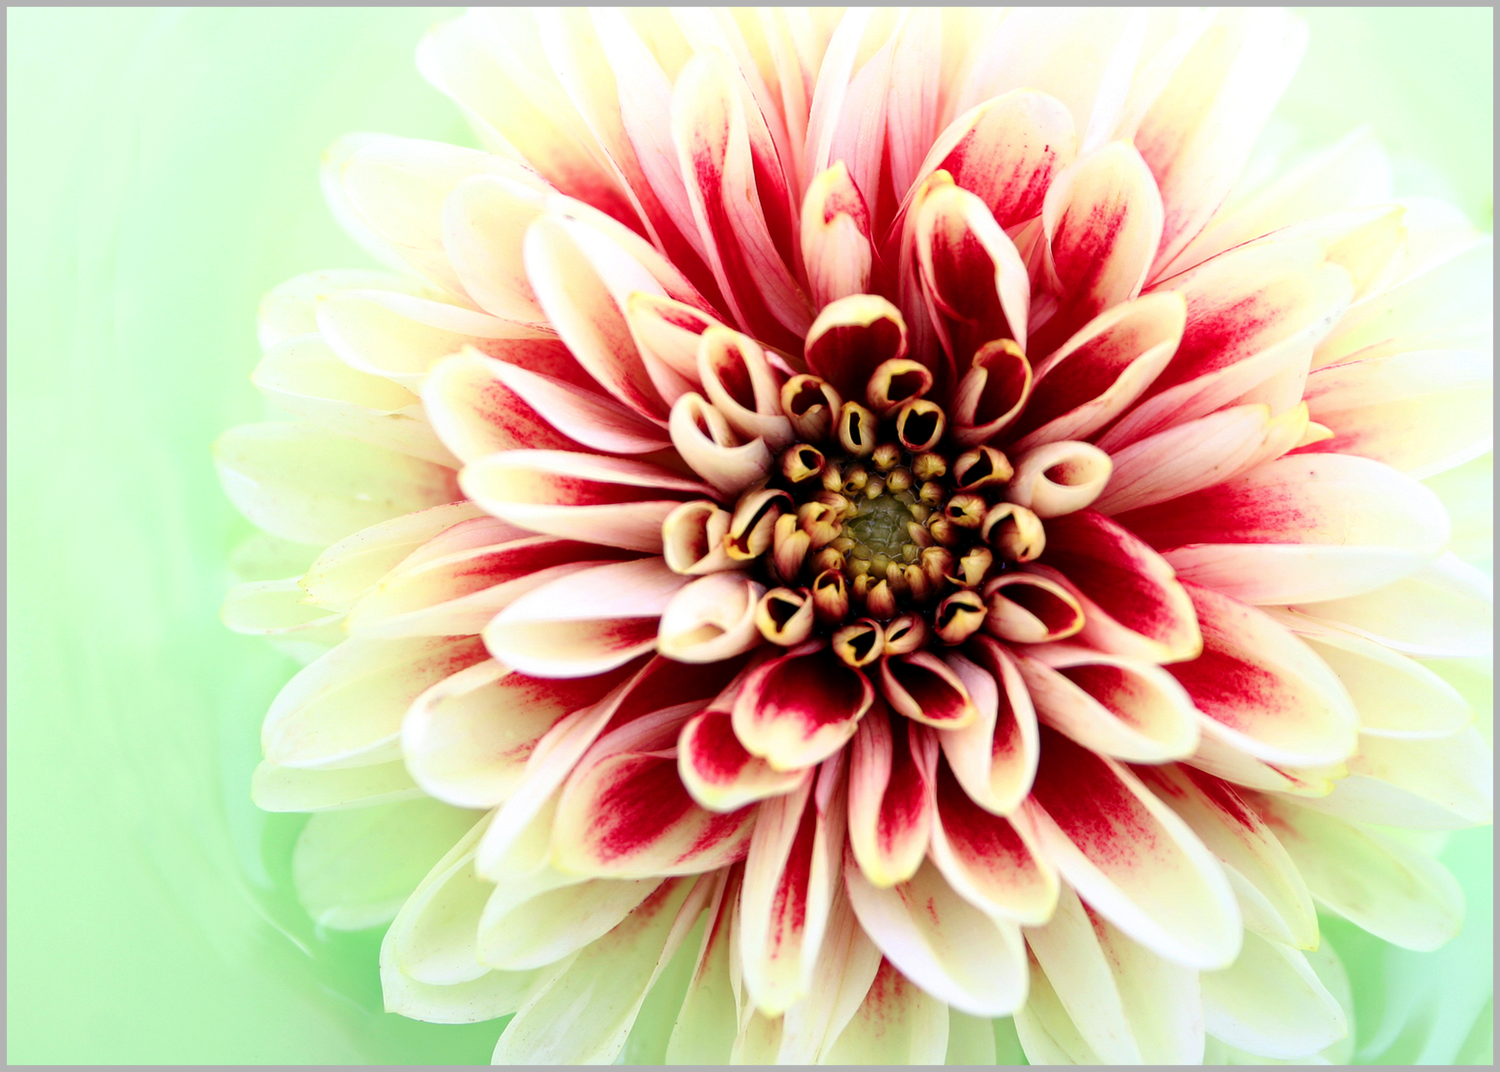
 With your shape still selected, adjust the stroke setting up or down to create your desired border thickness. Click on the stroke color well if you want to change the color of your border. The color of the border here has been changed to a light gray.

Adding a Border Using a Filter
Filter Method #1: Go to Filter ▸ Add Border to Layer. A thin border will be added around your image using whatever color you currently have chosen in your stroke color well. The width of the border cannot be modified.
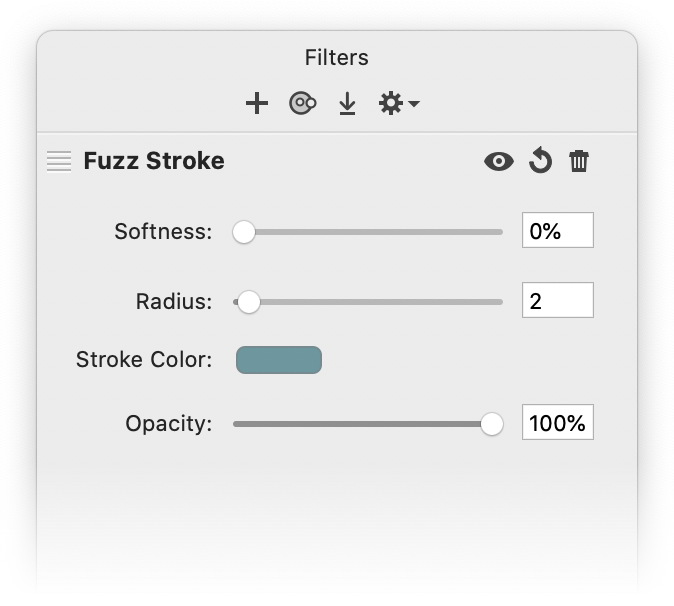
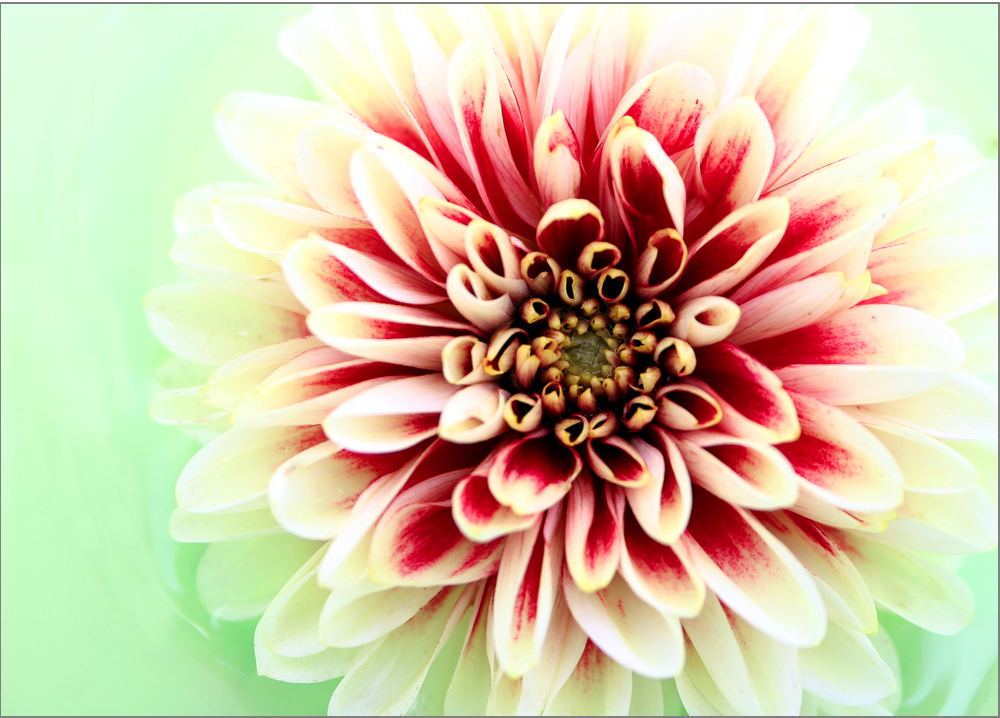
 Filter Method #2: Choose Image ▸ Resize Canvas, and add 50 pixels or so to the width and height of your image. Go to Filter ▸ Stylize ▸ Fuzz Stroke. Adjust the settings to create the border you desire. The settings used here can be seen in the window below.


Add a Border Using a Layer
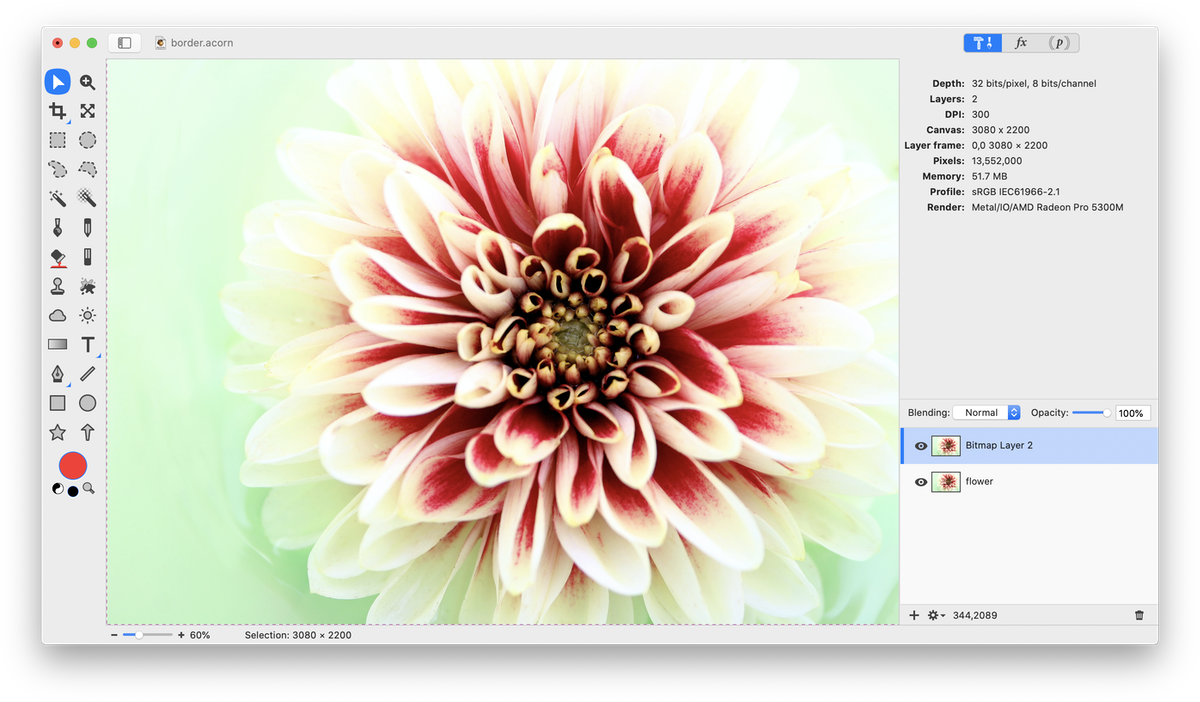
Go to Select ▸ Make Selection from Layer. Then choose Layer ▸ New Layer with Selection.
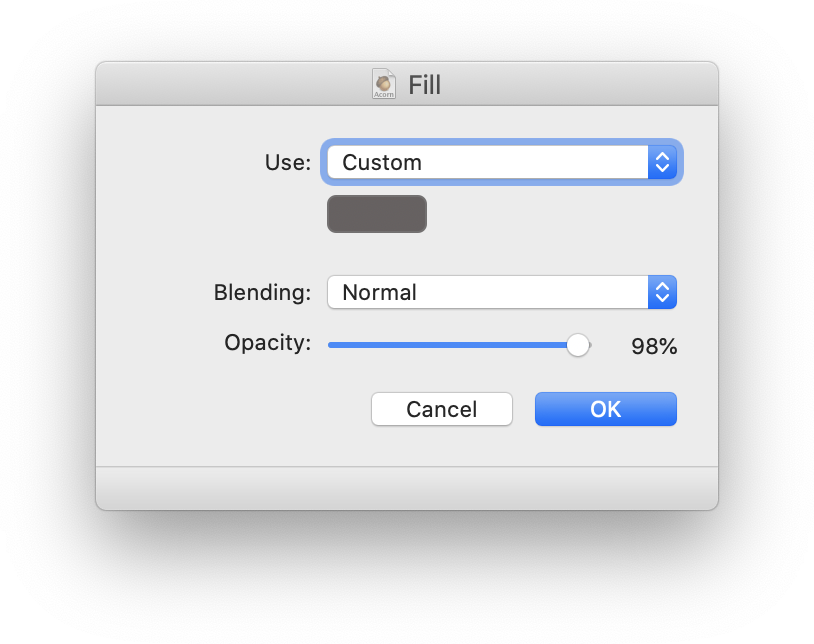
 Next, go to Edit ▸ Fill. Make sure 'Use: Custom’ is chosen, and click on the color well in the window to select the border color you want. Then click 'OK'. Deselect (⌘D).
 Move the new layer you created below the original layer. Go to Layer ▸ Rotate and Transform ▸ Scale and Rotate. Scale the layer up to create the thickness of border you want. The border seen here is scaled to 103%. You may need to resize your canvas in order to see the border, Image ▸ Expand Canvas to FIt Layers.
 Photo Credit
© Tina Rencelj
