Acorn's Workspace
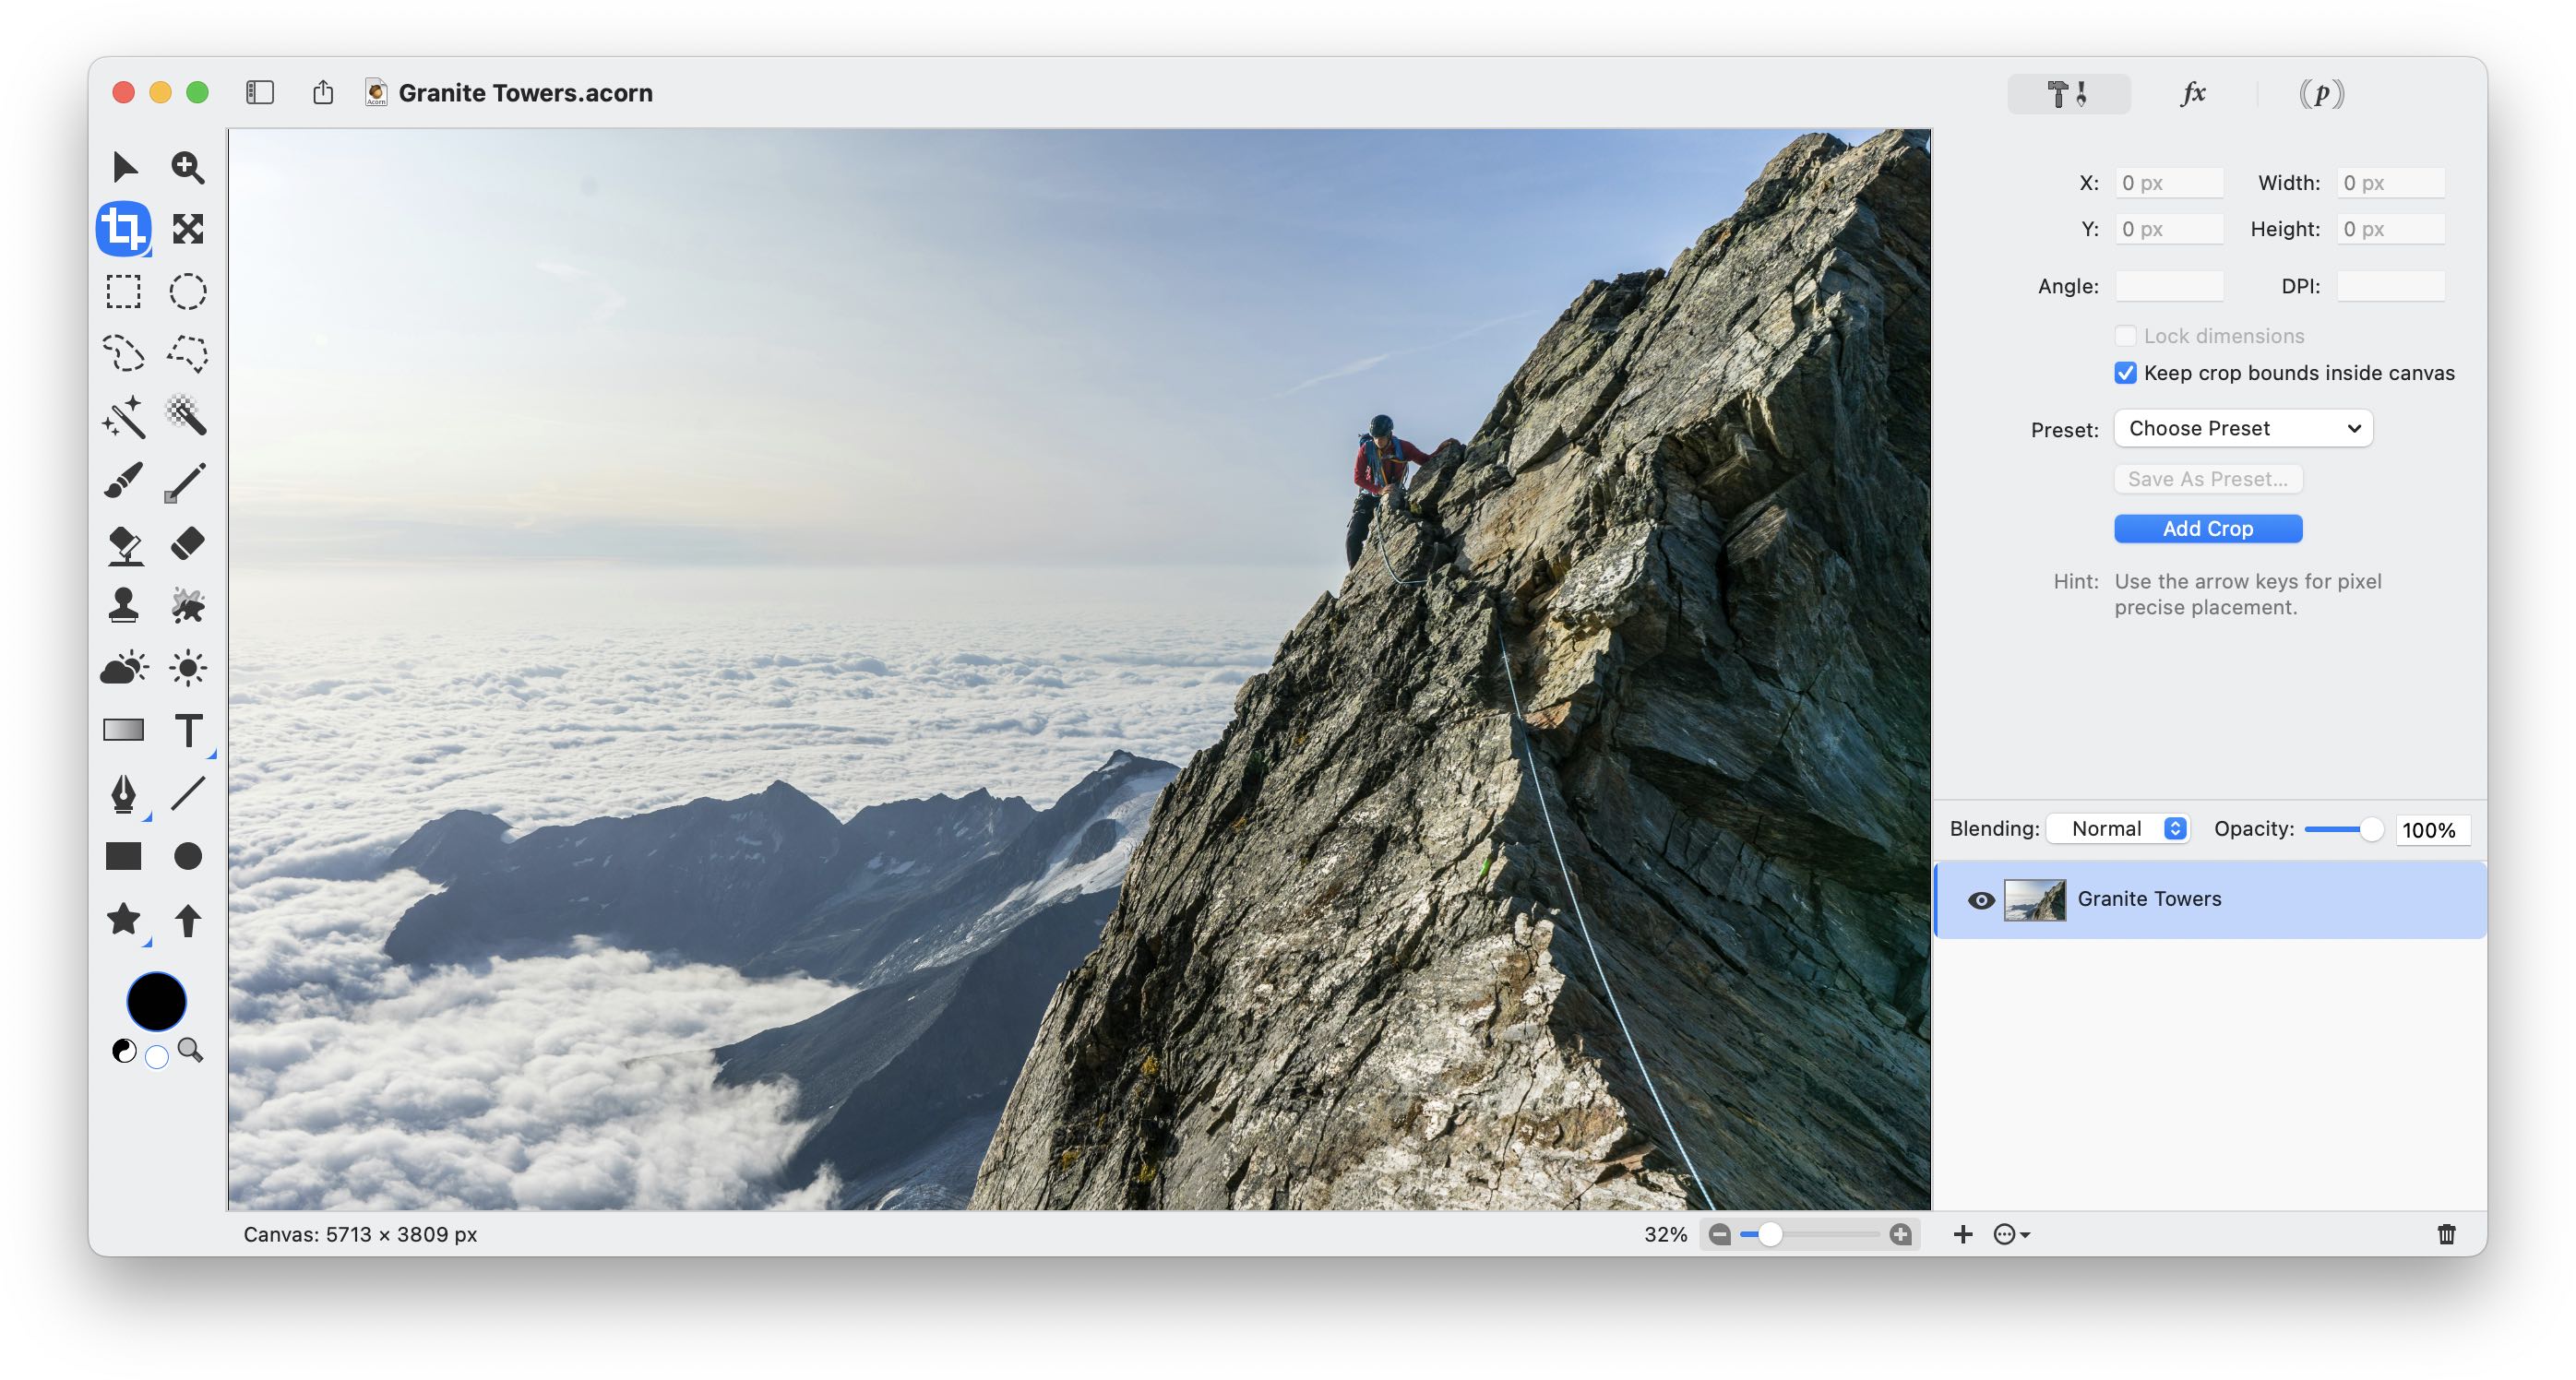
The Canvas
The canvas is where the composite of all the layers is viewed and where you draw, crop, or modify your image in other ways. The bottom portion of the canvas is called the status bar.
On the bottom left-hand side of the window along the status bar, you can find the image size. Clicking on the image size label will toggle between the image size and the information about the current layer (DPI, bits per channel, layer dimensions). If you have a selection present, instead of the image size, the label will display the selection's width, height, and x,y coordinates.
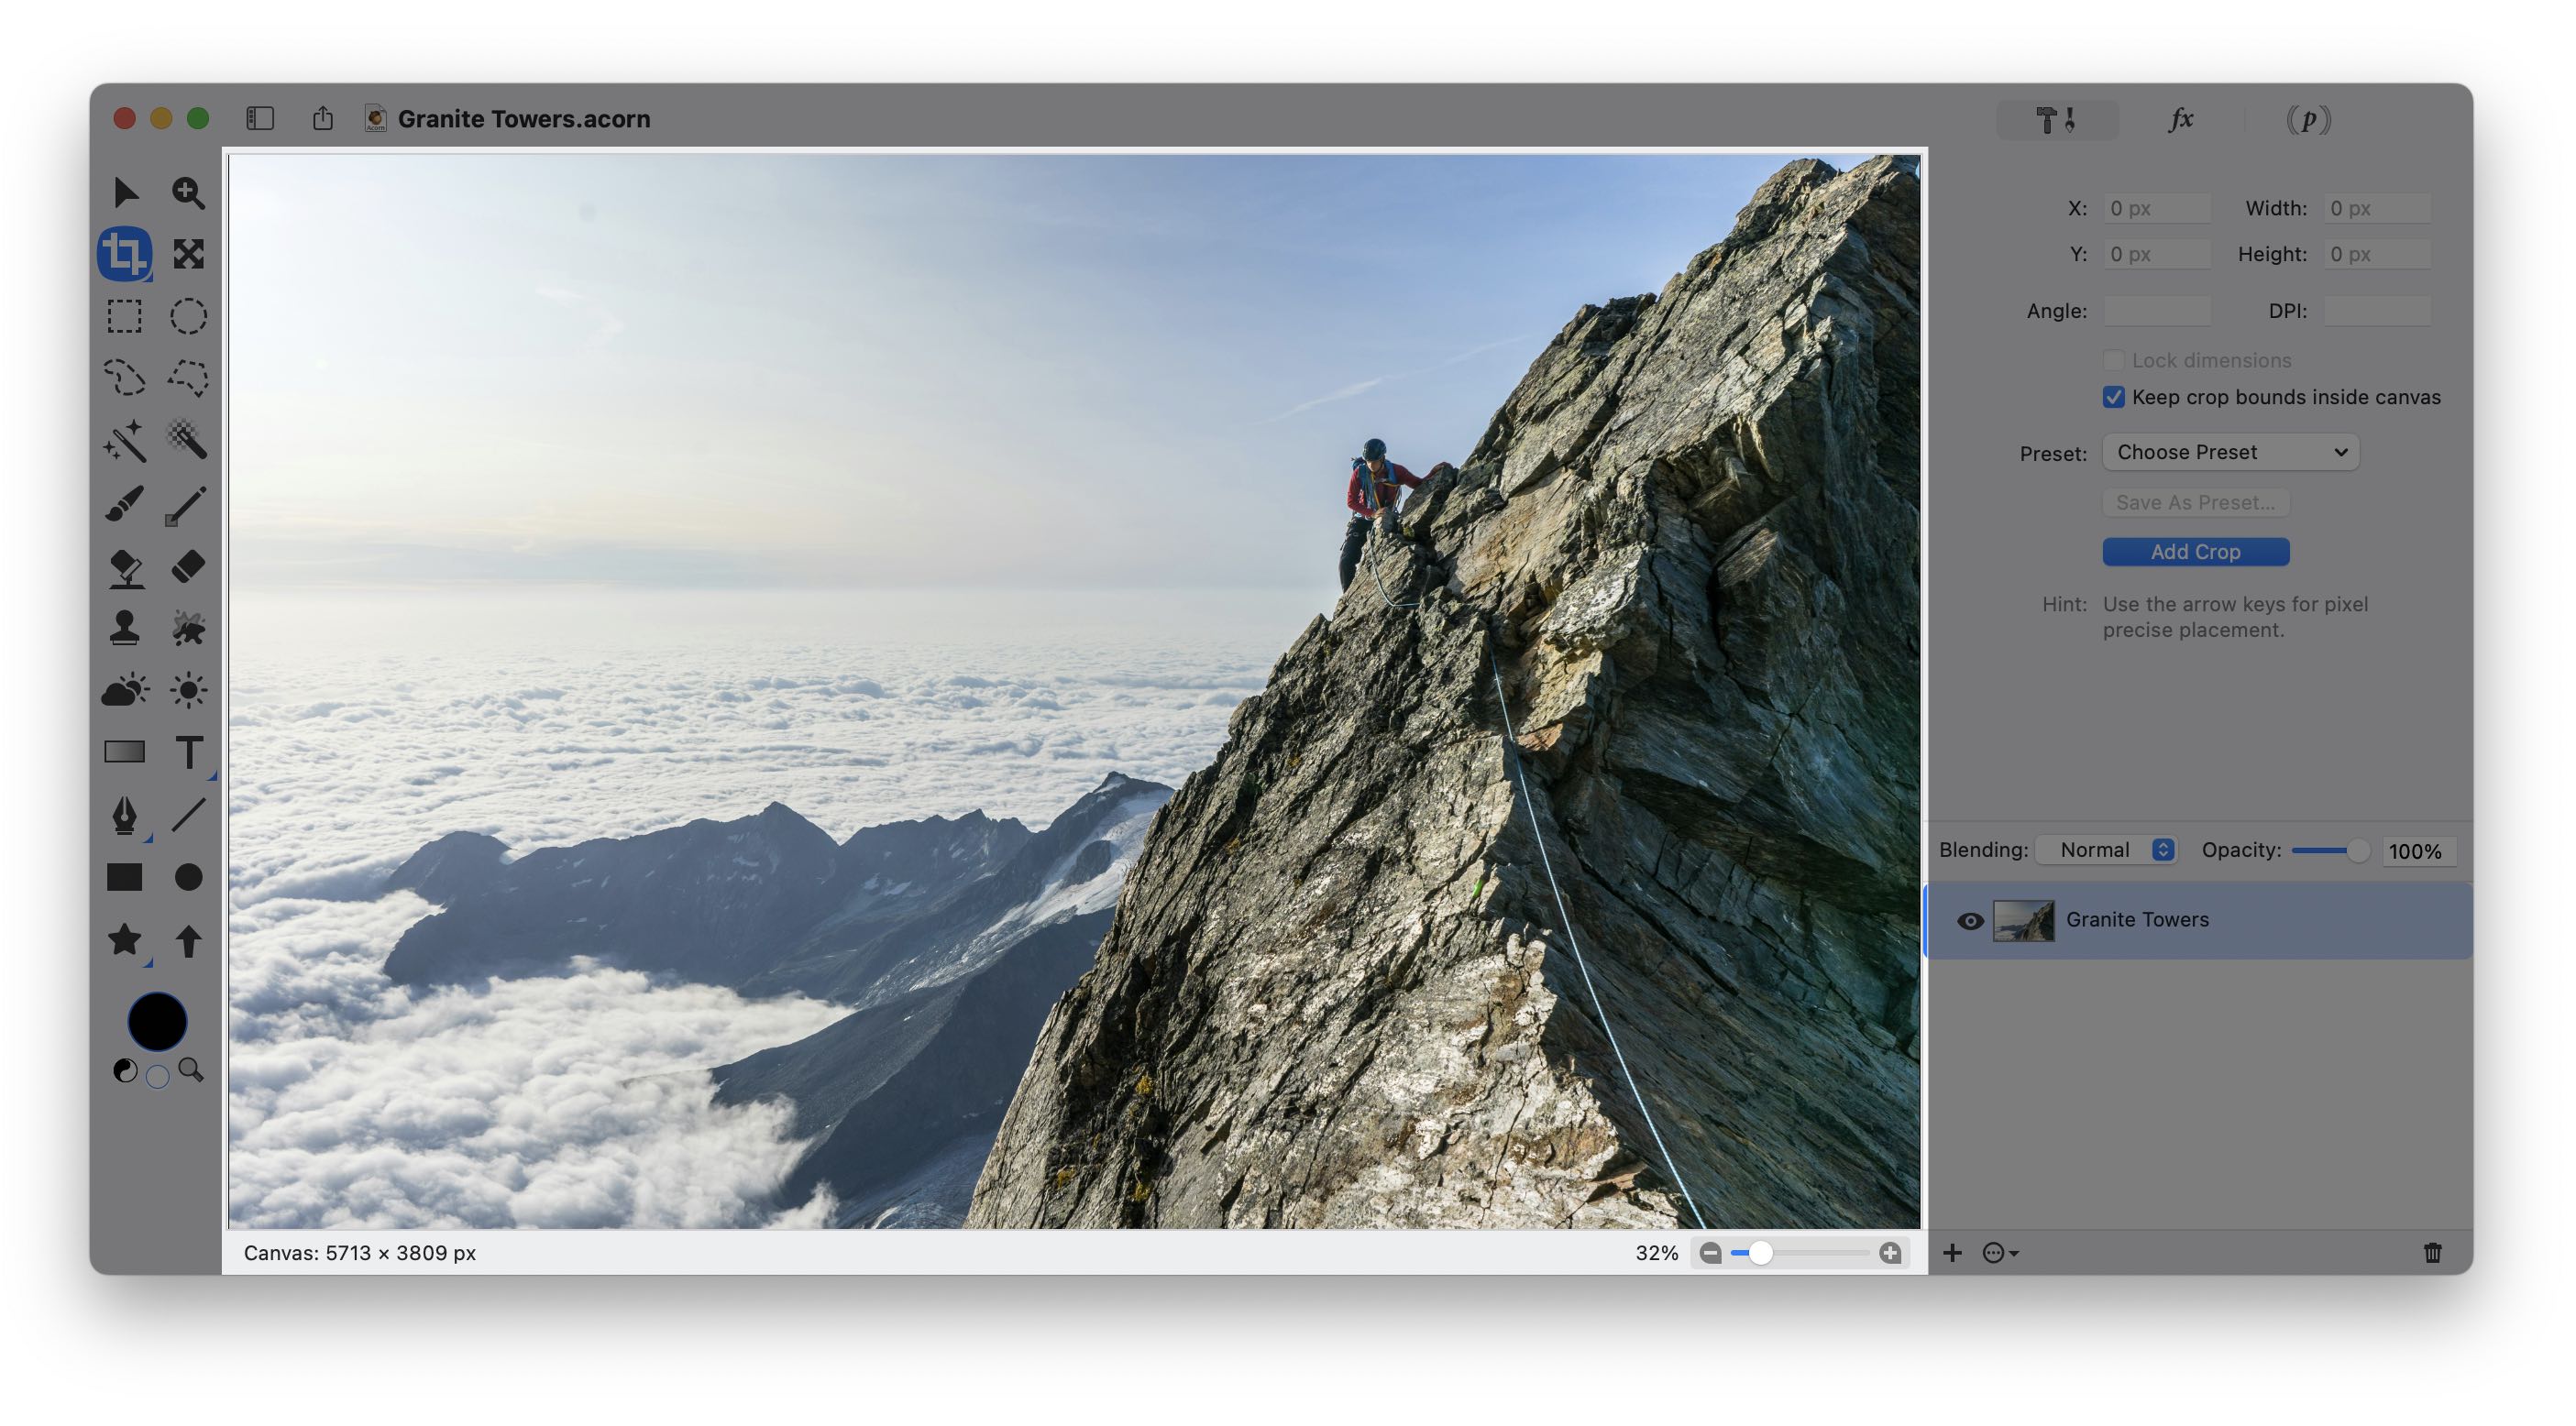
The current zoom (or magnification) level, as well as the option to change the zoom using a slider, can be found on the bottom right-hand side of the status bar. To manually enter a specific zoom value, click on the number percentage, and an editable field will appear. Double-clicking on the zoom slide will zoom the canvas to 100%.
The file name can be found in the window bar, and the close, minimize, full screen buttons are at the top left.
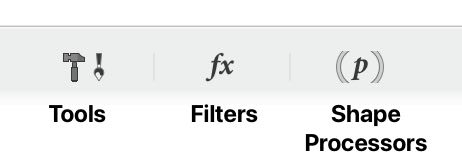
Along the top right of the Inspector are buttons to switch between the Tools Inspector, Filter Inspector, and Shape Processor Inspector.
Going into full screen mode allows you to expand Acorn to the entire screen. Toggle between regular screen and full screen mode quickly by using the keyboard shortcut 'f'. To hide or display the Tools Palette in full screen mode, toggle the tab key. Move the canvas anywhere on the screen using the Pan tool.
Pro Tip
If you hold down the space bar while using the Move tool, it will temporarily become the Pan tool, and you can use this to reposition your canvas.
See Also: Opening Images, Creating New Images, and Intro to Acorn’s Canvas (video tutorial)
Tools Palette & Inspector Palette
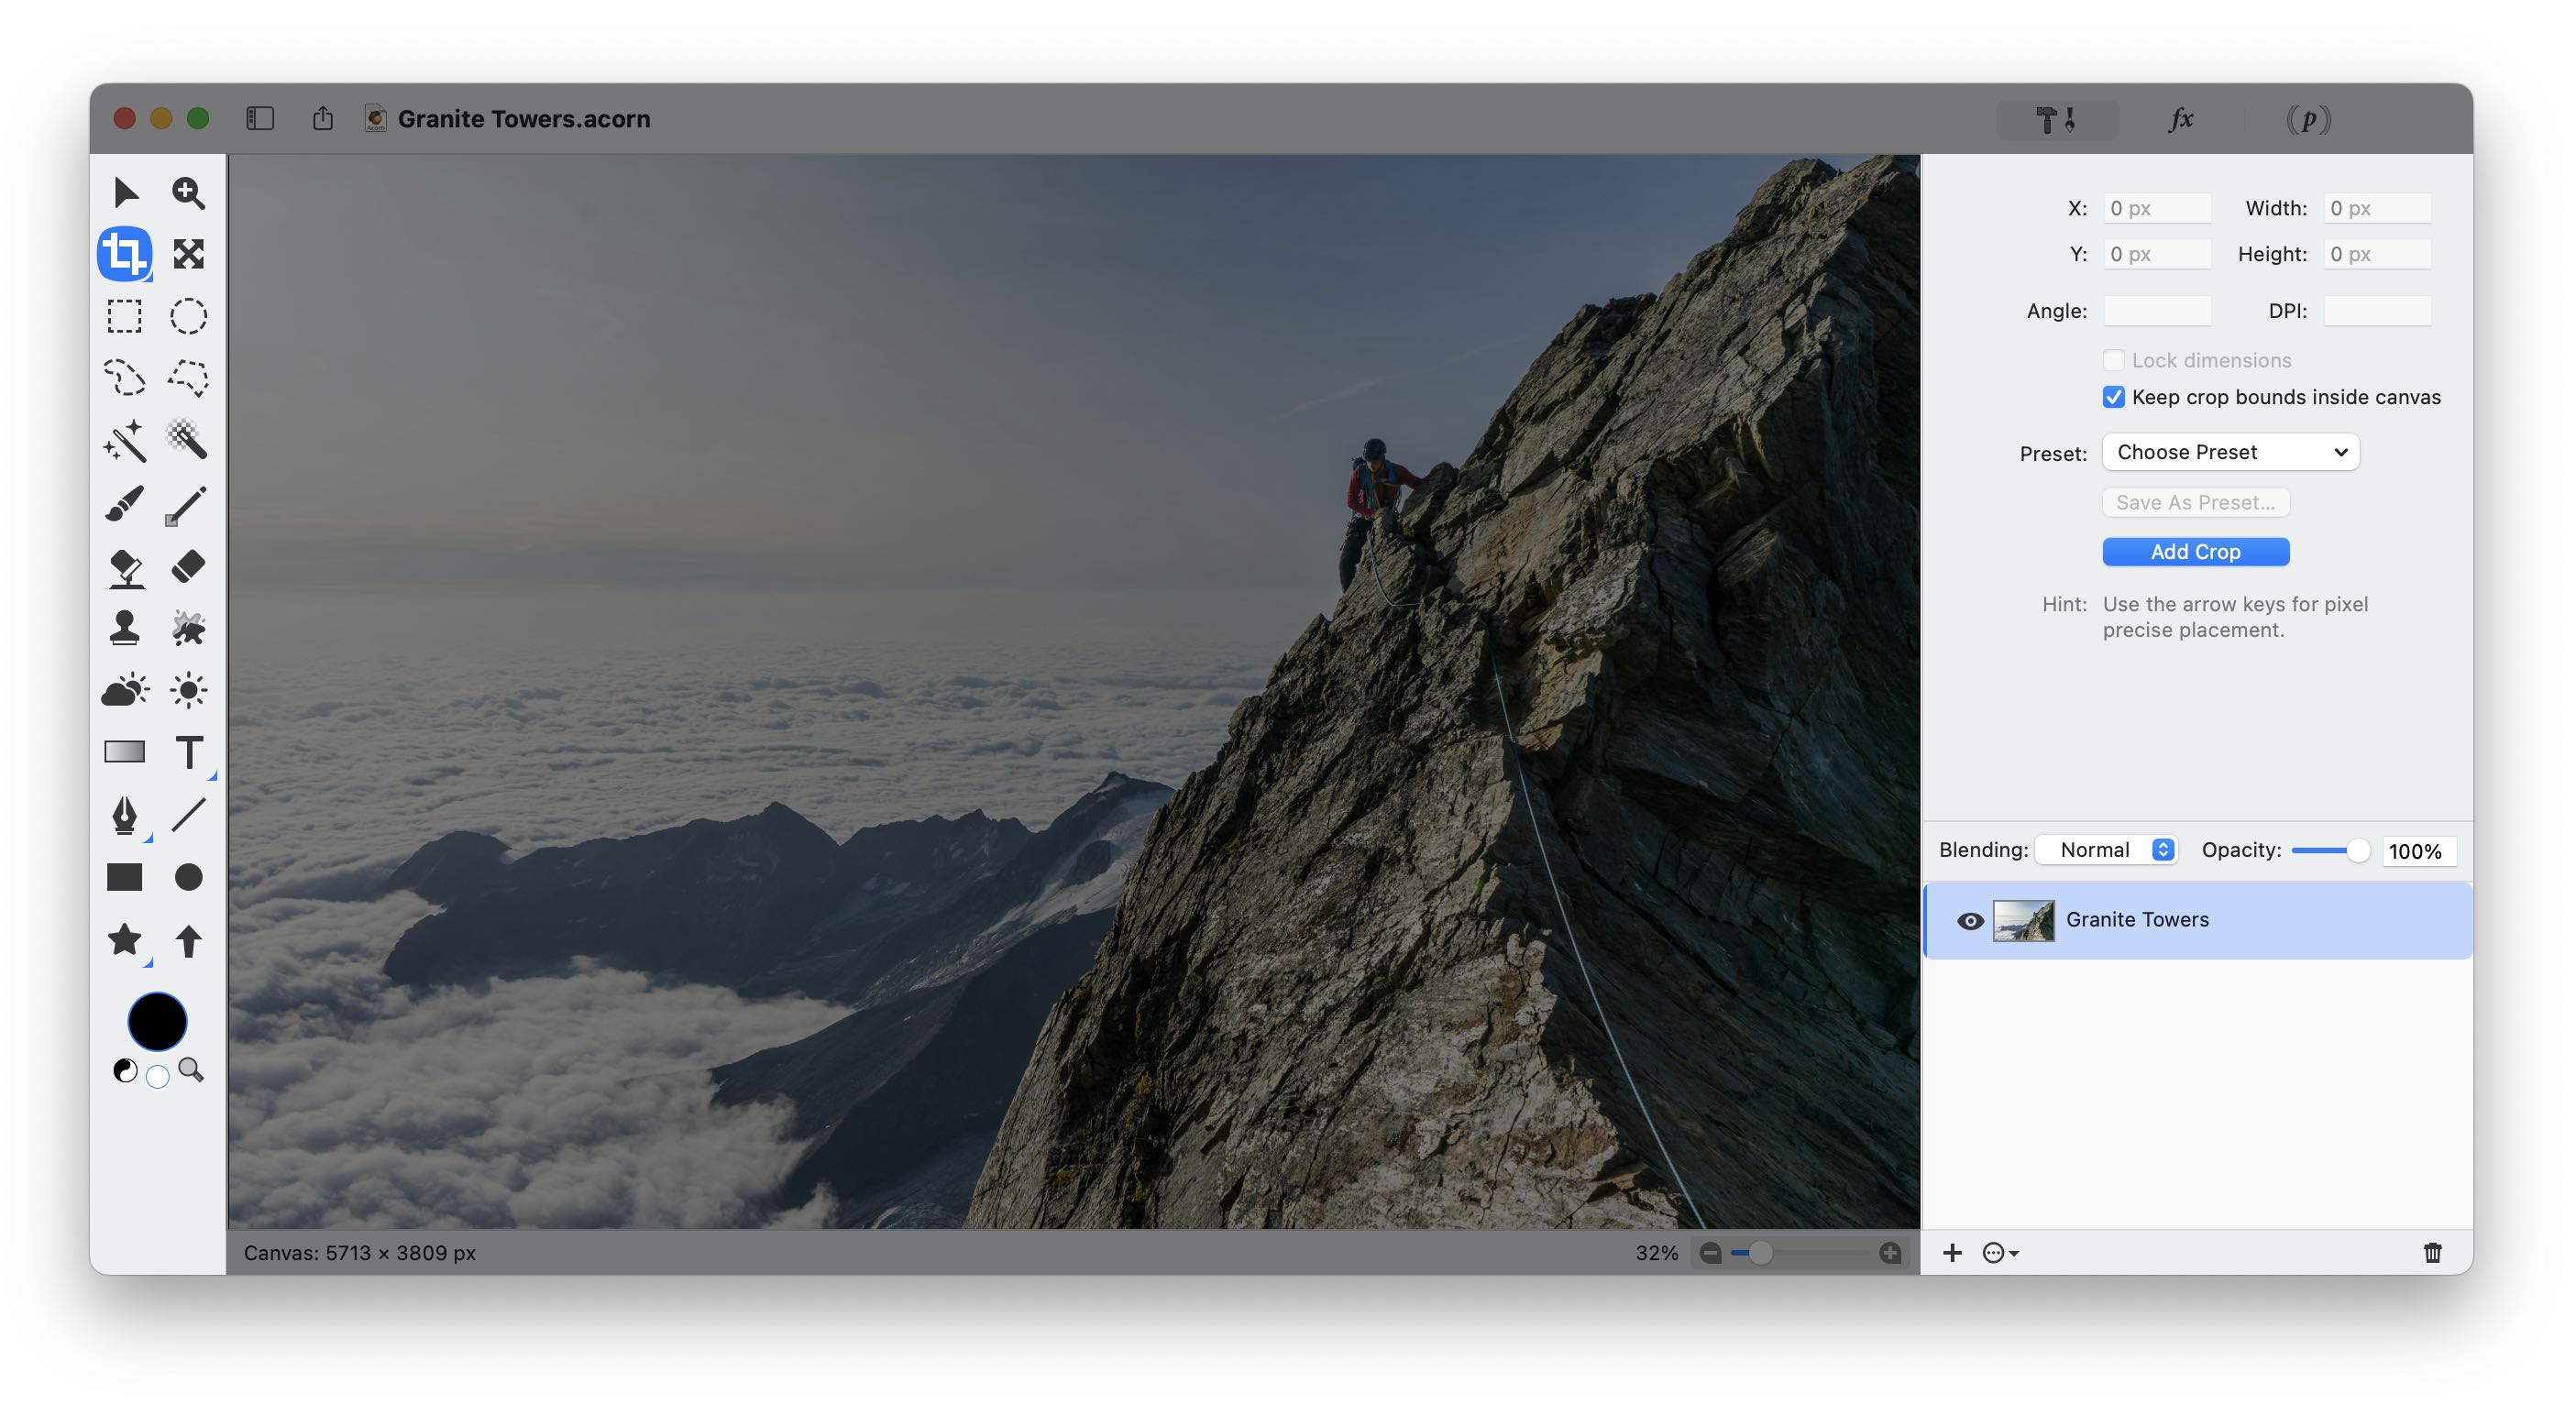
Acorn's various tools are available on the left-hand side of the workspace in the tools palette. When a tool is selected, its options are presented in the tools inspector palette, located on the right-hand side of the workspace. In this case, the crop tool is chosen, and the inspector palette gives the option to modify its size, angle, position, as well as other variables.
Located at the bottom of the inspector palette are 3 buttons. The '+' button adds a new layer to the image. To the right of the '+' button is the layer action menu. The layer action menu is where you can add, delete, duplicate, and perform many other tasks with the currently selected layer. Clicking on the trash can located on the bottom right-hand corner will delete the currently selected layer.
Pro Tip
If you drag a layer from the layers list to the + button, the layer will be duplicated. If you drag a layer to the trash button, the layer will be deleted.
The option to separate the palettes from the canvas can be found under Settings ▸ General ▸ Float inspector palettes in windows.
More in-depth descriptions of these palettes are available here: Tools Palette, Inspector Palette
The Layers List
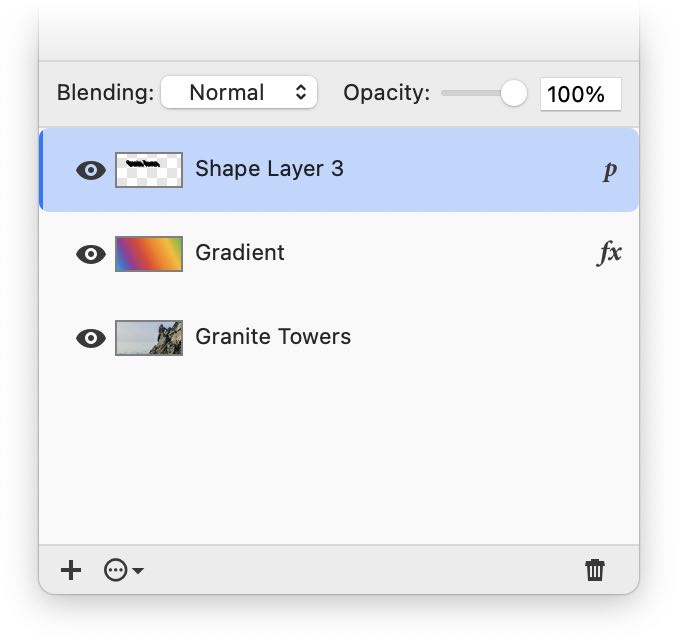
The layers list contains a list of all the image’s layers. Layers are composited together to form a single image which shows up in the canvas. The layers list is located at the bottom of the inspector palette.
Also, notice a drop-down menu for the blending modes, as well as a slider for the opacity of the selected layer. A lot more information on this topic is available at Layers Basics.
The Menu Bar

The menu bar is located across the top of the screen. It allows you to access the various options available within Acorn, such as saving your image, copying and pasting, and viewing guides. When you click and hover over a menu item, a drop-down menu will appear, giving you more choices. For a full list of Acorn’s menu options, visit the Acorn's Menu Options documentation.