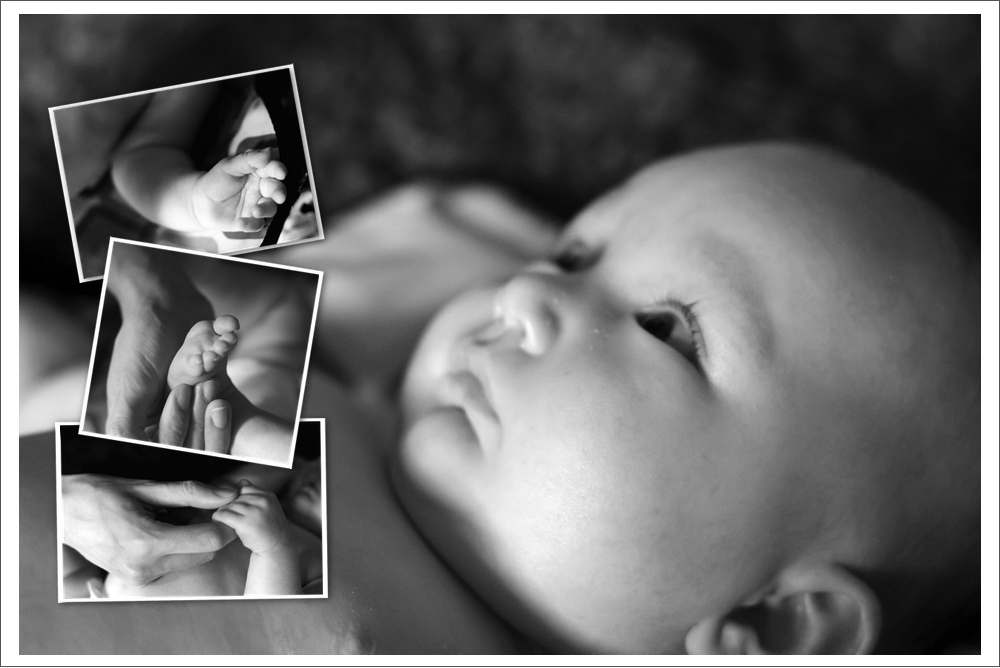
Photo Collage
In this tutorial you'll learn how to add multiple photos to an image to create a collage. To start, open the image you want to be your background in Acorn, File ▸ Open.
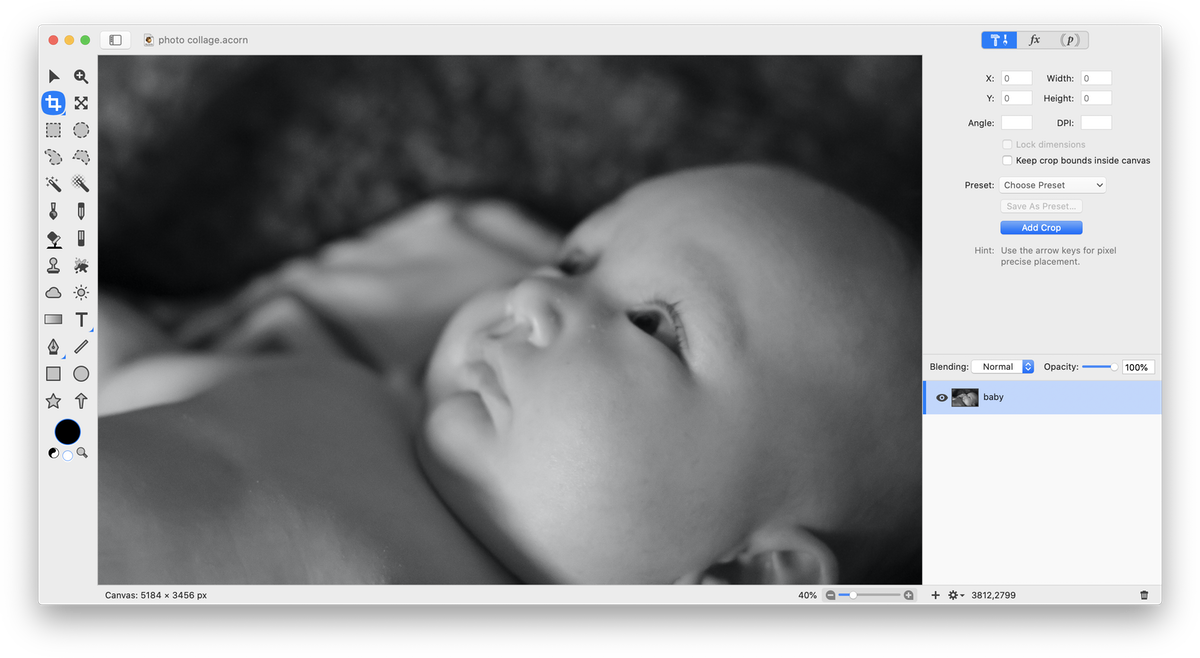 Add one of the images you want included in your collage by dragging and dropping the file onto your background photo, or by using File ▸ Add Images… If necessary, decrease the size of the photo you added by choosing Layer ▸ Rotate and Transform ▸ Scale and Rotate (⇧⌘T). Drag a corner of the boundary line that appears in or out to modify the size of the image, or use the inspector palette to modify the scale of the image by percentage. You can see that the image below was scaled to 30%.
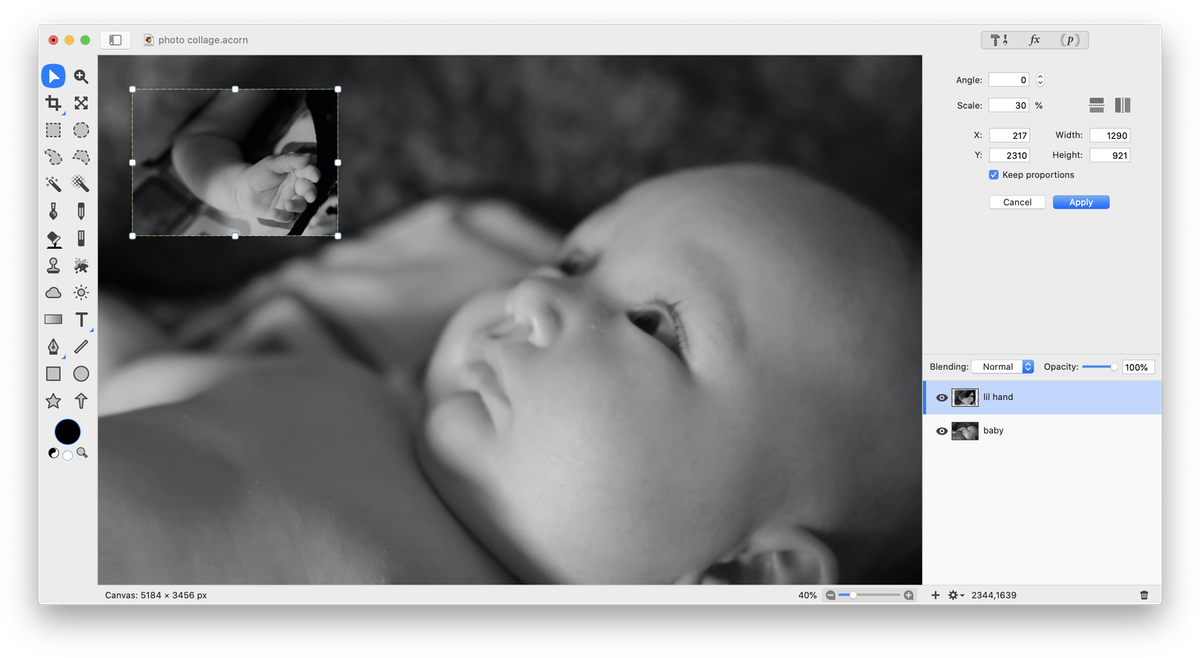 If desired, rotate the photo by clicking and dragging beyond the boundary lines. Place the photo where you want it and double click to commit your transformation.
Go to Select ▸ Make Selection from Layer. Then choose Layer ▸ New Layer with Selection. Now select Edit ▸ Fill. Make sure to choose 'Use: Custom’. Click on the color box and the colors palette will appear. Choose the color you want the border around your photo to be. Click 'OK' when you are done.
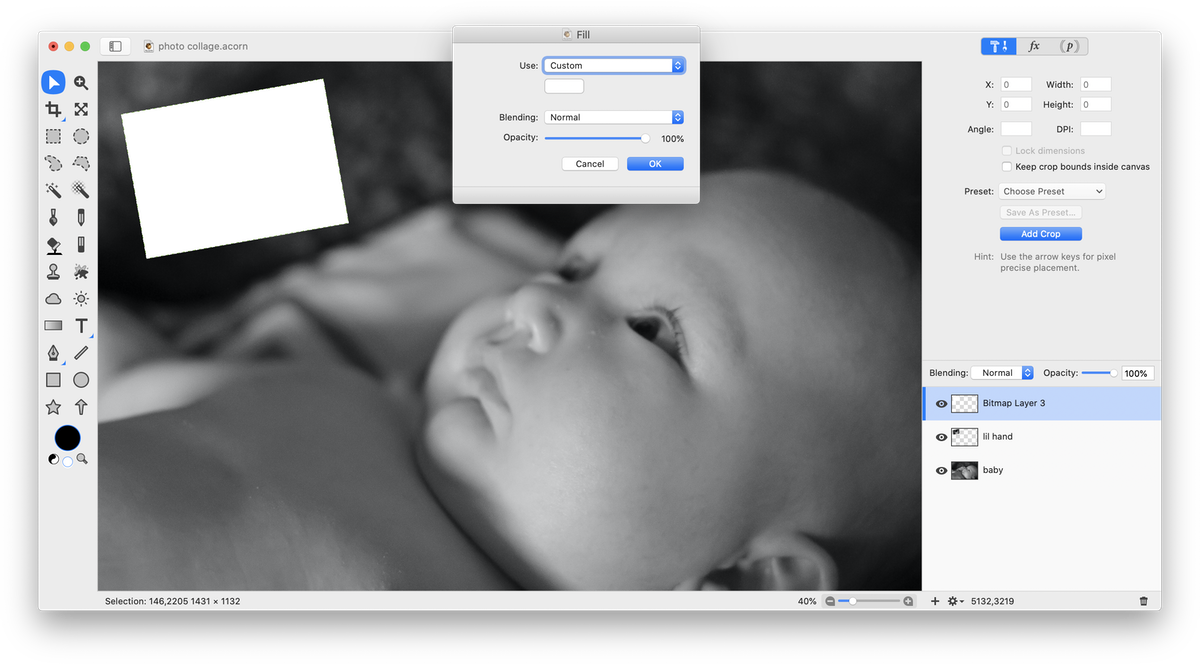 Deselect by using keyboard shortcut ⌘D. Move the layer you just created down below the photo you added, but above your background layer. Choose Layer ▸ Rotate and Transform ▸ Scale and Rotate (⇧⌘T). Increase the scale of the layer until it gives your photo the border thickness you desire. 104% is the scale used in this example. Double click to commit the transformation.
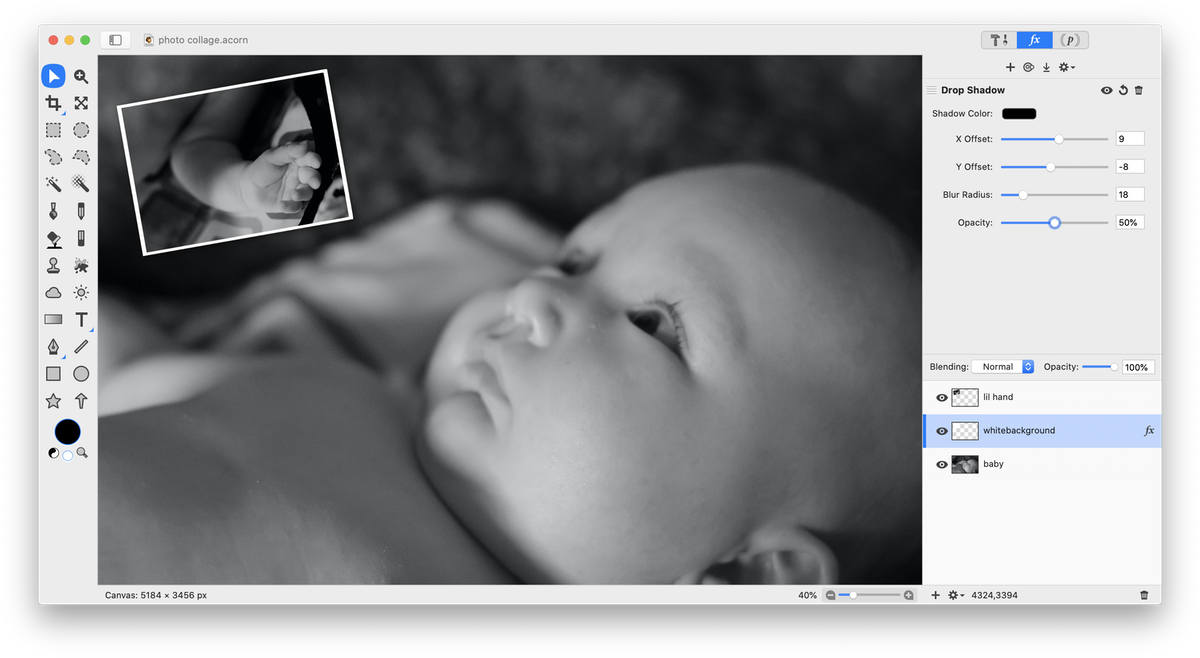
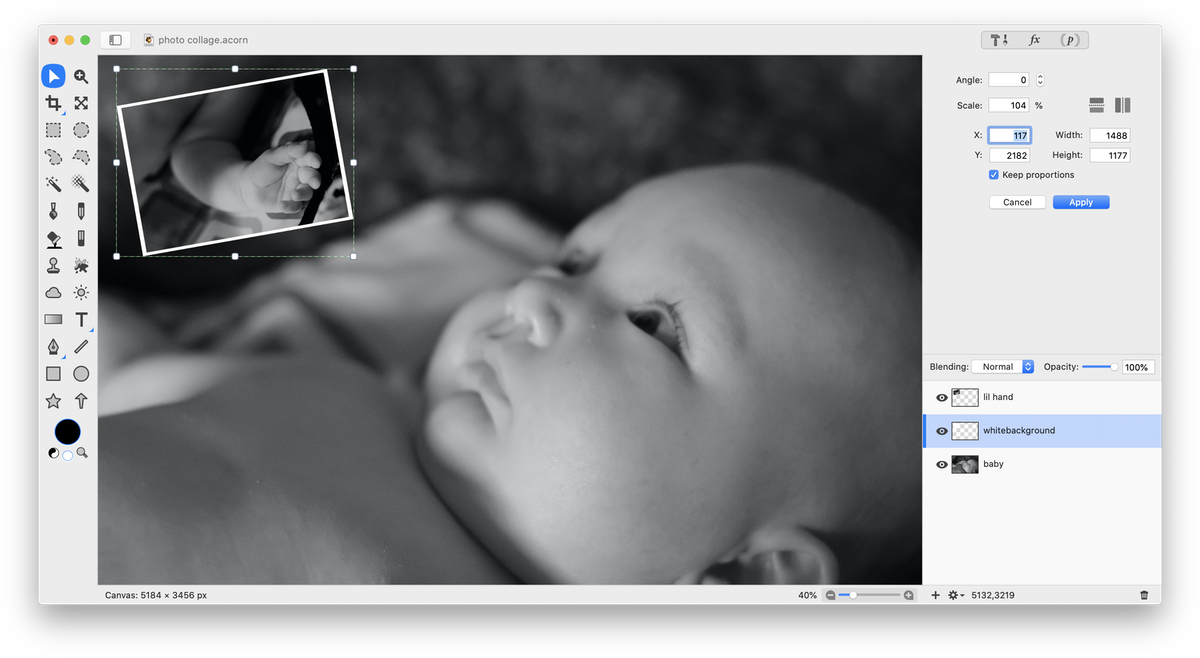 Add a drop shadow to the white background layer to make the photo stand out. Go to Filter ▸ Stylize ▸ Drop Shadow.
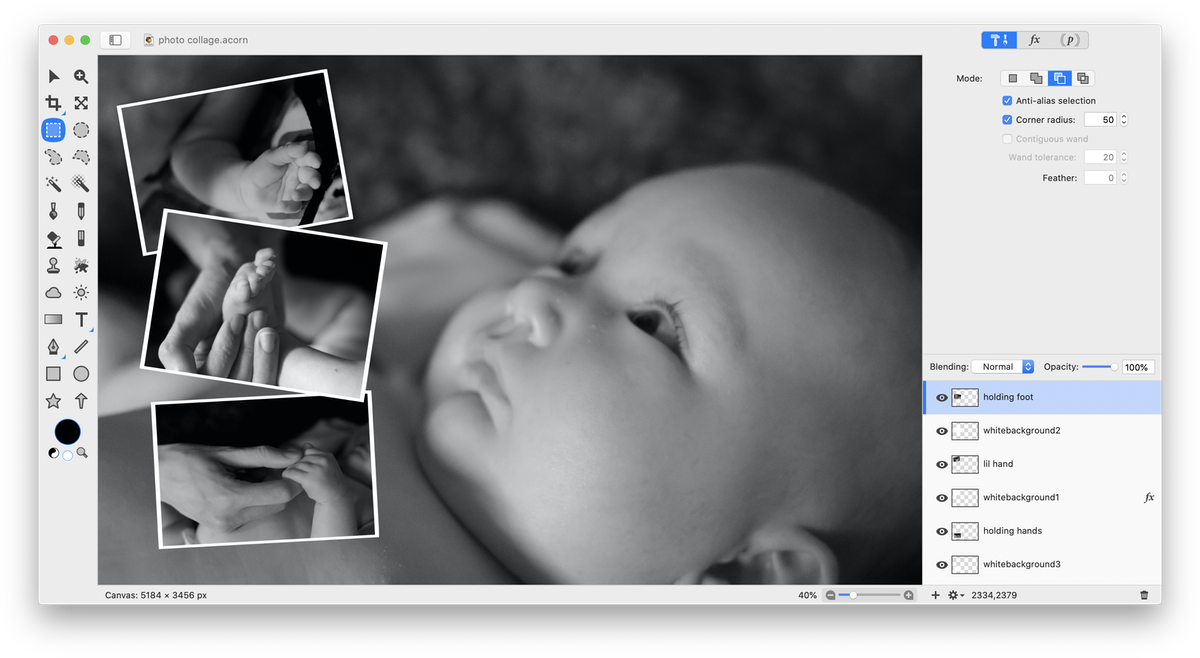
 Repeat the above steps for any additional images you want added to your collage.
 If you want to make your background image have a border, start by clicking on the background layer. Follow the same steps outlined above for creating a border. Once you have created the border, you can choose Image ▸ Expand Canvas to Fit Layers in order to have the canvas perfectly fit around your creation.
