Divide an Image

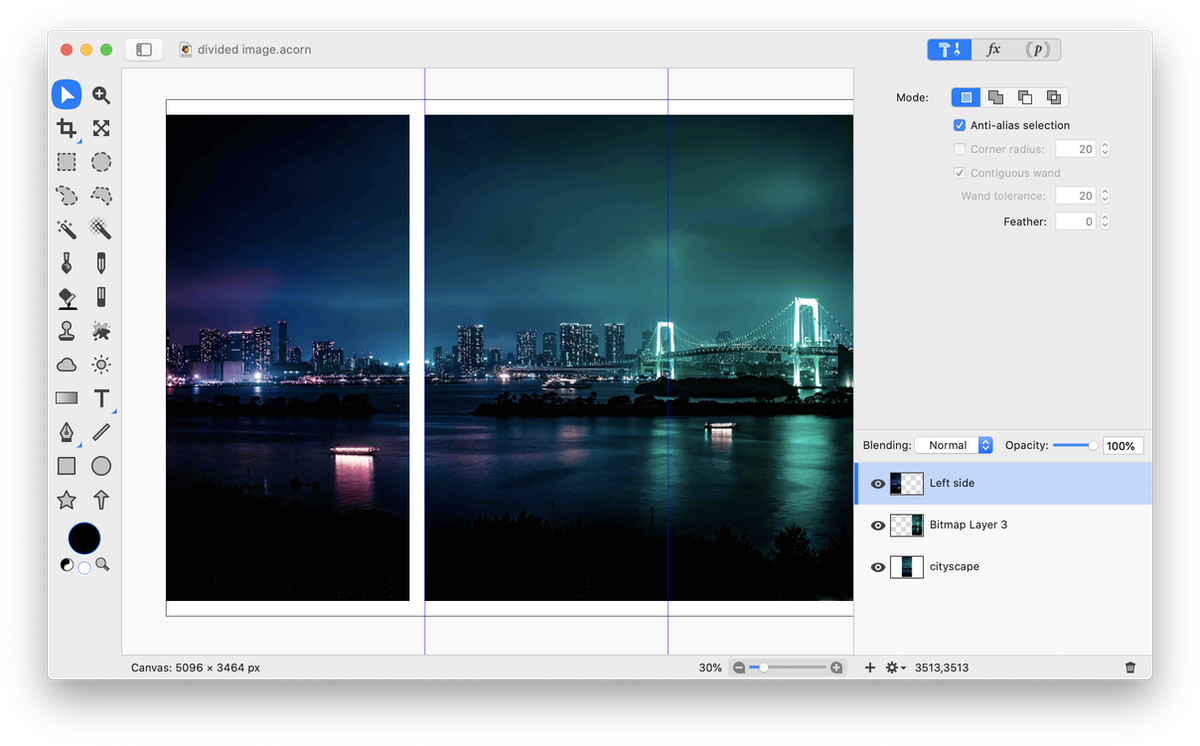
This tutorial will show you how to use Acorn to split an image into parts, creating the appearance of multiple images. Open your image in Acorn, File ▸ Open. Go to View ▸ Guides and Grid and make sure Snap to Guides is checked. Decide whether you want to divide your image by its width or height. This example will divide the width of the image into 3 parts.
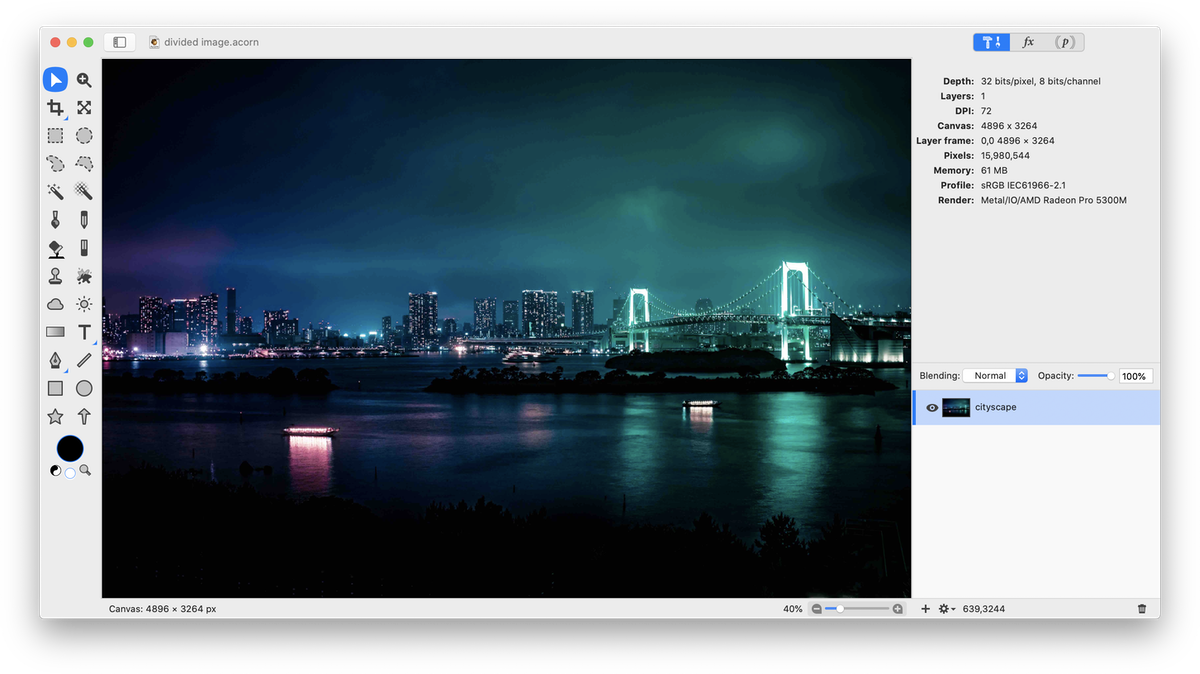
Place another guide on the image by going to View ▸ Guides and Grid ▸ New Guide. Click on the ‘vertical’ button if you are dividing your image up by width. Enter the width of your image in the location field, divide it by 3 (/3) then multiply it by 2 (*2).
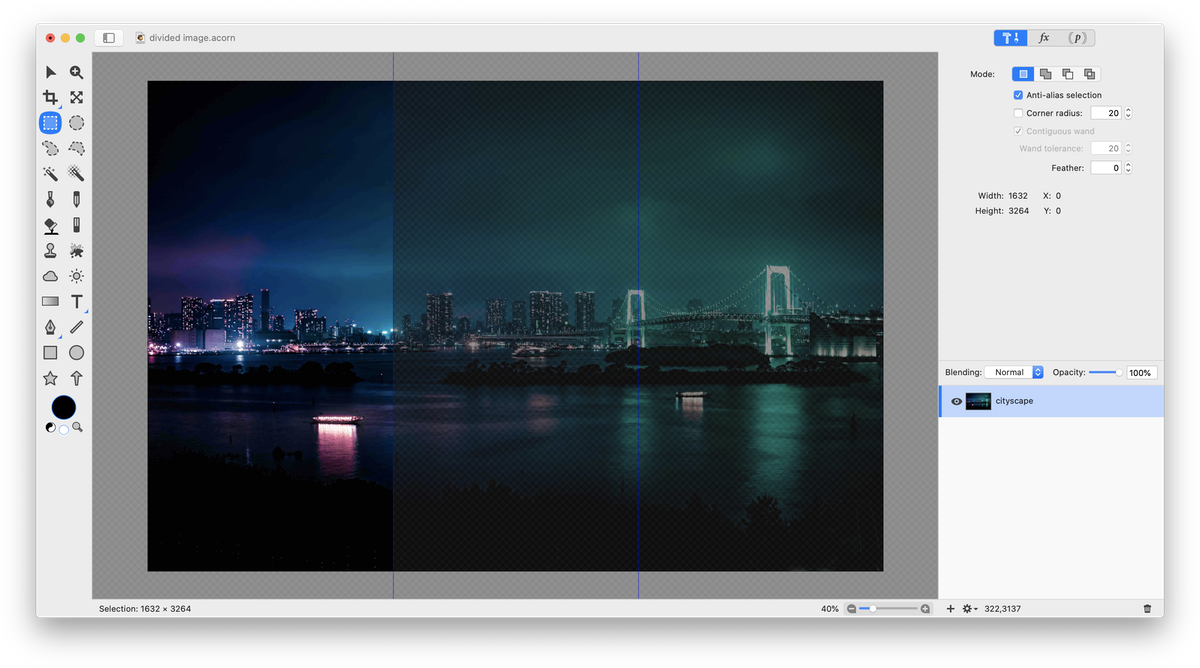
Now click on the rectangular selection tool. Draw out a selection starting from off the canvas at the top left-hand corner of the image and drag the selection down so it encompasses the entire area of the image that is to the left of the first guide. The selection is viewed as ‘clipped out’ here to highlight its placement.
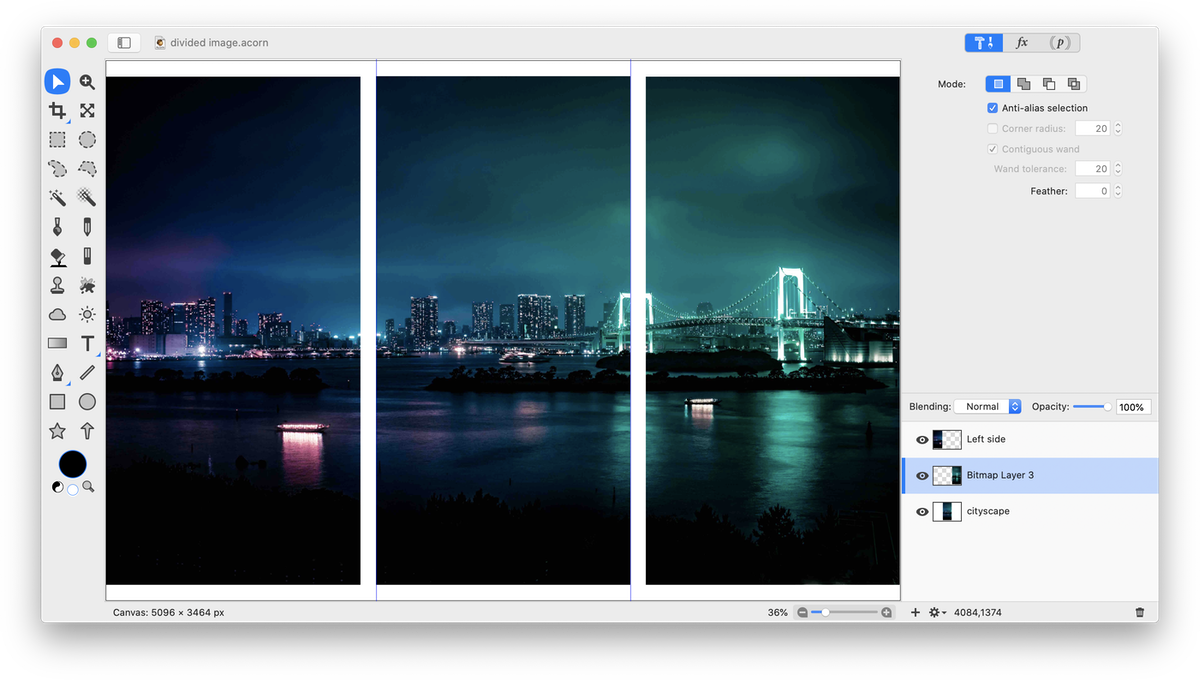
Perform the same operation on the far right-hand side of the image, selecting the area of the image using the rectangular selection tool that is to the right of the right most guide. Cut, paste, and deselect.
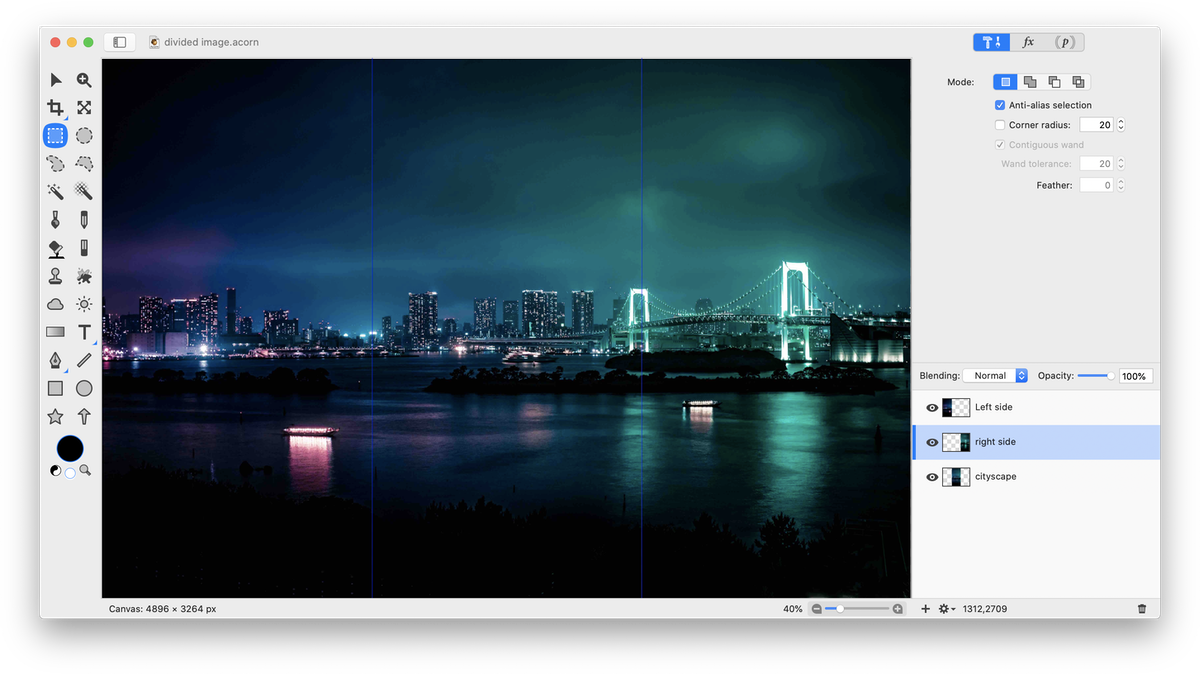
Using the move tool, move the left most layer so it snaps to the center of the canvas and the leftmost boundary of the canvas.
