Light Designs
This tutorial will show you how to create neat light designs from scratch in Acorn. Create a new image, File ▸ New. The dimensions used here are 1200 x 1200 pixels with a black background.
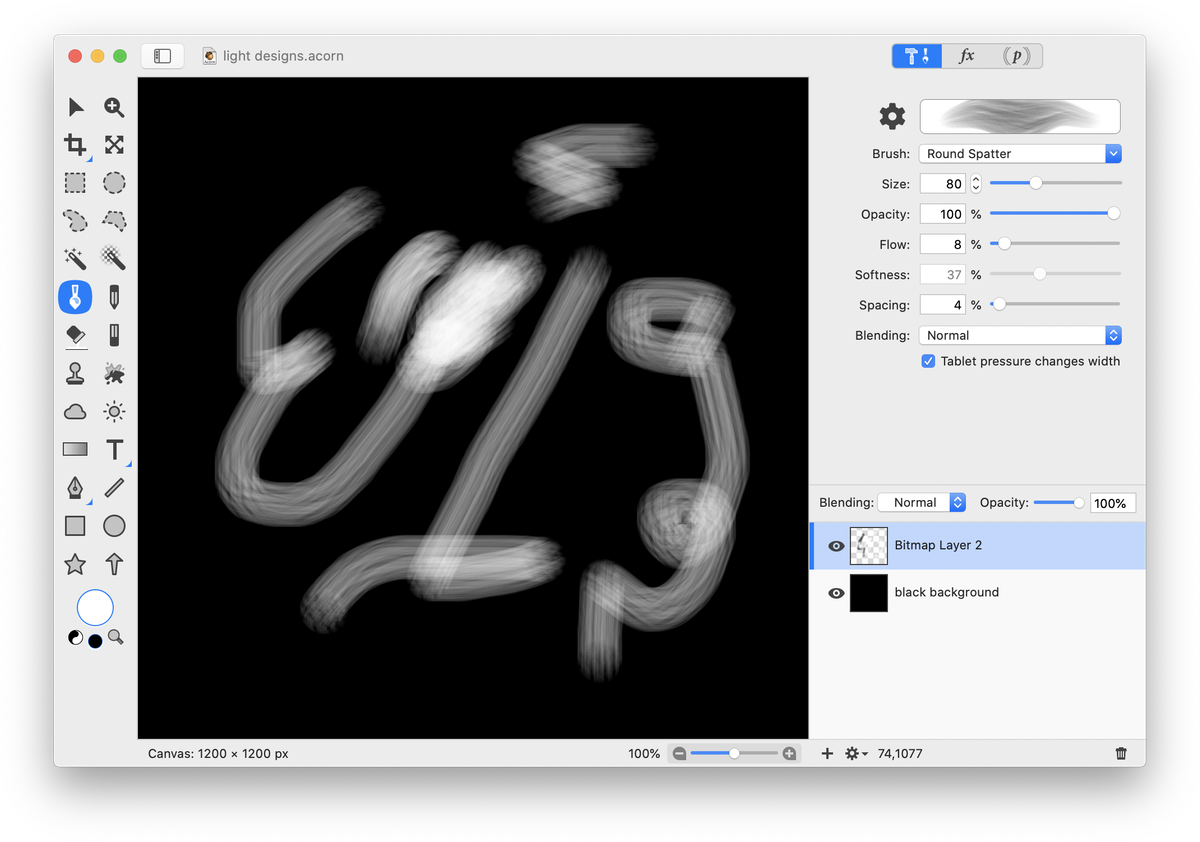
Create a new layer, Layer ▸ New Layer. Click on the paint tool in the tools palette and choose a big splattery brush or the felt pen. Click on the color well in the tools palette and choose white or a light gray color. Scribble some random lines.
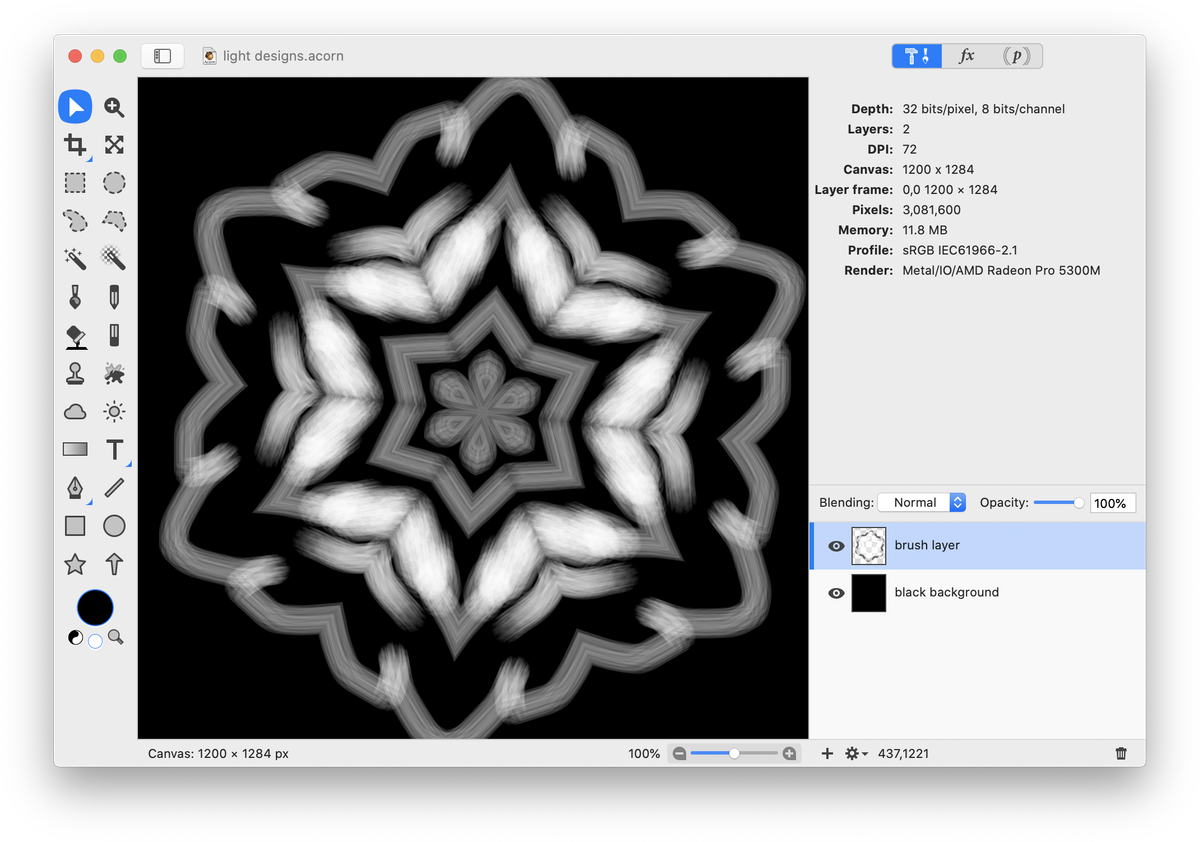
 Now, go to Filter ▸ Tile Effect ▸ Kaleidoscope. Adjust the count and the angle until it becomes a design you like. Click the ‘Flatten' button in the inspector palette (looks like a downward arrow) when you are happy with the design.
 Create a new layer on top of your design, Layer ▸ New Layer. This will be the color layer. Read below for two ways to color your design.
Color Your Design Using a Gradient
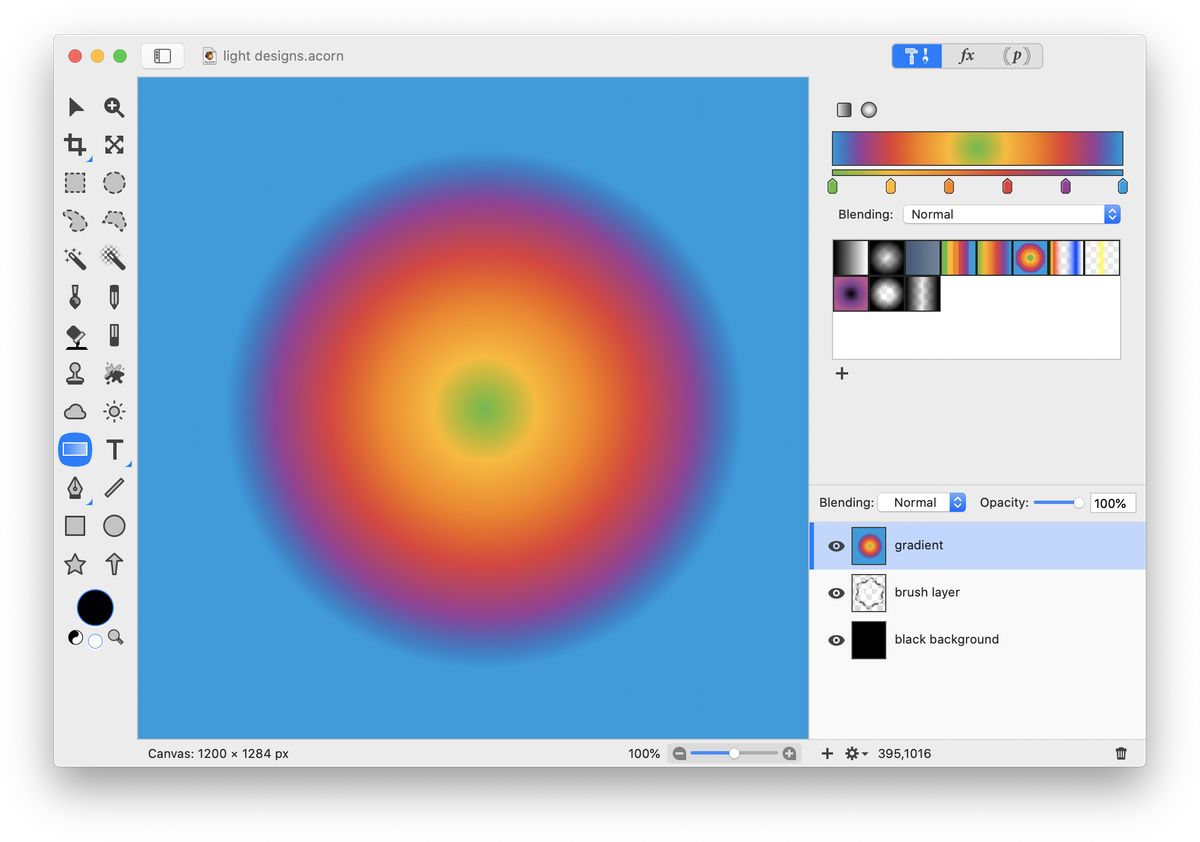
Select the gradient tool in the tools palette. Change it to a radial gradient in the inspector palette. Choose your gradient colors and drag the gradient from the center of the design outwards. For more information on how to do this, read 'gradient tool'.
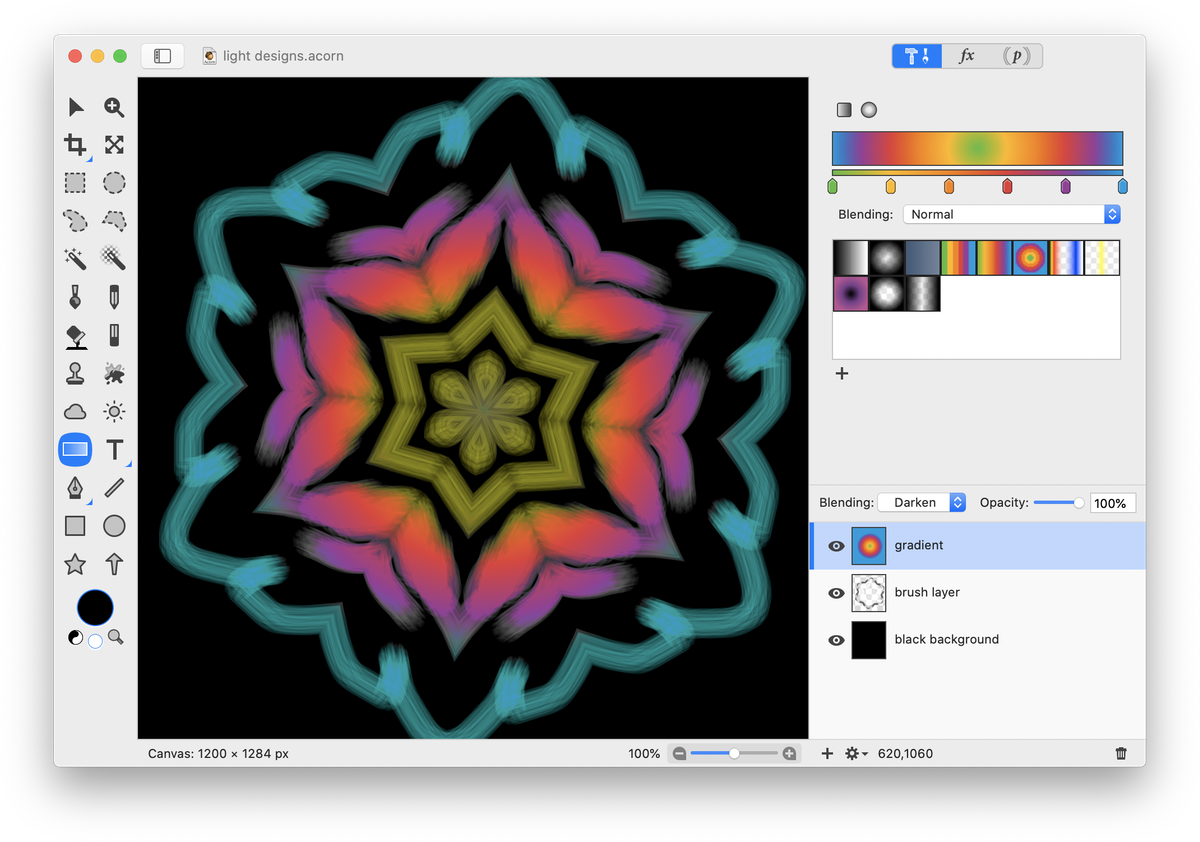
 Play around with this layer's blending mode. The image below shows ‘Darken’. You can change your colors around as much as you want by reapplying different gradient color combinations.

Color Your Design Using Brushes
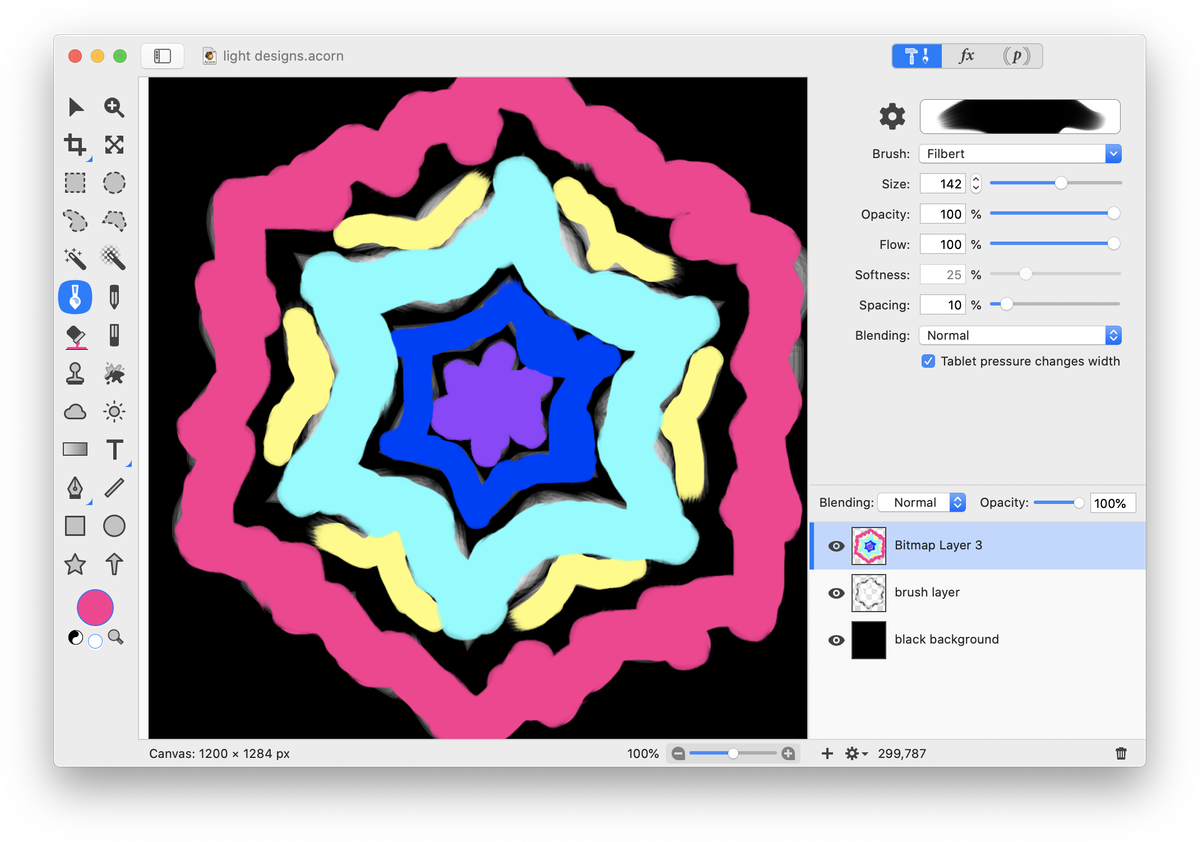
Select the paint tool from the tools palette. Take any brush you like, and paint over the design.
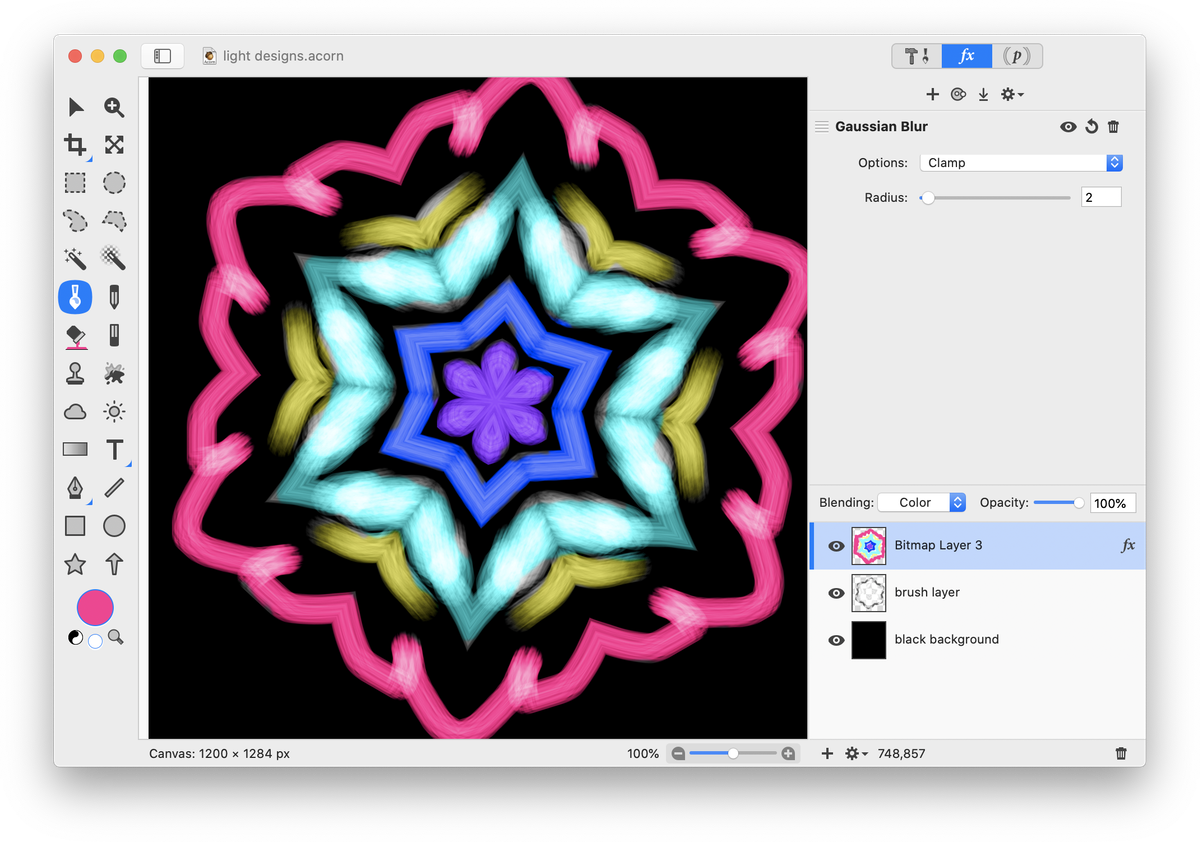
 This isn't necessary, but applying a Gaussian Blur smooths out the colors. Go to Filter ▸ Blur ▸ Gaussian Blur and adjust the blur slider. Then, set the blending mode of the layer to Color, or experiment with other blending modes.
 If you want the design to be brighter, duplicate the layer that your original design is on and place it on the top of all layers.
Change the blending mode of this layer to overlay, lighten, or screen.
