Lifted Image Edges
This tutorial will show you how to create the effect of lifted image edges using two different techniques.
Lifted Image Edges Using Layers
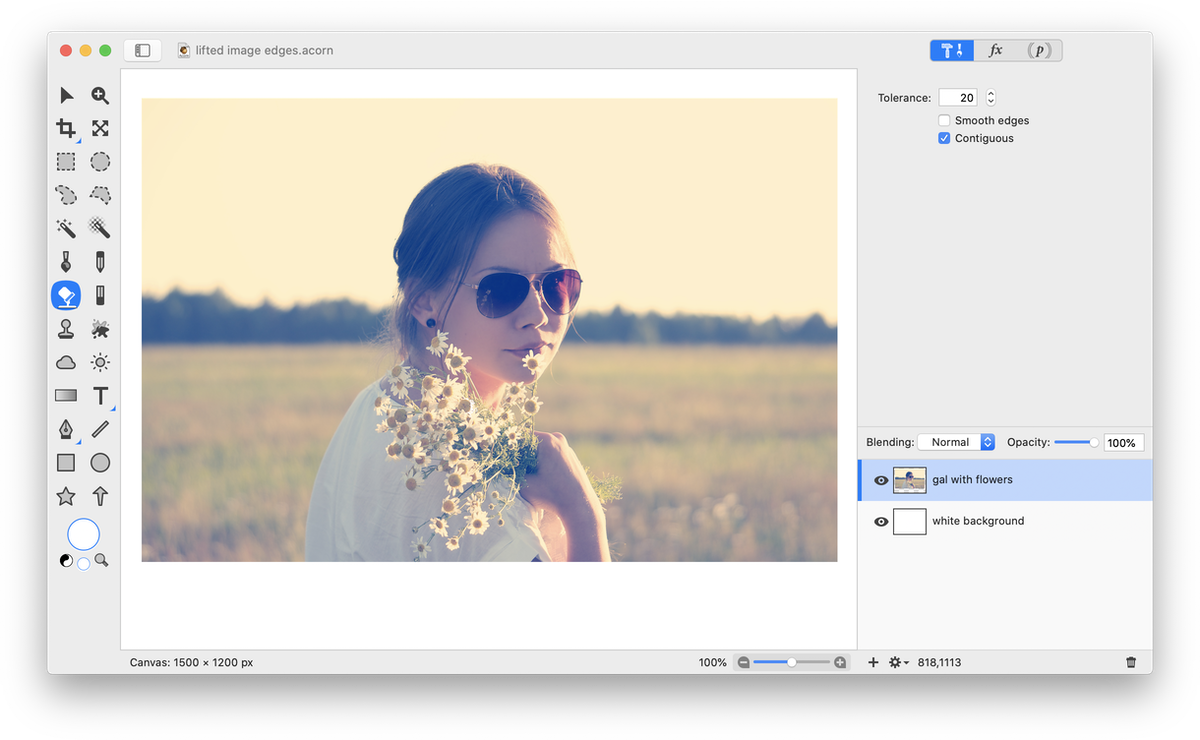
Create a new image in Acorn, File ▸ New. The image used here has canvas dimensions of 1500 x 1200 pixels with a white background. Using File ▸ Add Images, choose the image you want to use with this effect. You may need to use Layer ▸ Rotate and Transform ▸ Scale and Rotate to decrease the size of your layer.
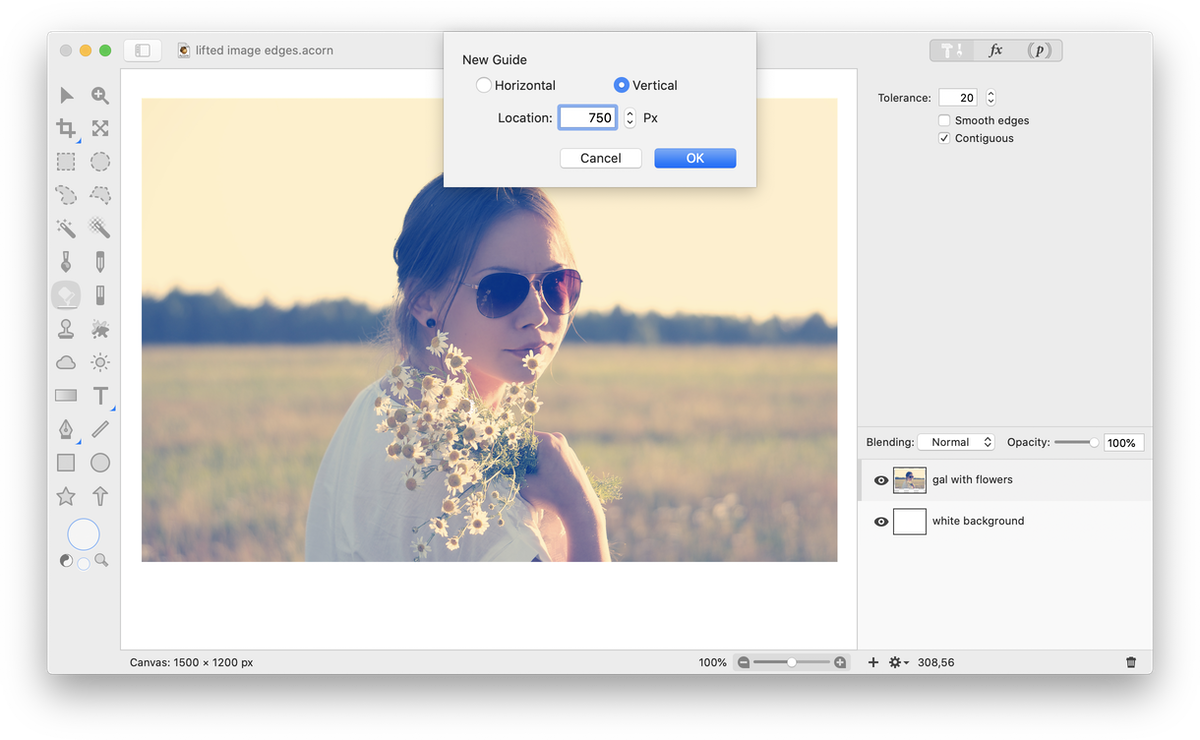
 Add a guide to the center of your image. Select View ▸ Guides ▸ New Guide. Create a vertical guide placed at the center of the image. In this case, the center is at 750 pixels.
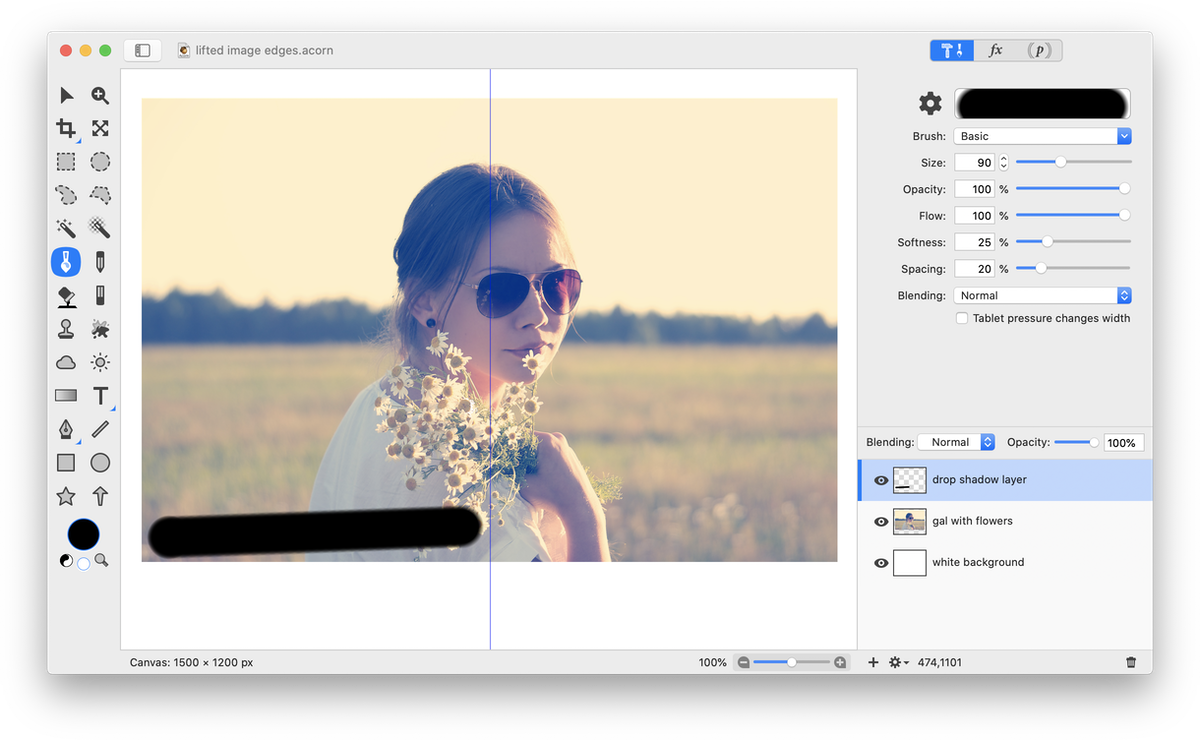
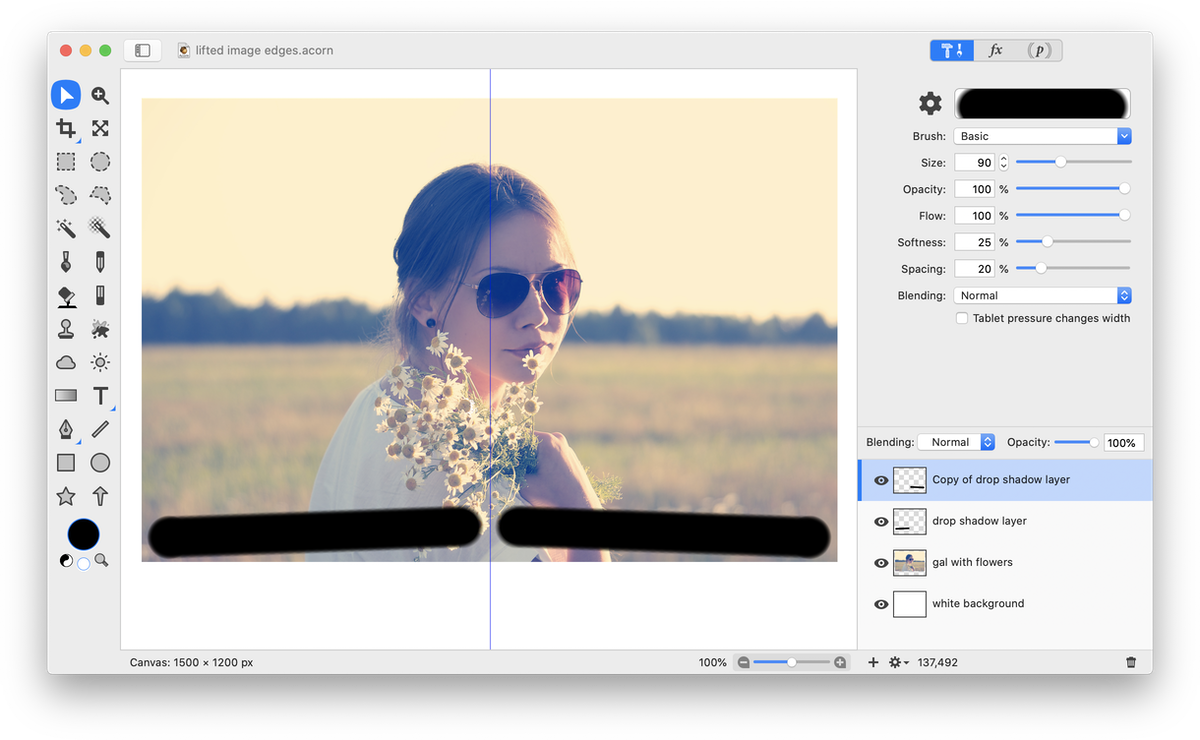
 Add a new layer to your image, Layer ▸ New Layer. Select the paint tool and set the size fairly large. Click on the color well in the tools palette and choose a black or dark gray color. See the other brush settings used here in the image below. Click once in the center of the image just a little bit above the bottom of the layer. Holding down the shift key, click once at the bottom left corner of the image to draw a straight line.
 Duplicate the new layer you just created, Layer ▸ Duplicate layer. Select Layer ▸ Rotate and Transform ▸ Flip Layer Horizontal. Using the move tool, move the duplicated layer so that it mirrors the original brush stroke.
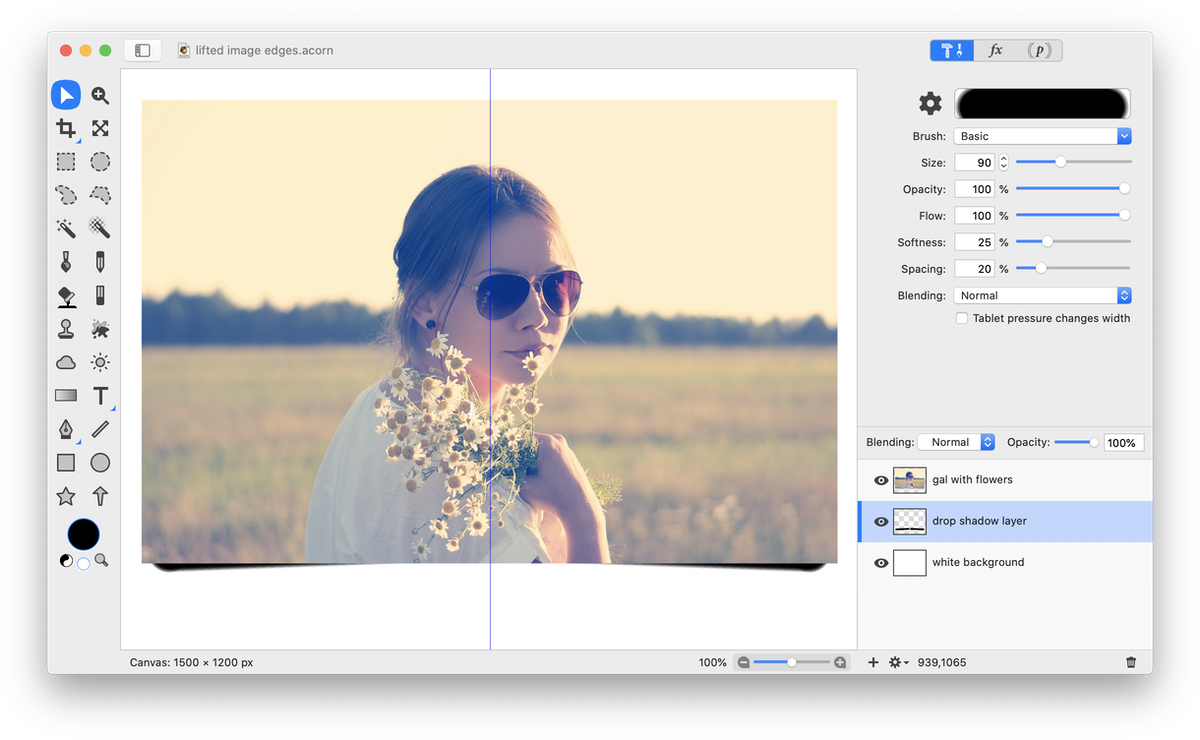
 Merge the copied layer down, Layer ▸ Merge Down. Move the drawn layer below the image layer in the layers list. Hit the downward arrow key until the drawn layer begins to show up below the image.
 Hide the guide by choosing View ▸ Guides ▸ Hide Guides. While still selected on the brush strokes layer, choose Filter ▸ Blur ▸ Gaussian Blur. A radius of around 10 is used here. Decrease the opacity of this layer to your liking in the layers list. The opacity used here is 75%.

Lifted Image Edges Using a Filter
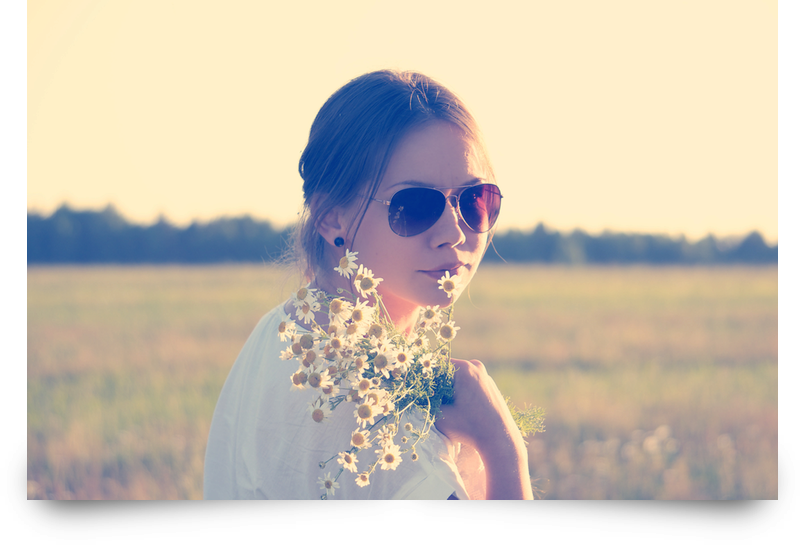
Open your image in Acorn. Choose Filter ▸ New Image with Curved Drop Shadow. This filter will create a new Acorn file and add a thin white board and a slight lifted corner effect.
