Acorn’s clone tool can also function as a stamp tool. Stamping works across layers, different images, and you can even use group or shape layers as a stamping source. Stamping is different than cloning, because the source pixels remain the same with each “stamp”. This tutorial will outline how to use the stamp tool across different images.
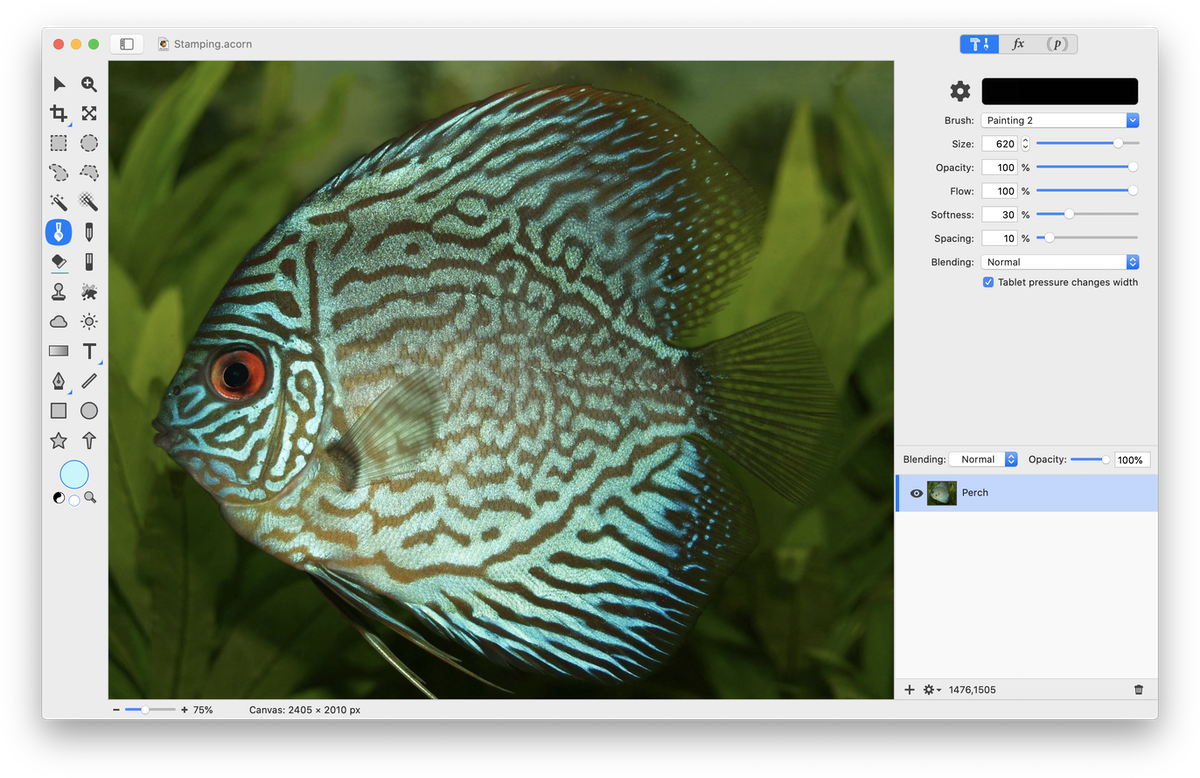
To start, open the image you want to be your stamp source in Acorn.
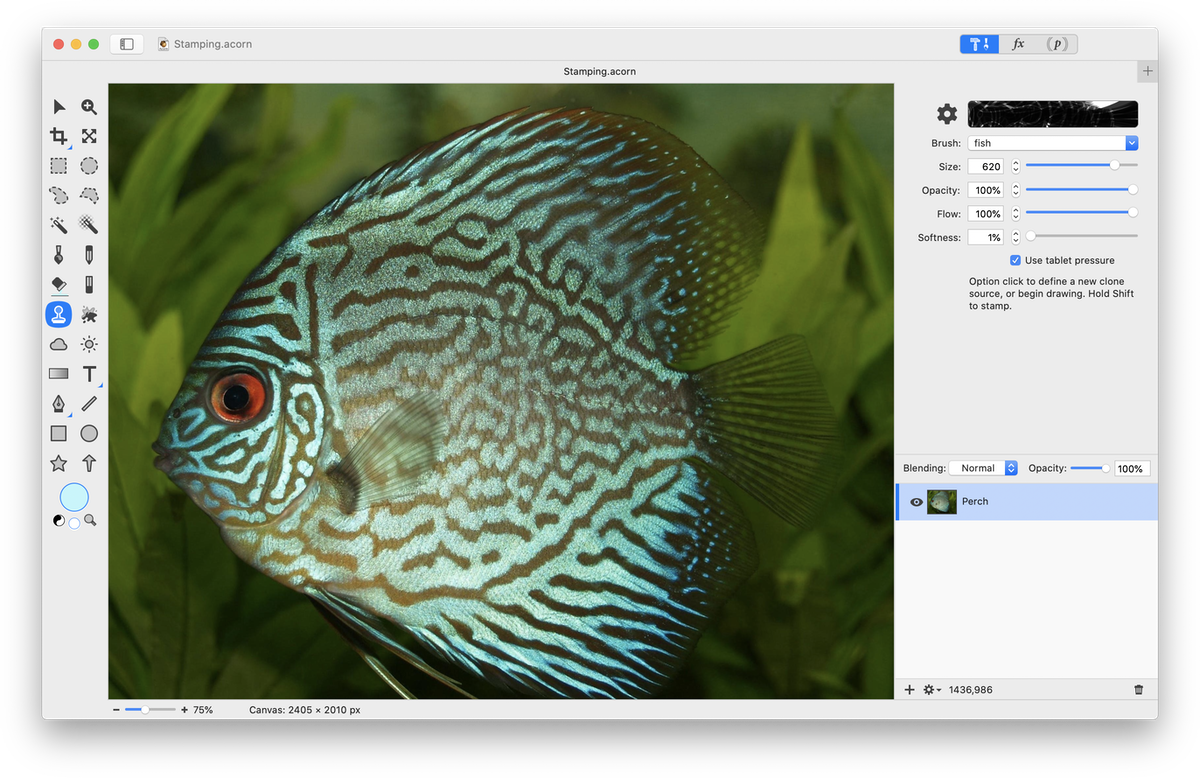
 Then, decide which brush you want to use when stamping. The fish brush that will be used in this example was created following the steps outlined in the ‘Custom Brushes’ tutorial. Click here to download the fish source image. You can also import a Photoshop brush, or use one of Acorn’s stock brushes. To import a photoshop brush (.abr file), just drag and drop the brush file onto the Acorn icon in the dock when Acorn is open. The brush will then be located under ‘Imported’ in the brush preview window.
Select the clone tool from the tools palette. Pick your brush, and adjust the brush size, softness, and other variables to your liking. The settings used here can be seen below.
Hold down the option key and click on your canvas to set your stamp source.
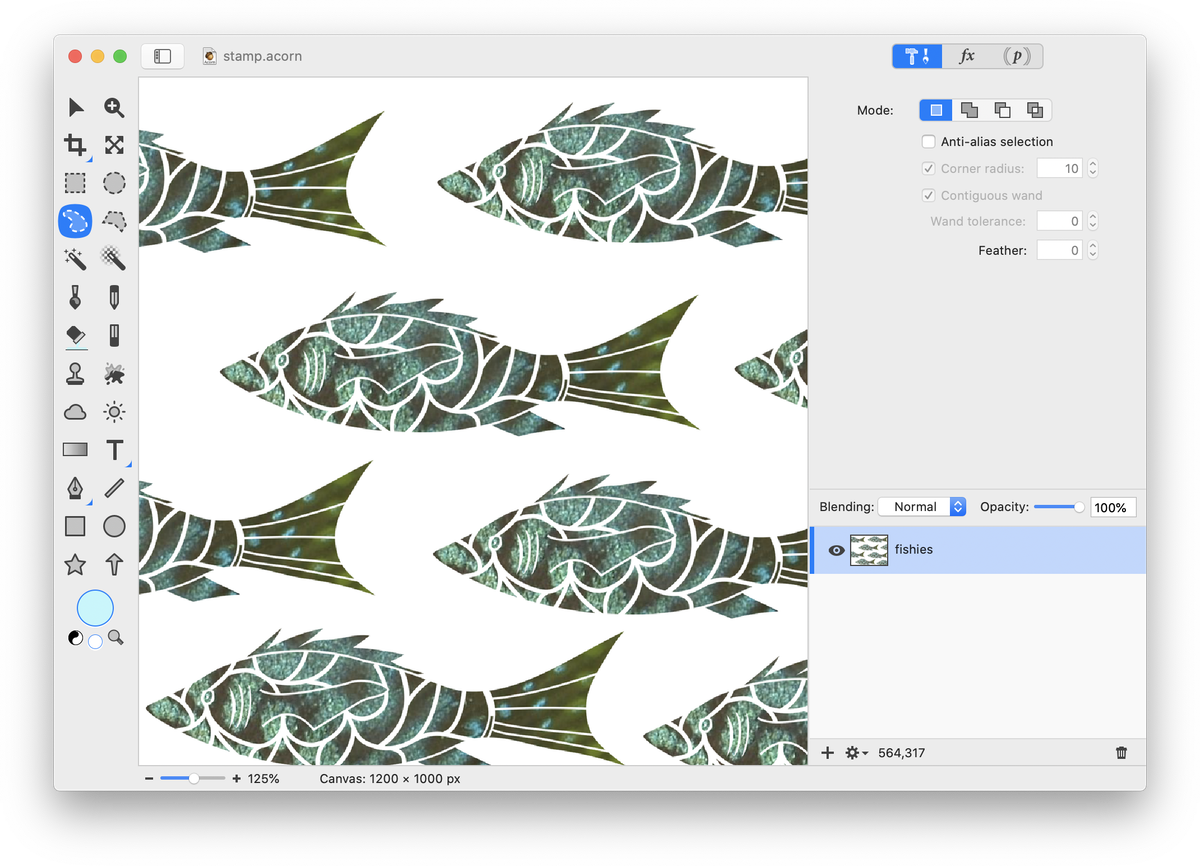
 Create a new image, or open an existing image in Acorn that you want to stamp. Select the clone tool from the tools palette. Hold down the shift key and click on your canvas in the location where you want to stamp. Each time you click with your mouse, hold down the shift key and this will let Acorn know that you want to stamp instead of clone.
 If you want to reset your stamp origin or resize the stamp boundaries, go back to your original image or layer. You can then adjust the parameters in the inspector palette and option click with the clone tool on the layer.
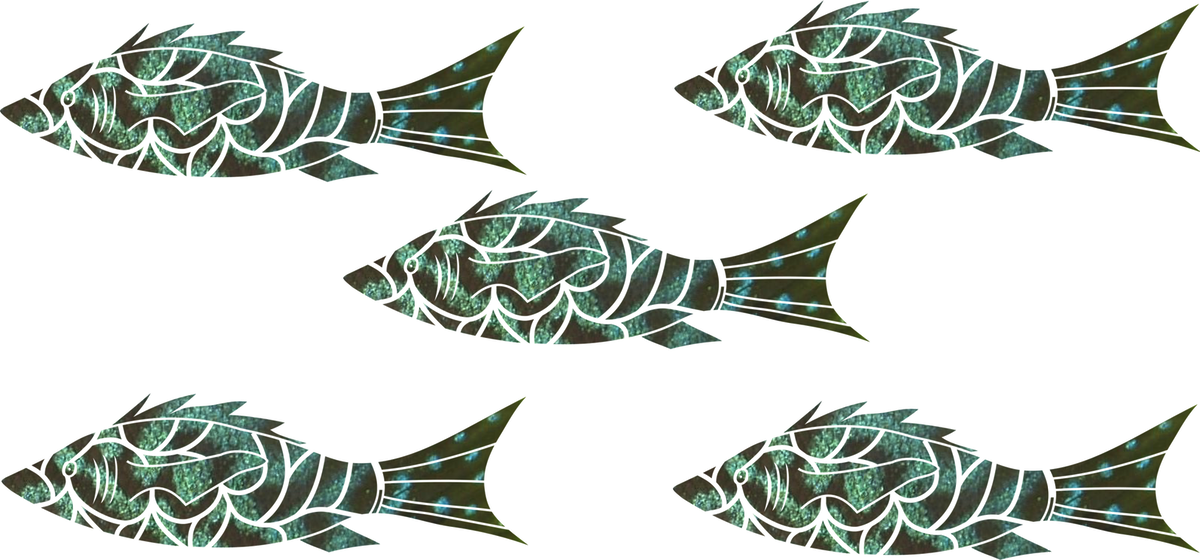
Stamping can be combined with tutorials such as ‘Creating a Seamless Tile’ to create repeated patterns and really fun designs.
