How To Apply Textures
This tutorial will show you how to apply textures to your image using blending modes. All the textures in this tutorial are from http://www.cgtextures.com.
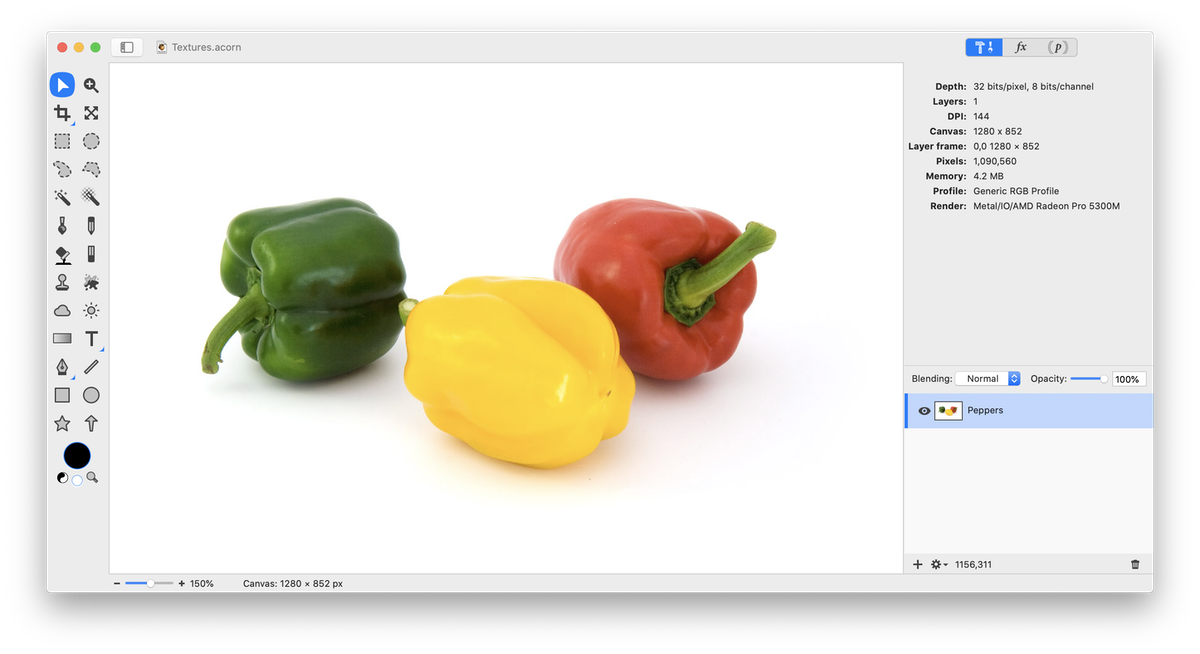
Use the Layer ▸ Rotate and Transform ▸ Scale and Rotate (⌘⇧T) menu to move the textures images around and change their size and angle.
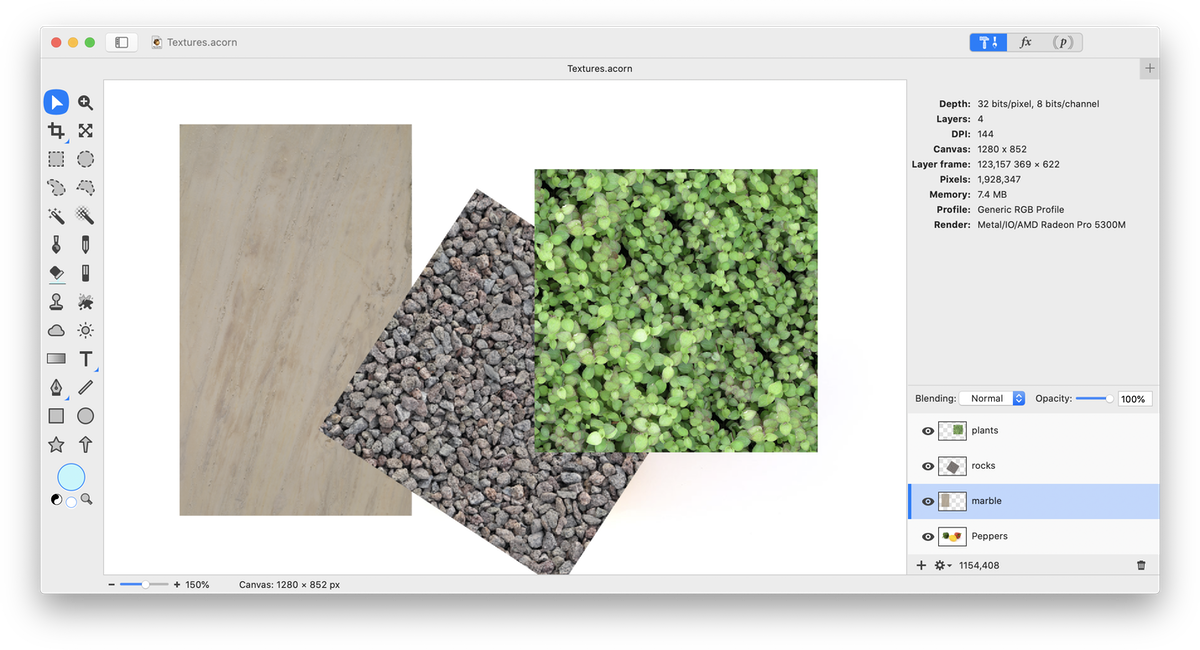
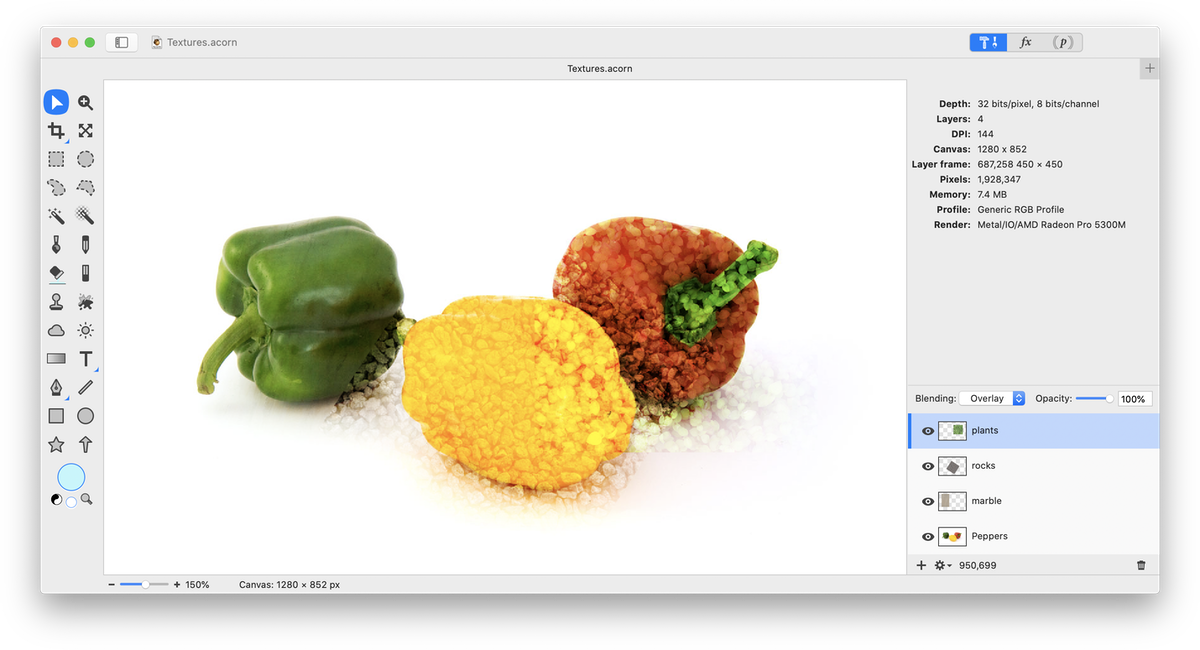
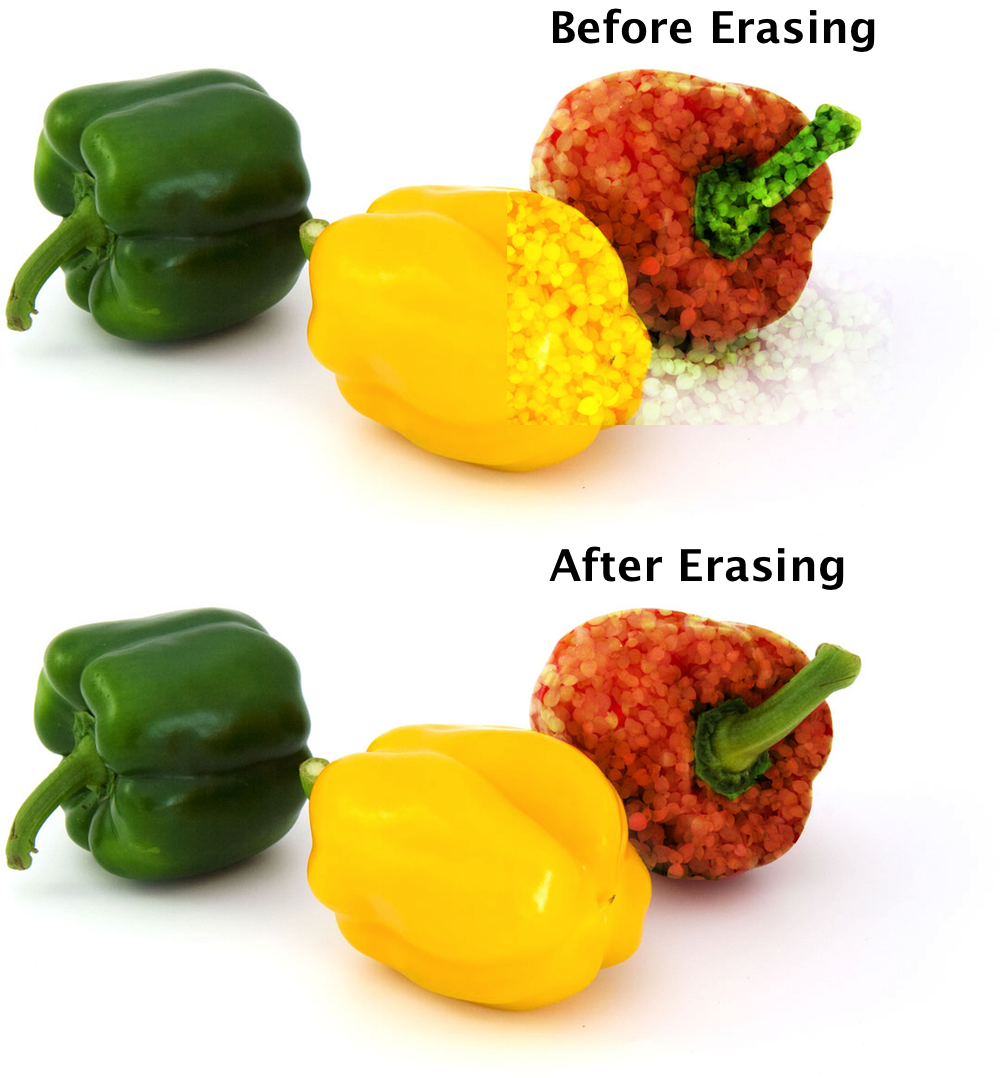
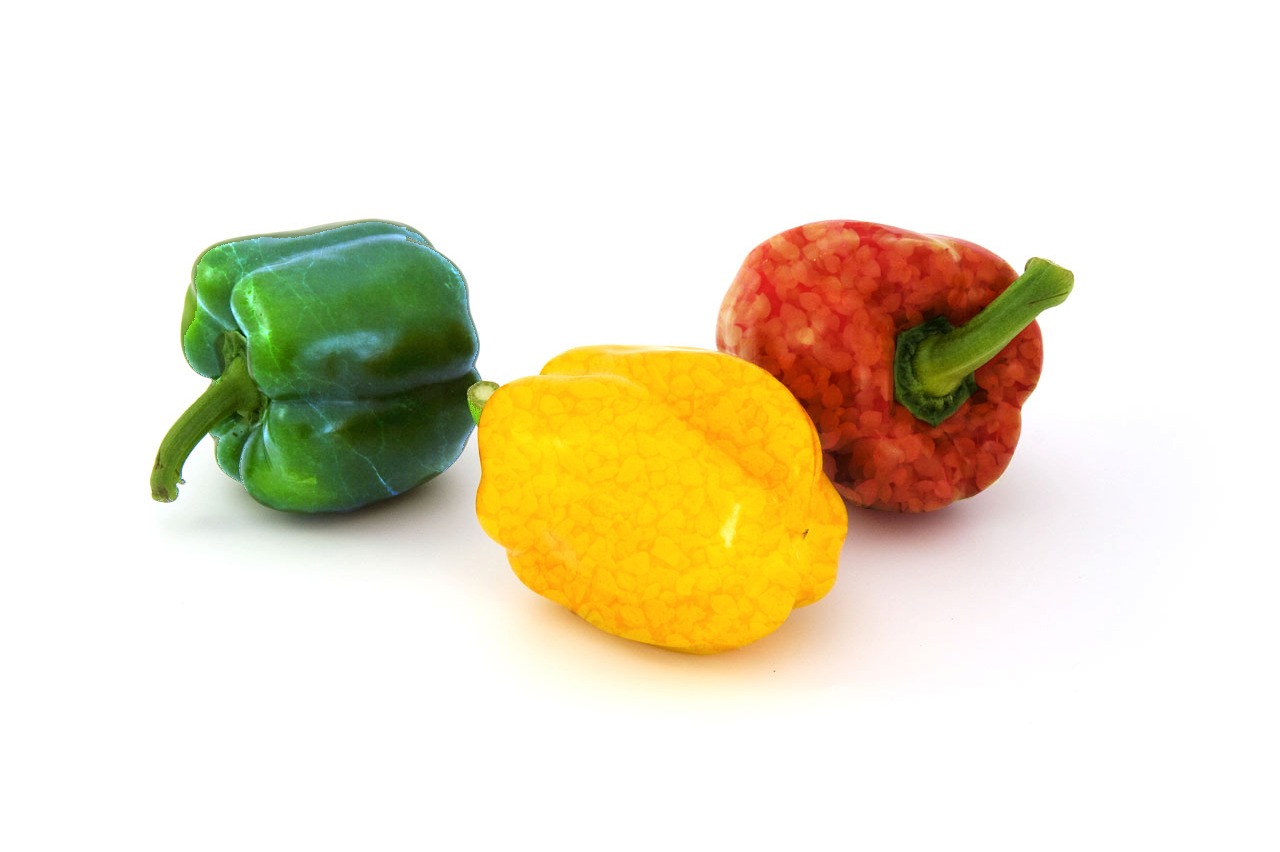
To make this easier, turn off the visibility on the other texture layers by clicking the visibility icon to the left of the layers in the layers list. Leave only the original image and the texture you wish to edit visible. Select the layer of the texture you wish to edit by clicking on it in the layers list. Start with the red pepper. Choose the erase tool in the tools palette and erase any unwanted areas of texture.
See Also: resizing layers, adding images & resizing layers