Lighten or Darken with Blending Modes
This tutorial will cover how to fix overly bright and dark images using blending modes. Blending modes combined with levels can be a fast way to fix certain image color problems. Be sure to also read the curves tutorial and the lighten or darken tutorial.
Too Light
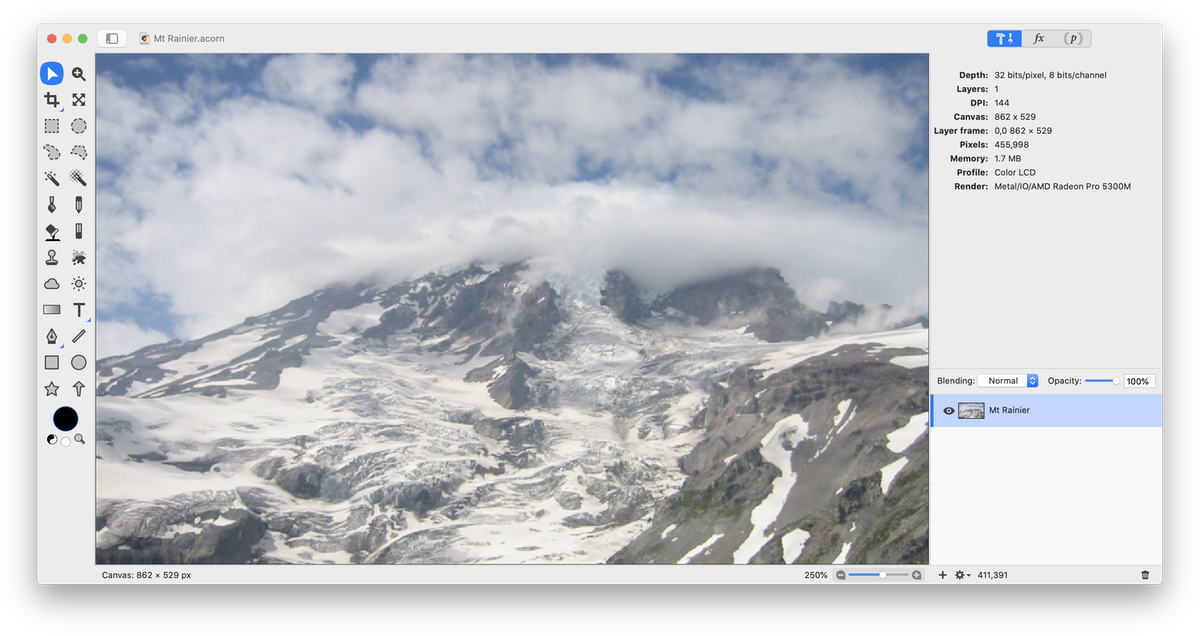
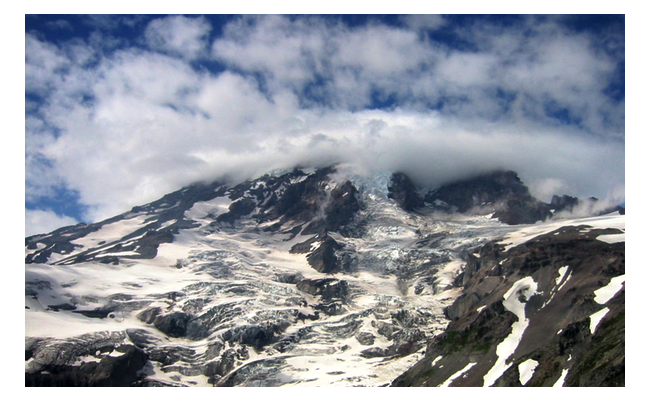
This picture of a Mt. Rainier glacier was taken with the camera zoomed into its maximum, on a really sunny day.
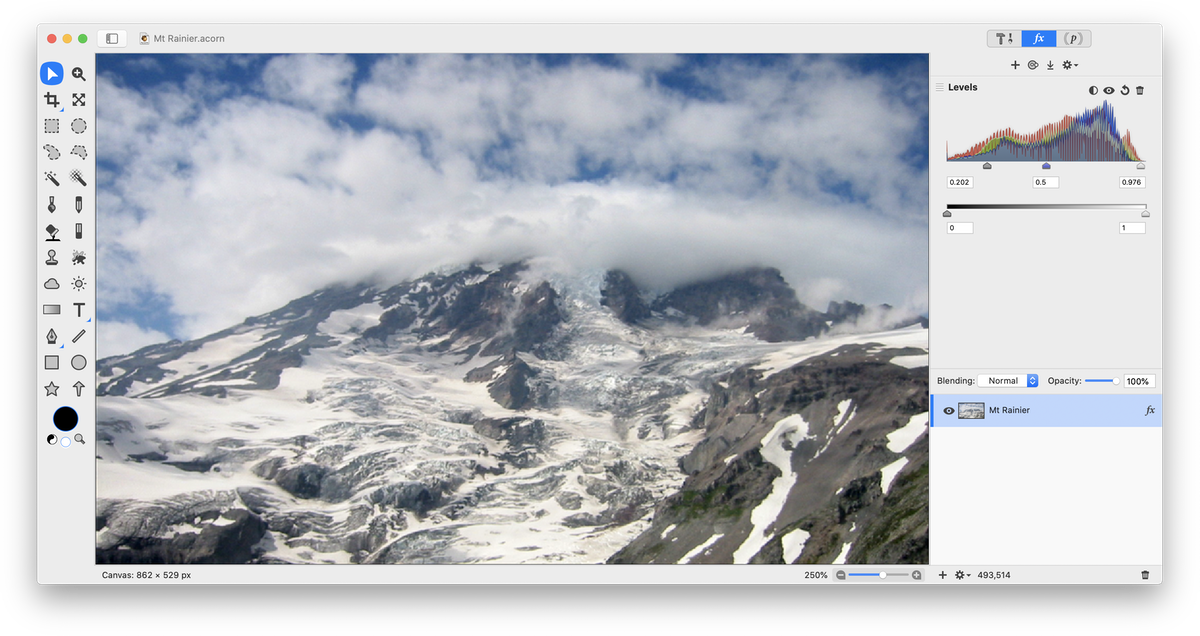
 Start by adjusting the levels of your image, Filter ▸ Color Adjustment ▸ Levels (⌘L). Bring the sliders just below the histogram inwards until they are just underneath where the curve starts to develop. You can use Auto Levels as well, but for the purposes of learning, try adjusting them yourself.
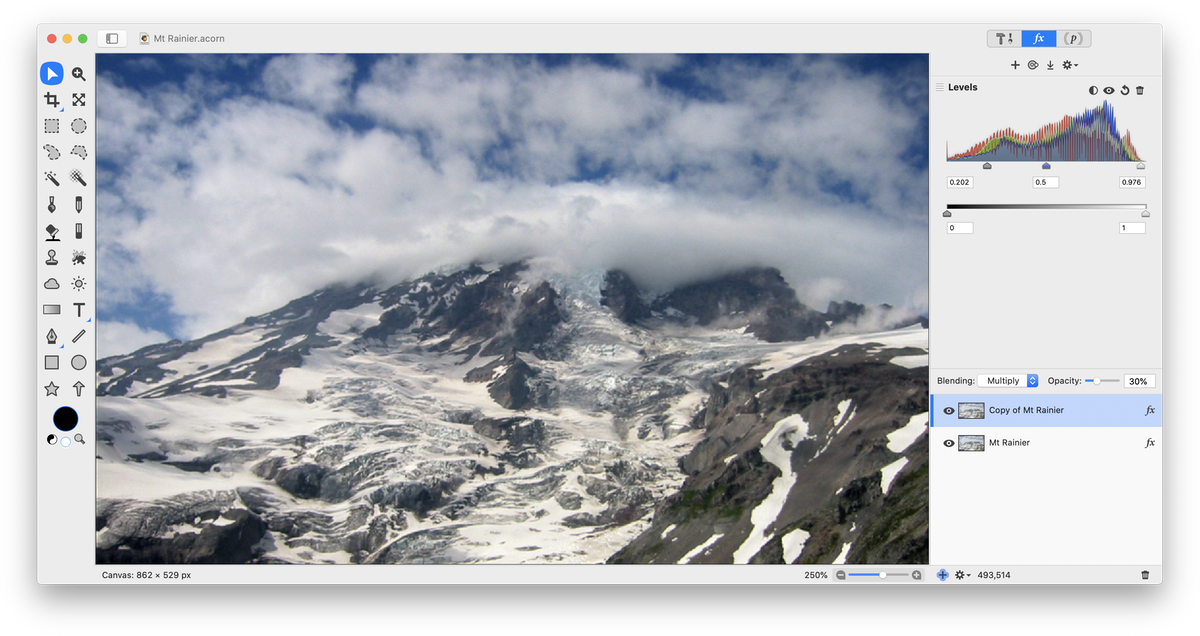
 Make a duplicate of your layer. Select Layer ▸ Duplicate Layer. Make sure you are currently selected on your duplicate layer, and change the blending mode to 'Mulitply'. It's likely your image is now way too dark. You can easily fix this by decreasing the opacity of the duplicated layer. The opacity here was decreased to around 30%.


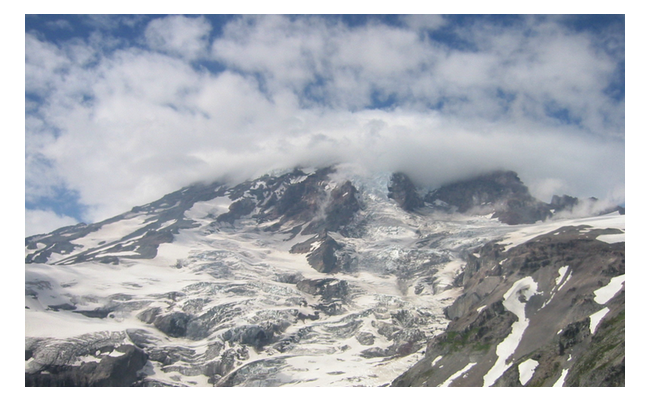
Before and after
Too Dark
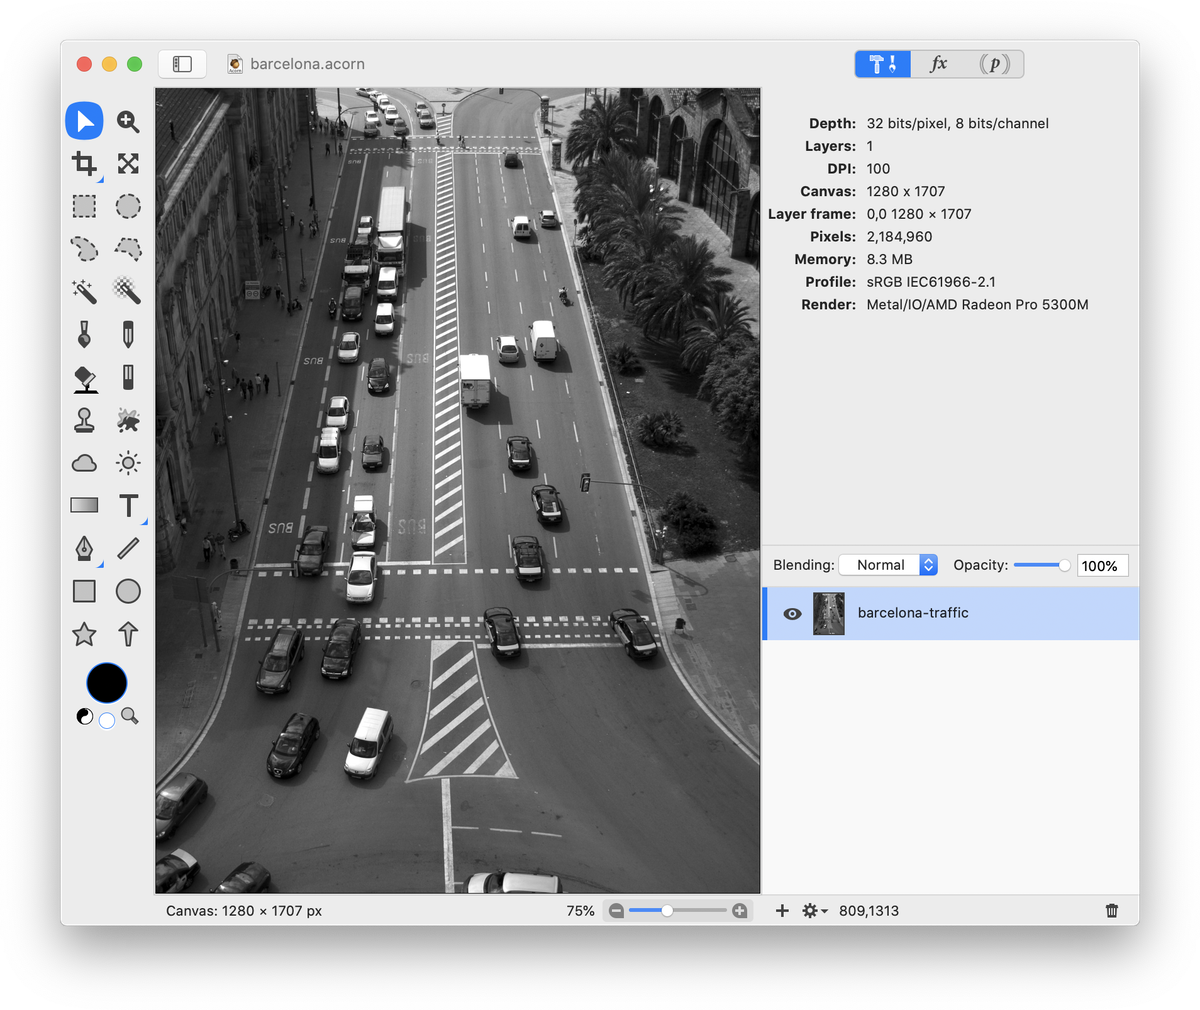
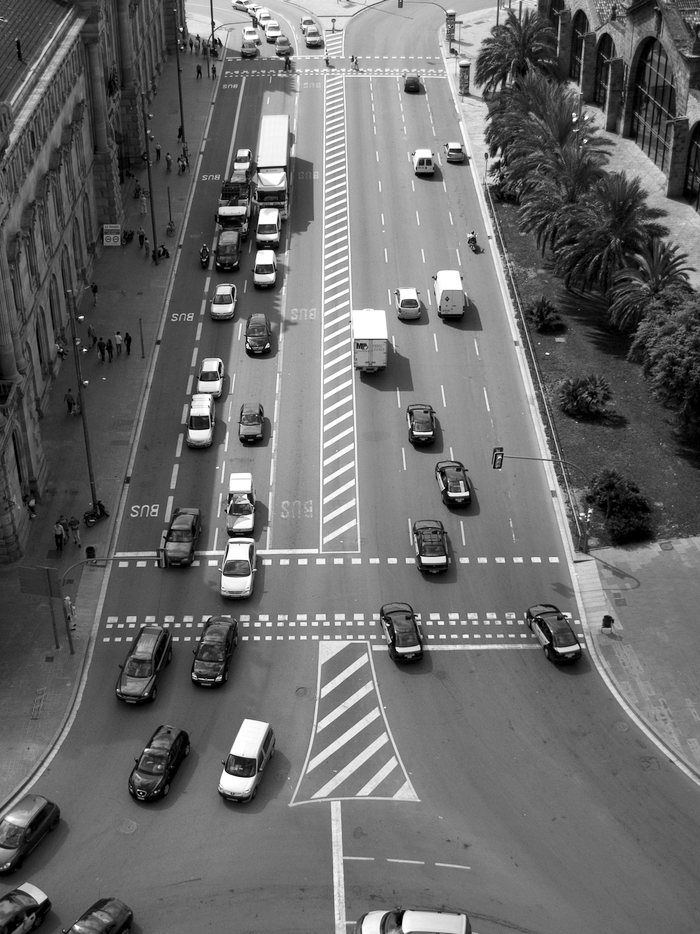
This picture of a street in Barcelona is a bit dark.
 Adjust the levels.
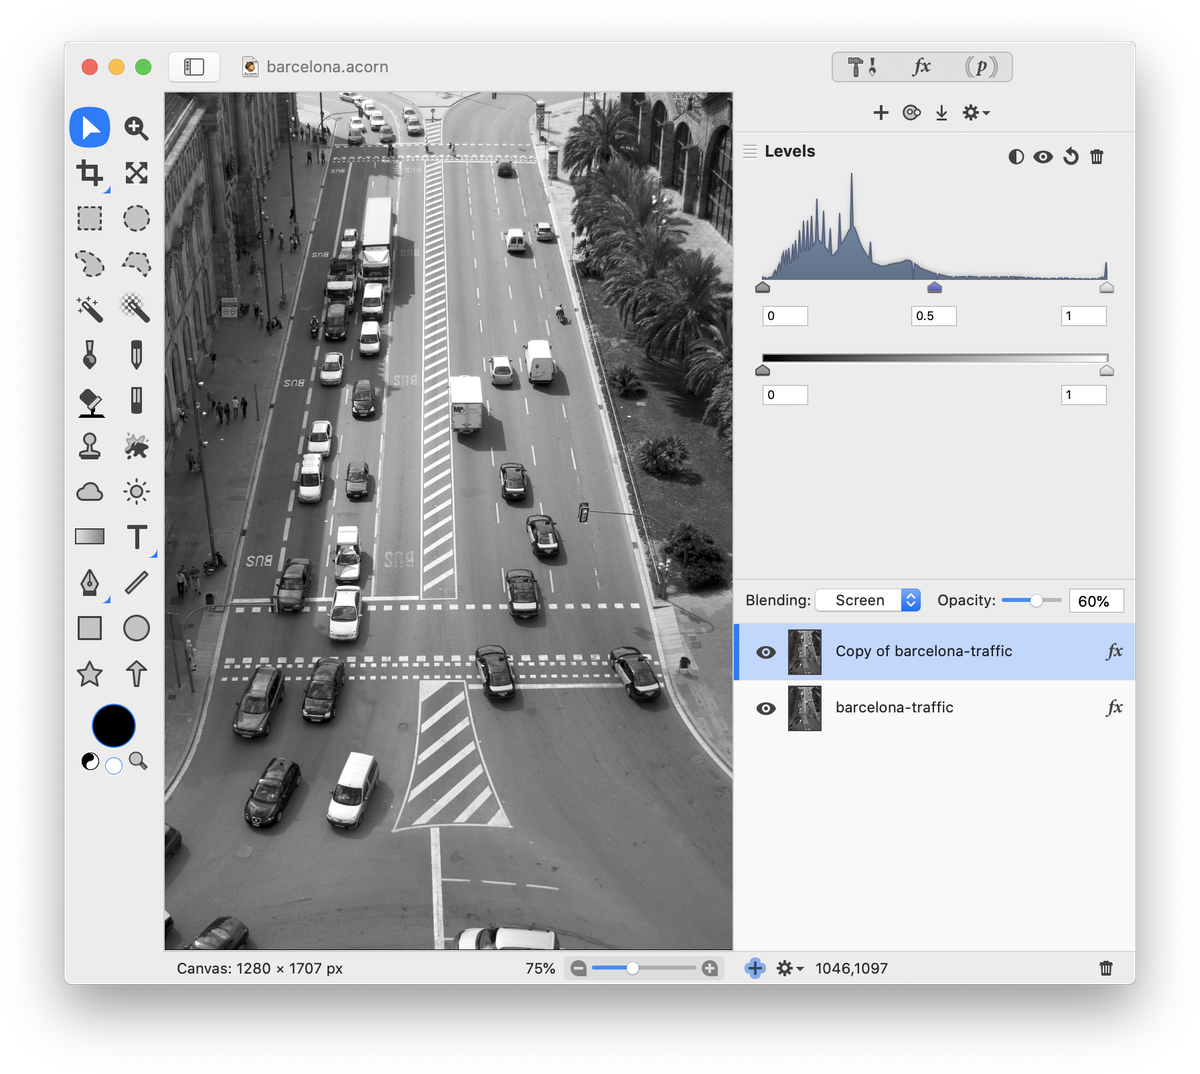
 Make a duplicate of your layer, Layer ▸ Duplicate Layer. Make sure you are currently selected on your duplicate layer, and change the blending mode to 'Screen'.
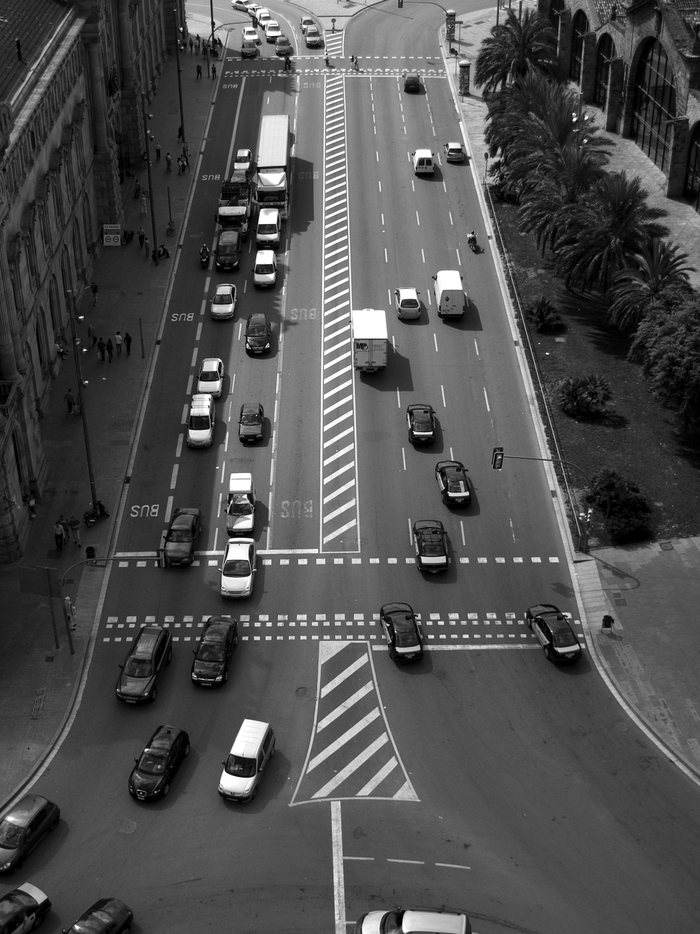
 It's likely your image is now too light. You can easily fix this by decreasing the opacity of the duplicated layer. The opacity here was decreased to around 60%.


Before and after
