Holiday Card
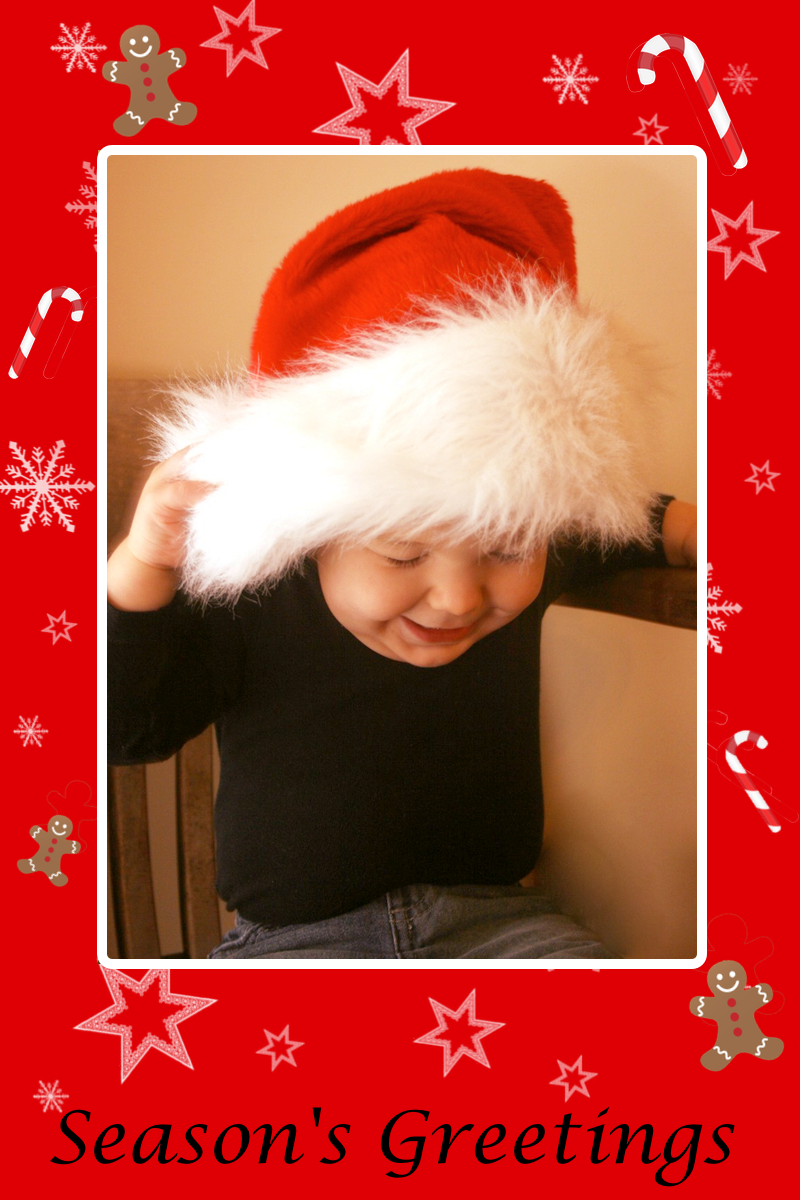 This tutorial will guide you on how to make your own greeting card. Gather images you would like to include on the frame of the card. If you wish to use the images shown here, links to them can be found in the photo credits at the end of the tutorial.
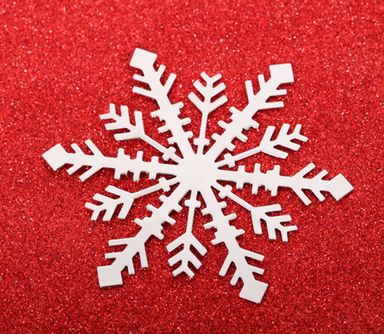
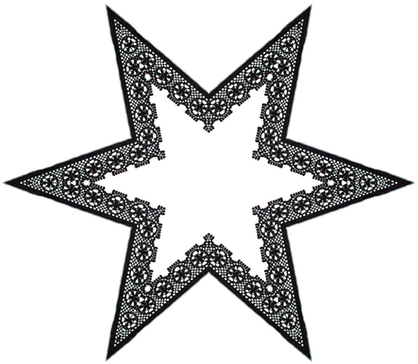
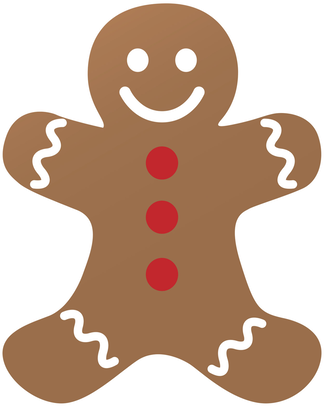
 For the snowflake and star, follow the instructions given in the custom brushes tutorial to make them into a shape brush. For the candy cane and gingerbread men, the background needs to be removed. For more detailed information on removing a background, read How to Remove a Background.
Create a new image in Acorn, File ▸ New (⌘N). If you are planning on printing your holiday card, be sure to set the resolution to around 200 ppi. The color of the background doesn't matter since you'll be changing it in a minute. Set the dimensions of the image to a multiple of 4 x 6 to allow for easy printing later. This tutorial will use 800 x 1200. Click "OK".
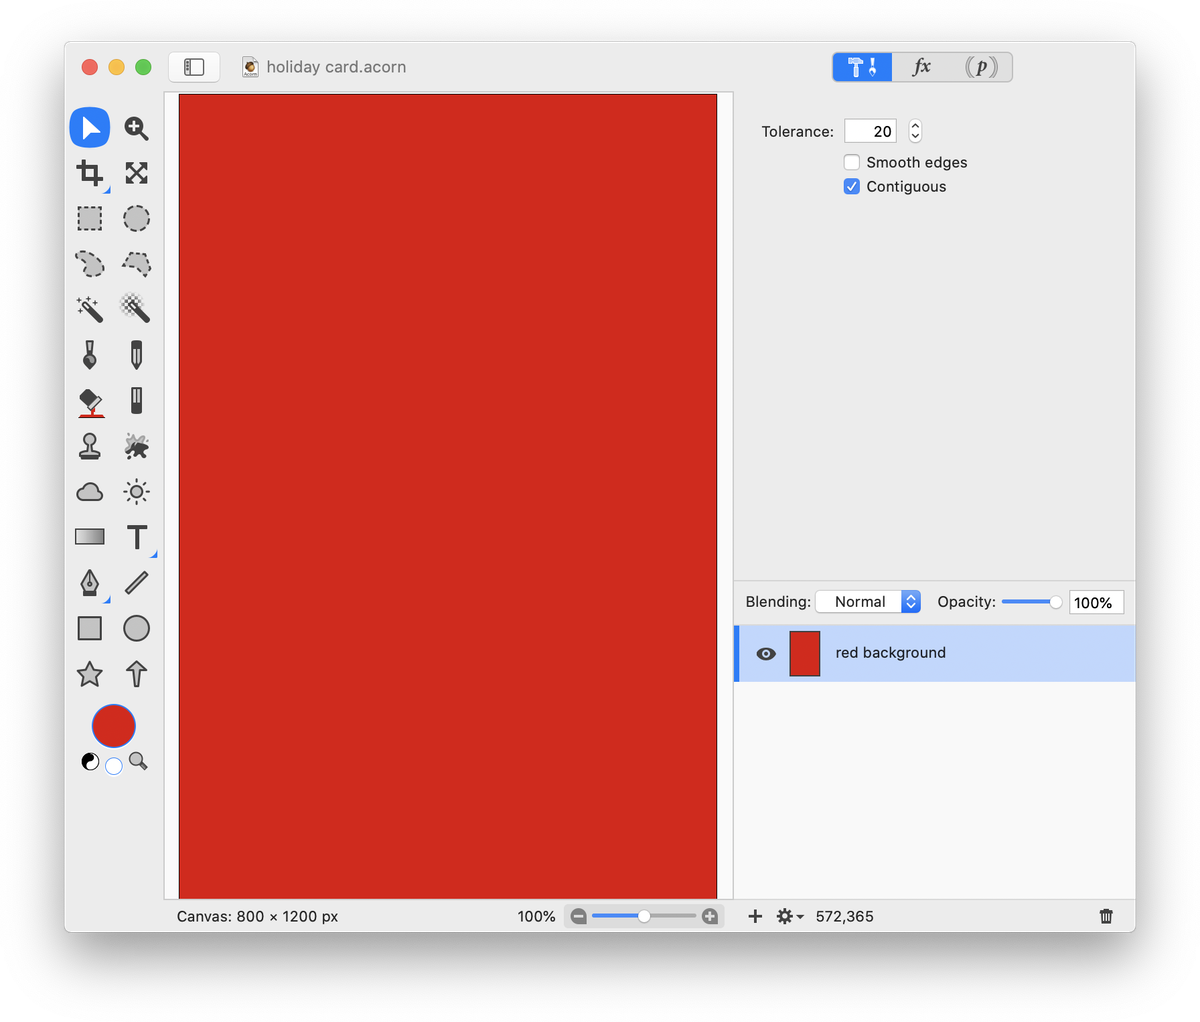
Select the fill tool from the tools palette and click on the color well in the tools palette. Pick a color from the colors palette for your background and click on your canvas to fill the layer with that color.
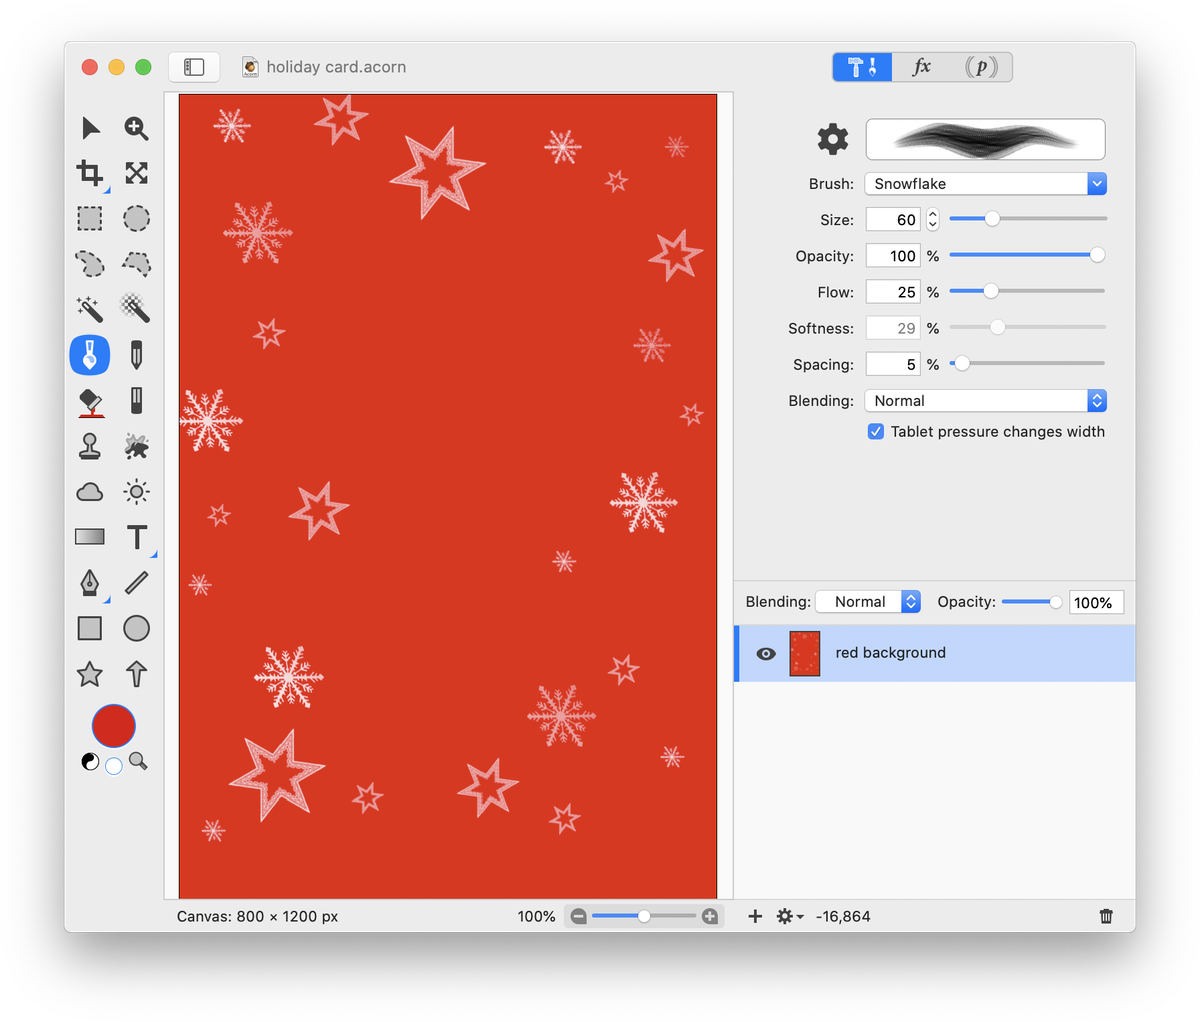
 It's time to use the custom brushes you created from the snowflake and star. Click on the paint tool in the tools palette, then select the color you want to use in the tool palette color well. With each snowflake or star you brush on, change the brush size and opacity. Go ahead and put them all over the canvas leaving a little space for other images you may want to include. If you don't like where you brushed, just use ⌘Z to undo it.
 Now drag and drop your other images into the layers list. Be sure to place them above your background layer. Make duplicates of the layer if you want the image to appear multiple times in your card by using Layer ▸ Duplicate Layer (⇧⌘D). Use Layer ▸ Rotate and Transform ▸ Scale and Rotate (⇧⌘T) to change their size and rotation to suit your desired look. Use the move tool to place the images.
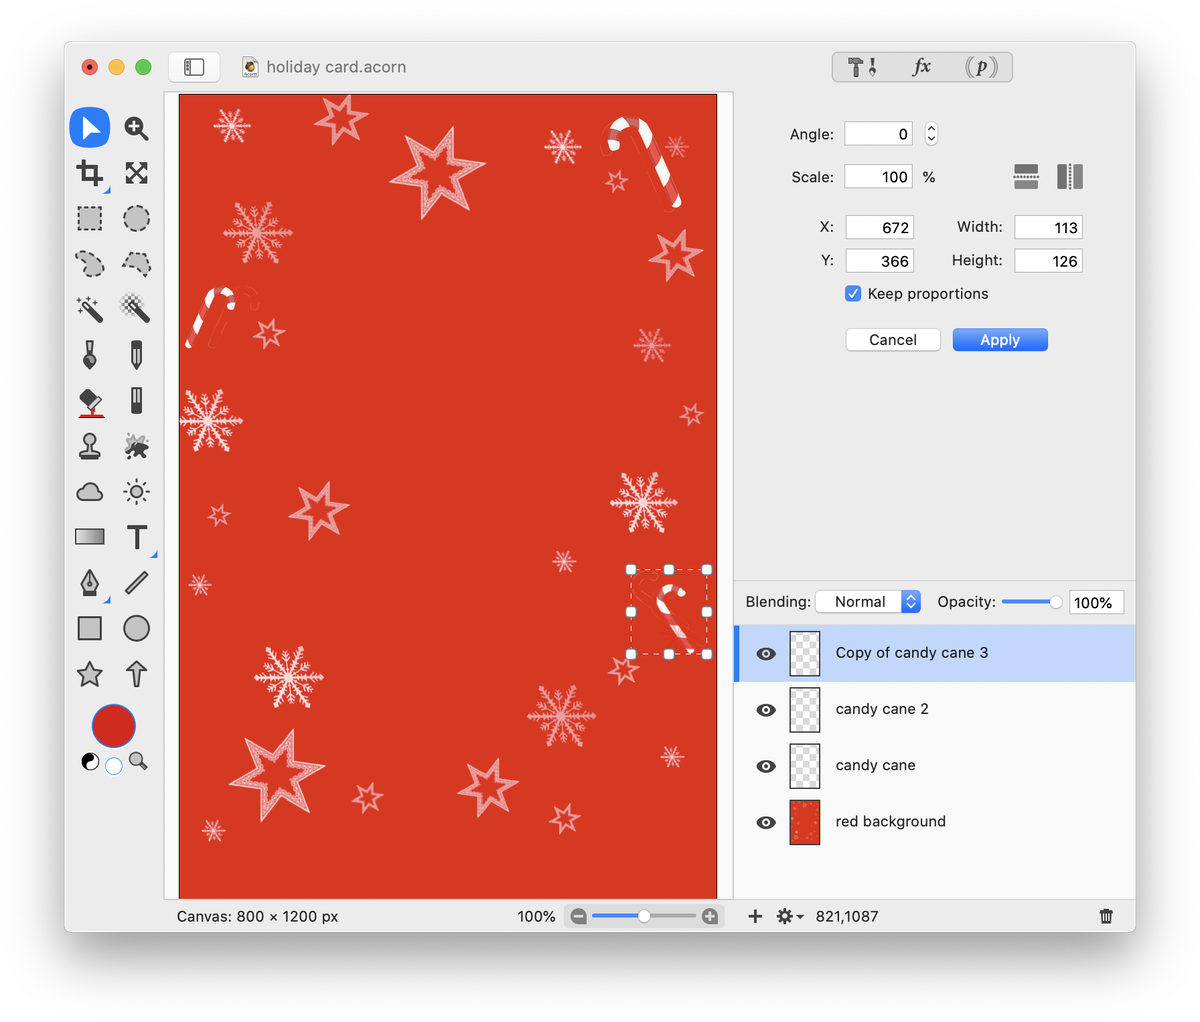 Repeat this process for all the images you are bringing into your card frame.
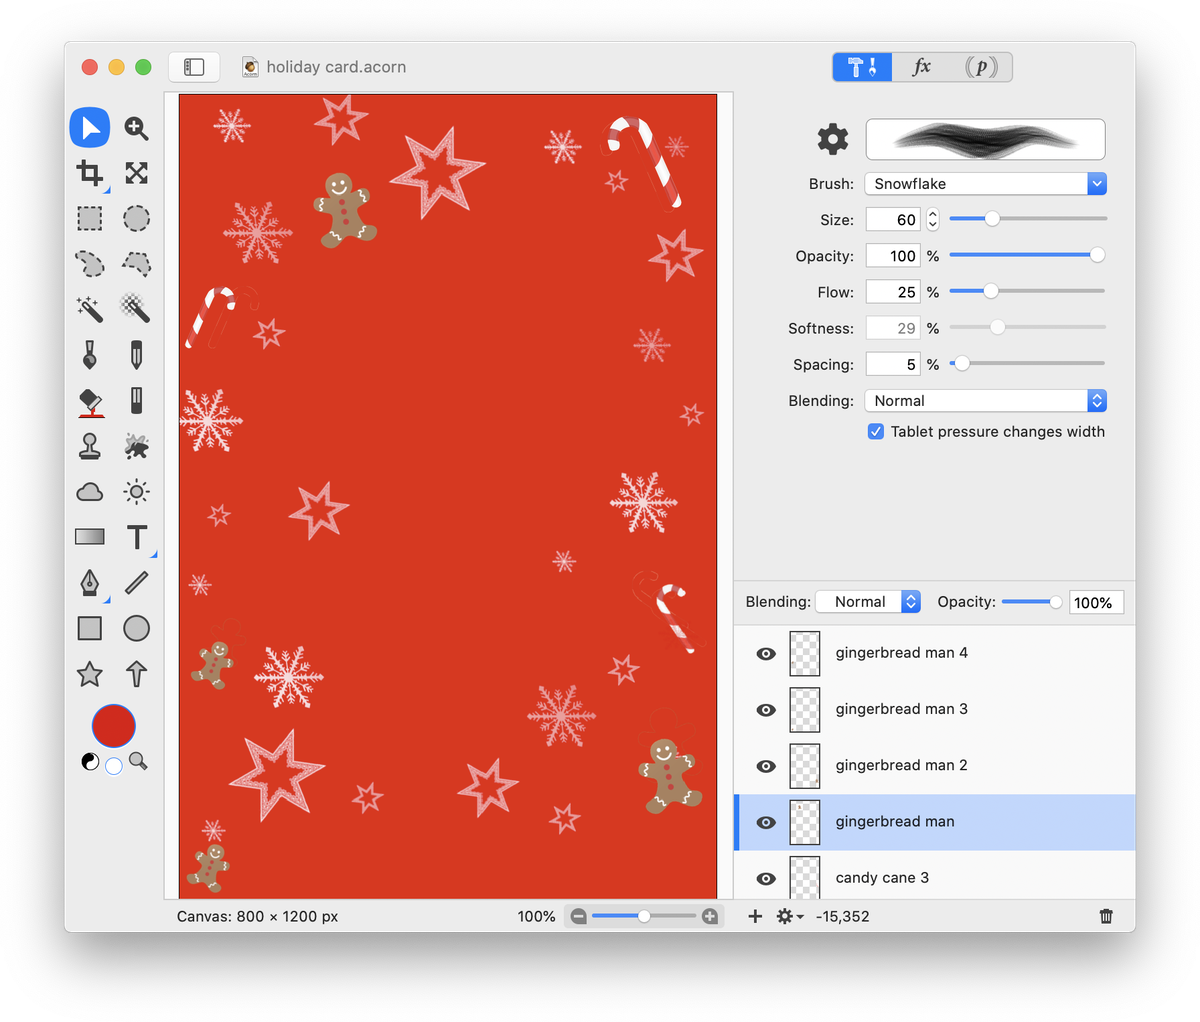 To clean things up in the layers list, create a new group layer Layer ▸ New Group Layer. Drag all your current layers into the group layer.
Use File ▸ Add Images or drag and drop the image you are displaying into your holiday card. If the image doesn't line up perfectly, use the arrow keys or move tool to center it. You may need to use Layer ▸ Rotate and Transform ▸ Scale and Rotate (⇧⌘T) if the image is too large for the framed area. If you want to crop part of your layer, select the crop tool and drag out a crop of the area you want to keep. Hold down the option key when hitting the return key to crop only the currently selected layer.
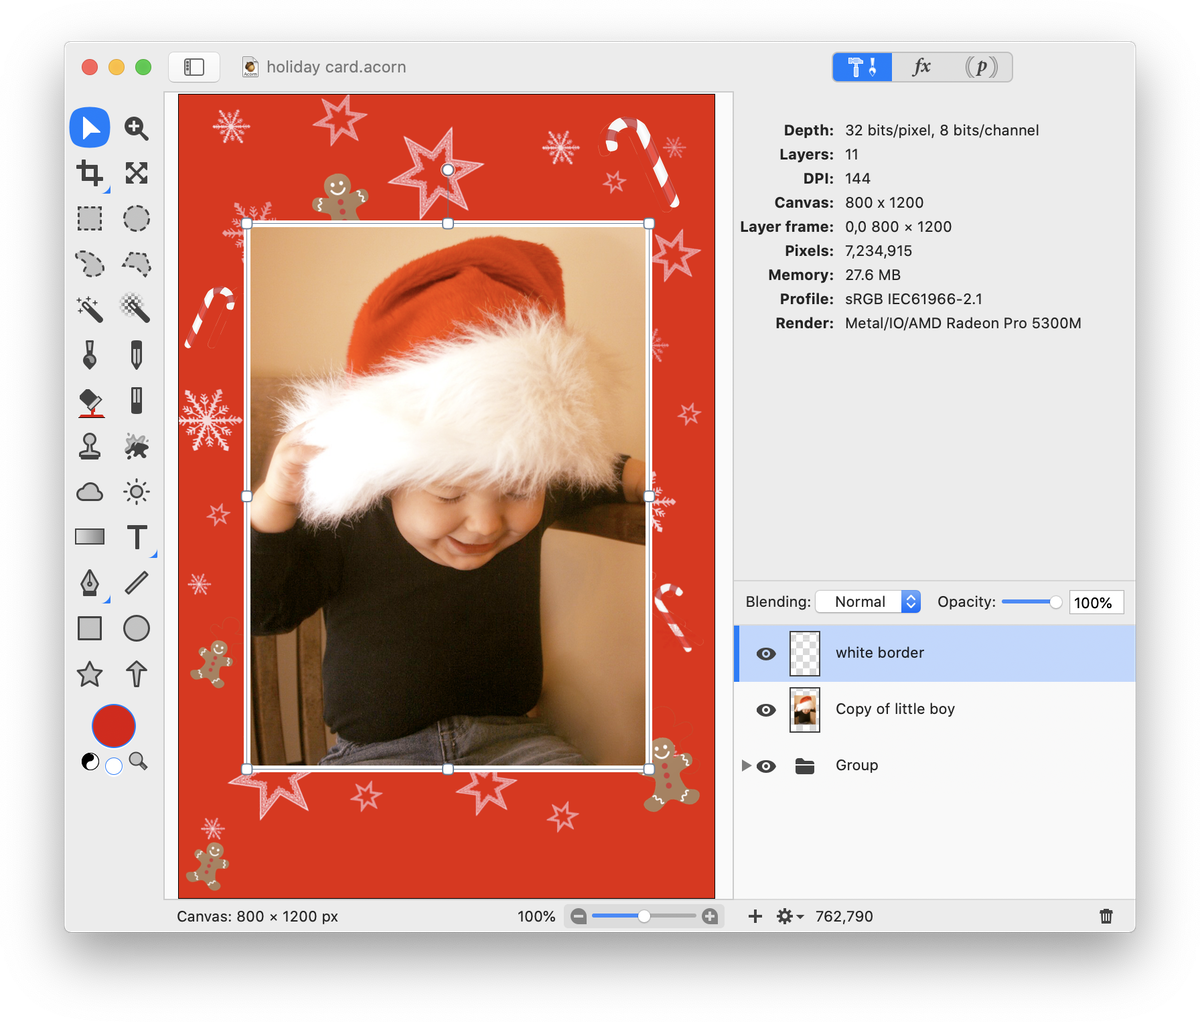
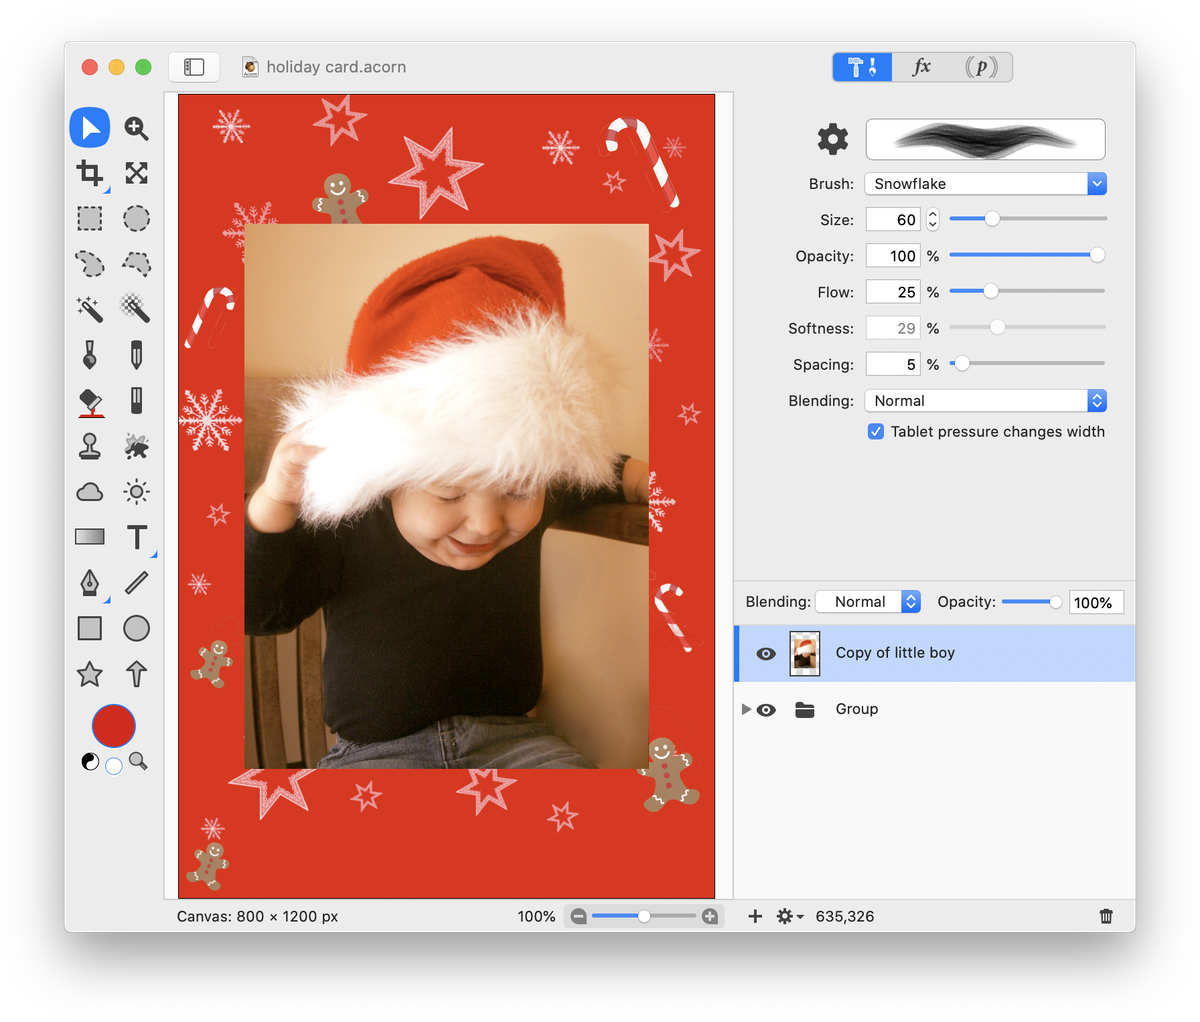 To add a white border around the main image, click on your top most layer in the layers list. Then go to Layer ▸ New Shape Layer. Select the rectangle tool, uncheck fill, check stroke with a setting of around 10, and corner radius with a setting of 10. Select white as the color of the border in the stroke color well. Draw out your rectangle and using the move tool, place it to frame the main image. It is helpful if View ▸ Guides and Grids ▸ Snap to Layers is checked to line up the border with your image.
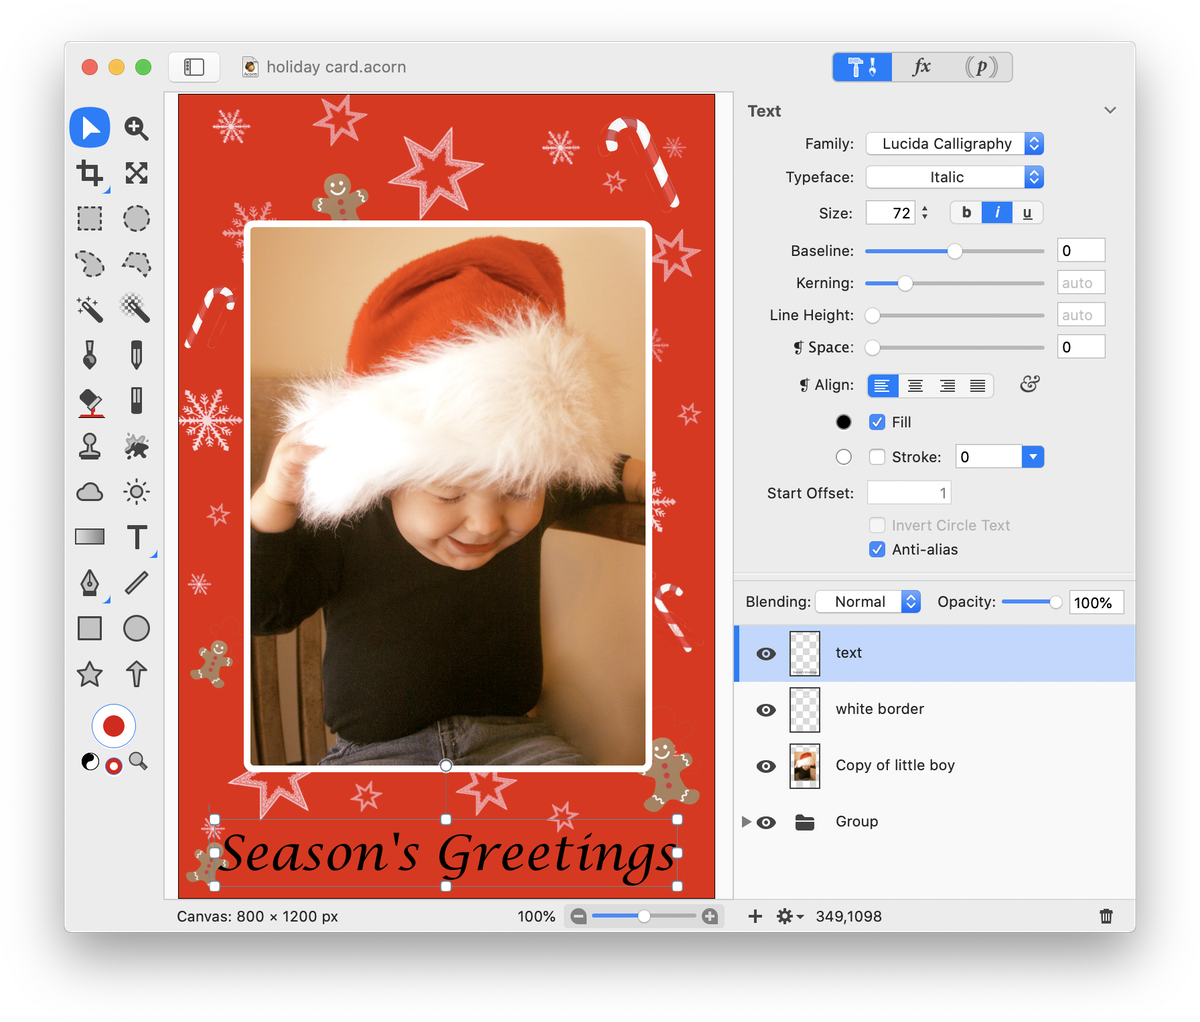
 Add a new shape layer to the top of your layers list. Click on the text tool and choose your font. Play around with size, placement, color, etc. This example uses Lucida Calligraphy.
 To wrap up your card, use the move tool to move around any of the border images that may need re-placement to create a more balanced look.
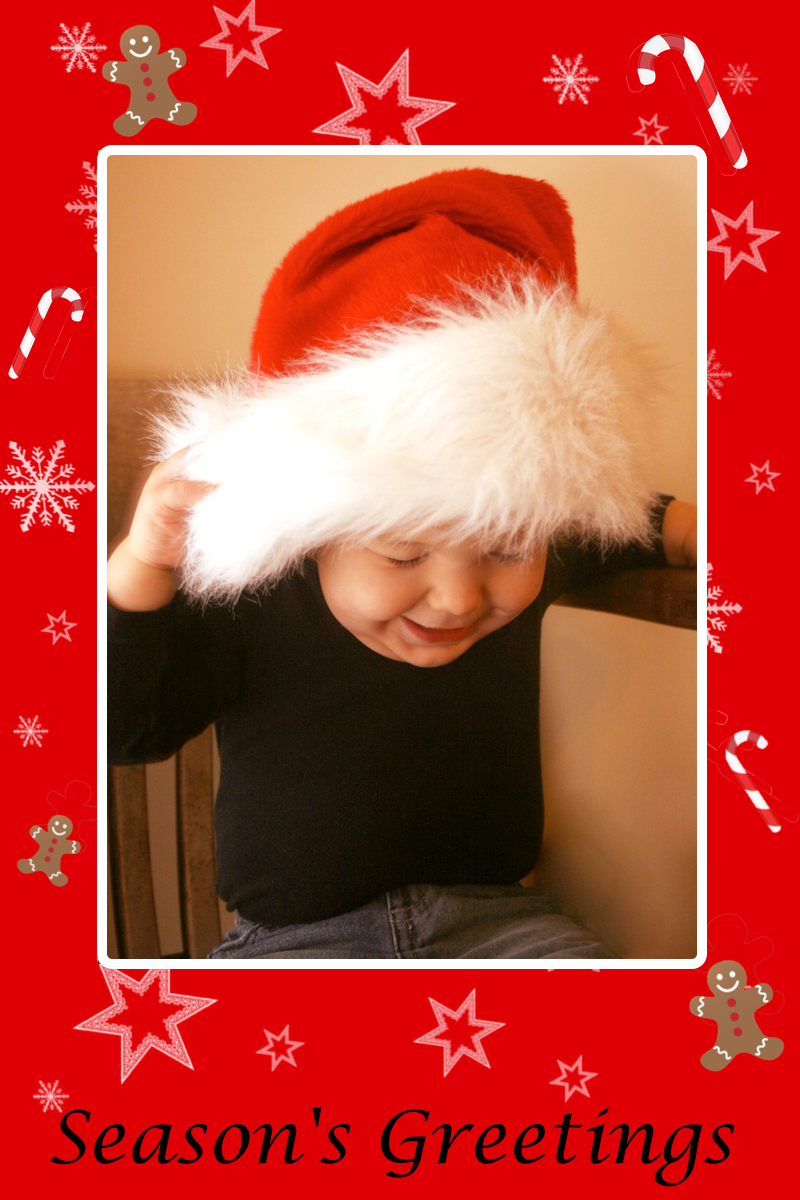
Photo Credits
Snowflake
Star
Candy Cane
Gingerbread Man
Santa Baby


