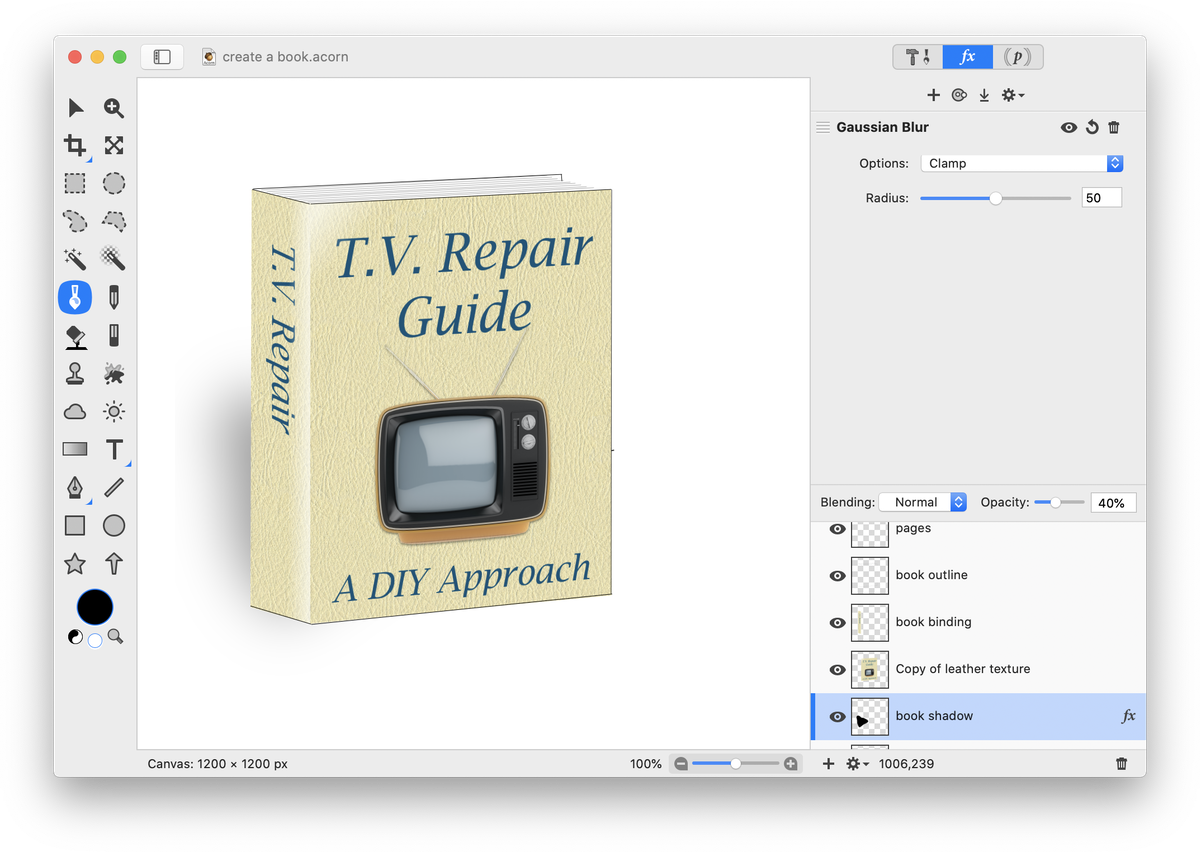
How to Create a Book
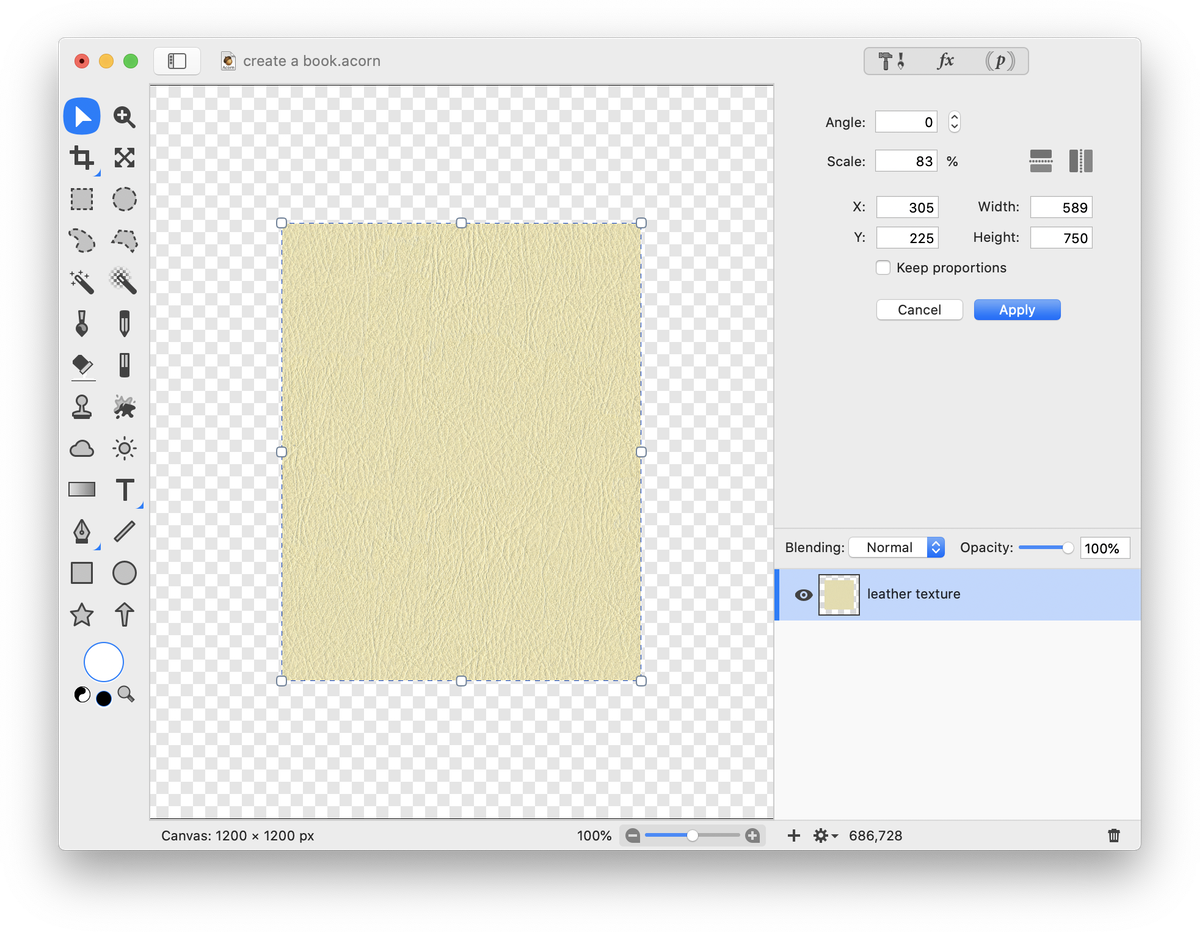
 First, find a texture for your book cover. You can always just use a plain color rather than a texture, but this example will outline steps using a texture. The leather texture seen below can be found at https://www.textures.com/. Open the texture file in Acorn, FIle ▸ Open. Using Layer ▸ Rotate and Transform ▸ Scale and Rotate, scale and rotate the image to your liking.
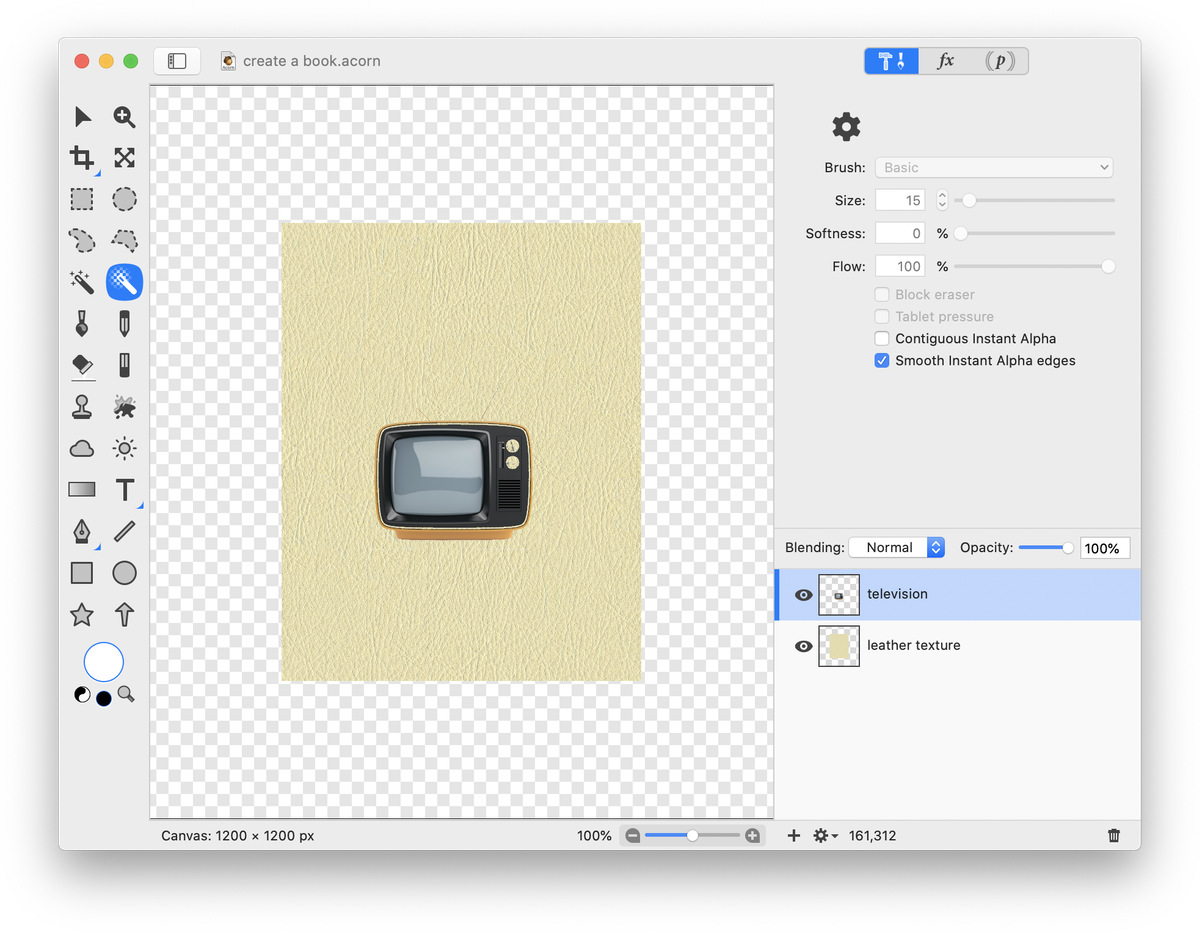
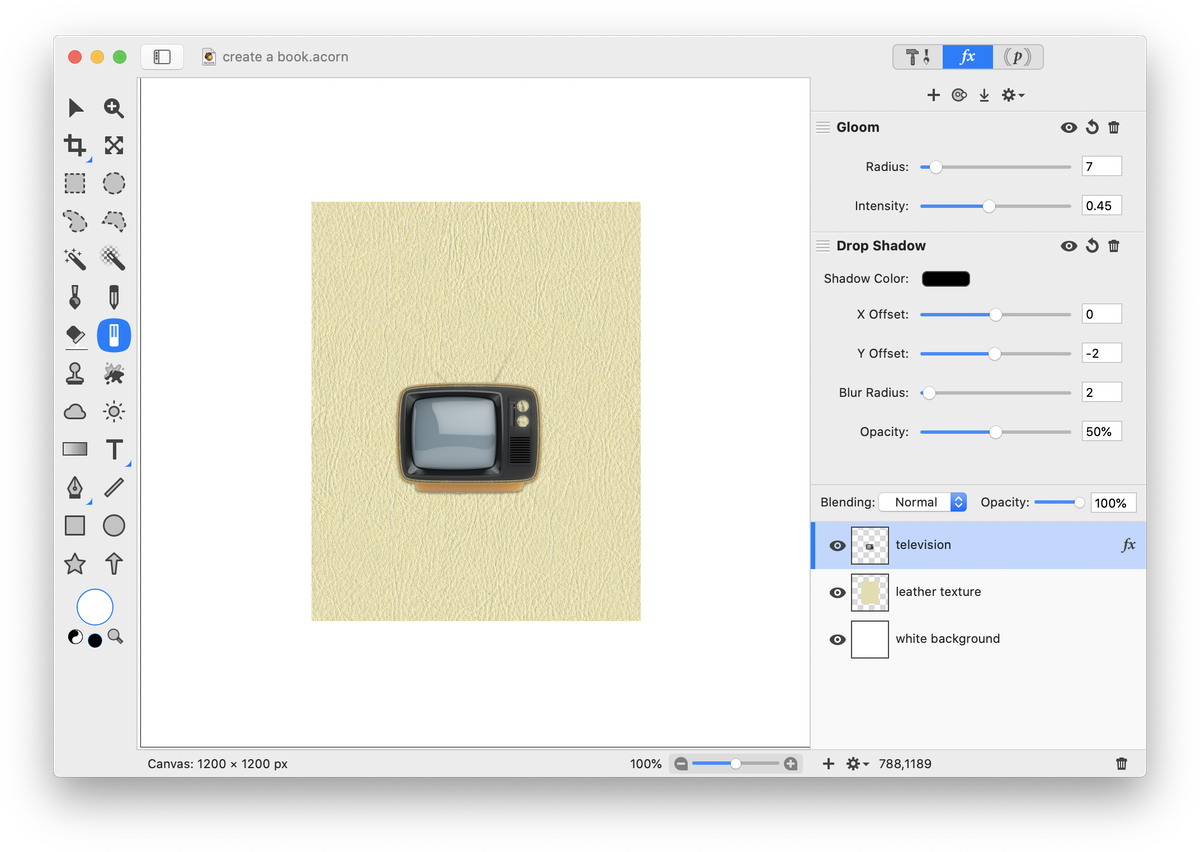
 Using File ▸ Add Images, bring in any images you want on your book cover. Use Layer ▸ Rotate and Transform ▸ Scale and Rotate to resize the images you bring in appropriately. The television image brought in here has been scaled to around 10%, and its white background was removed using the instant alpha eraser (for more information on how do to this read ‘Removing a Background’).
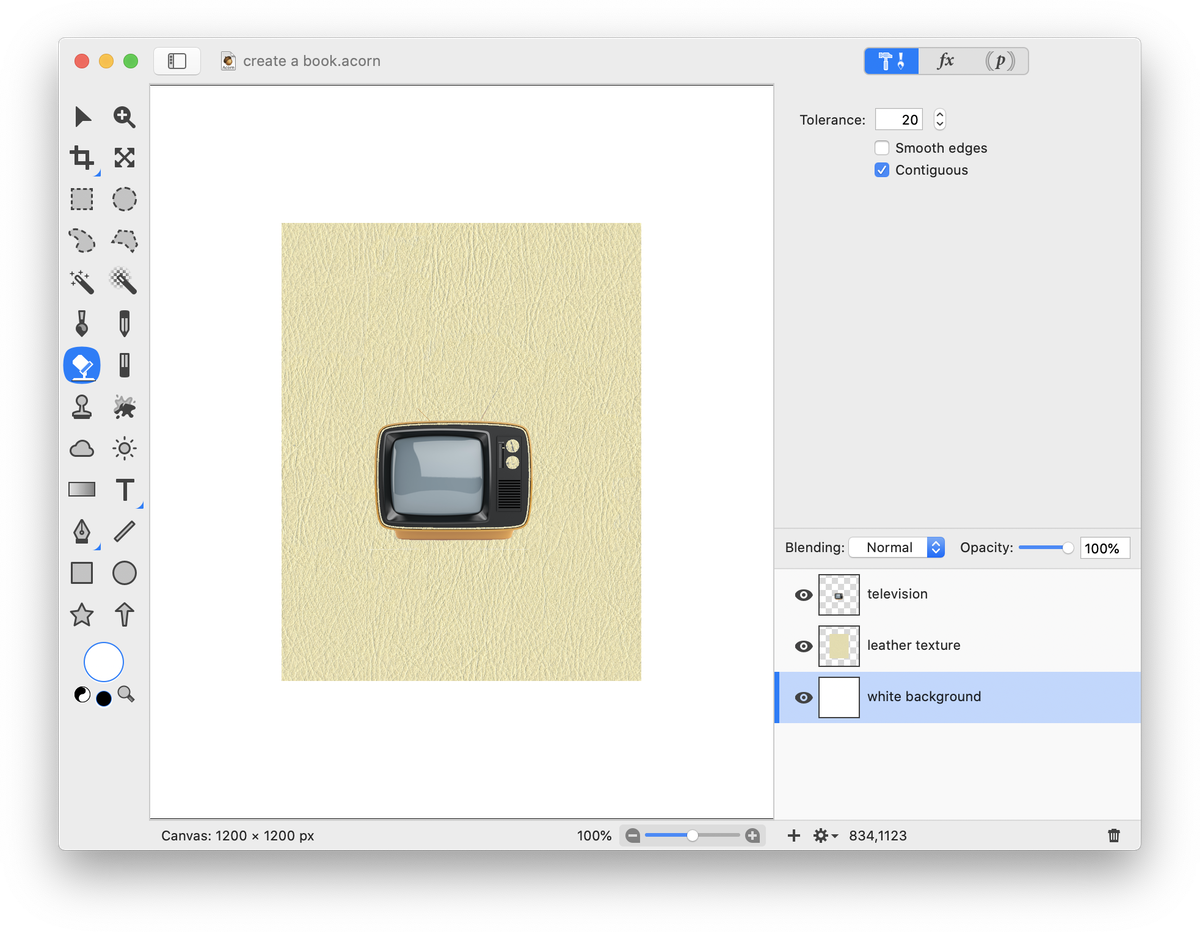
 Add a new layer, Layer ▸ New Layer and fill it with white using the flood fill tool. Move the new layer to the bottom of the layers list.
 Click on the television layer to select it. To give the television a little depth go to Filter ▸ Stylize ▸ Drop Shadow. Click on the '+' on the bottom left of the filters window and choose Stylize ▸ Gloom. Click the 'Flatten' button (looks like a downward arrow) at the top of the filters list when you are done.
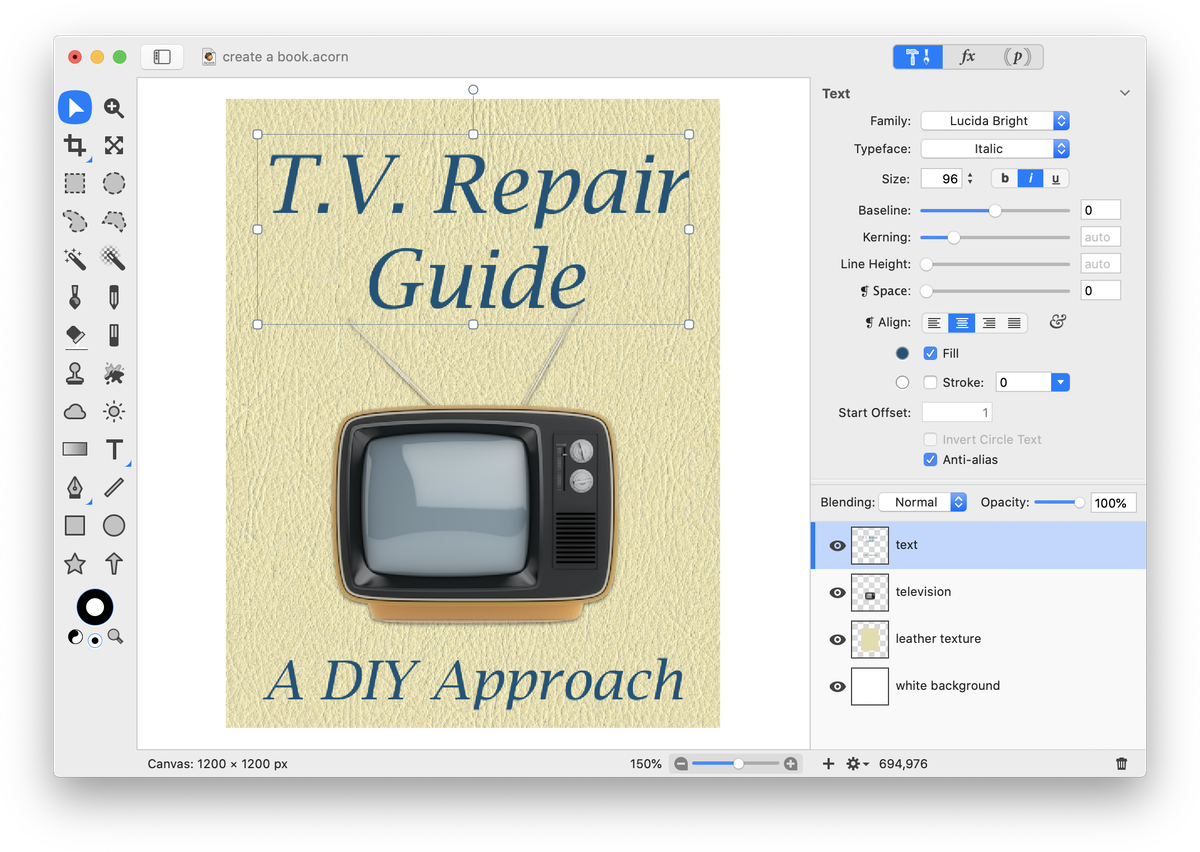
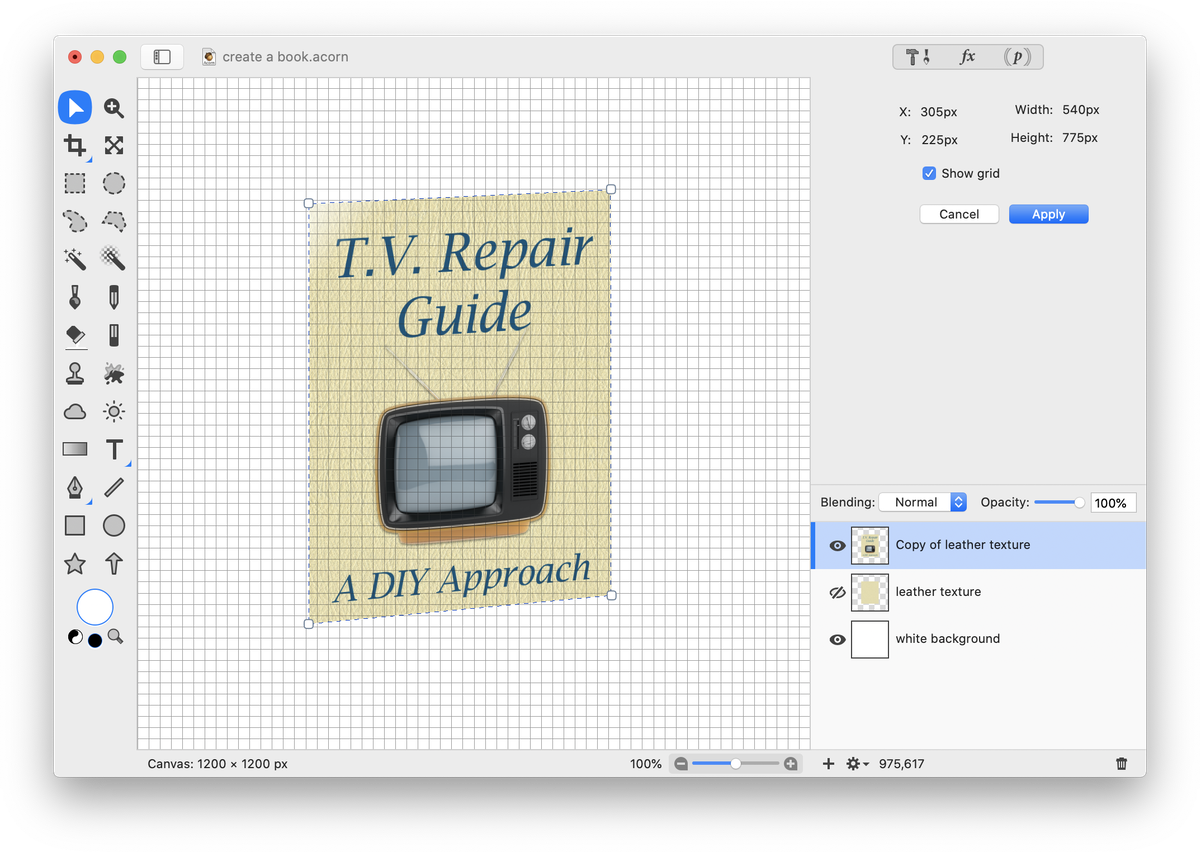
 Now add some text. Choose the text tool from the tools palette and play around with the font, rotation, and placement of the text. The size of the tv was also increased via scale and transform.
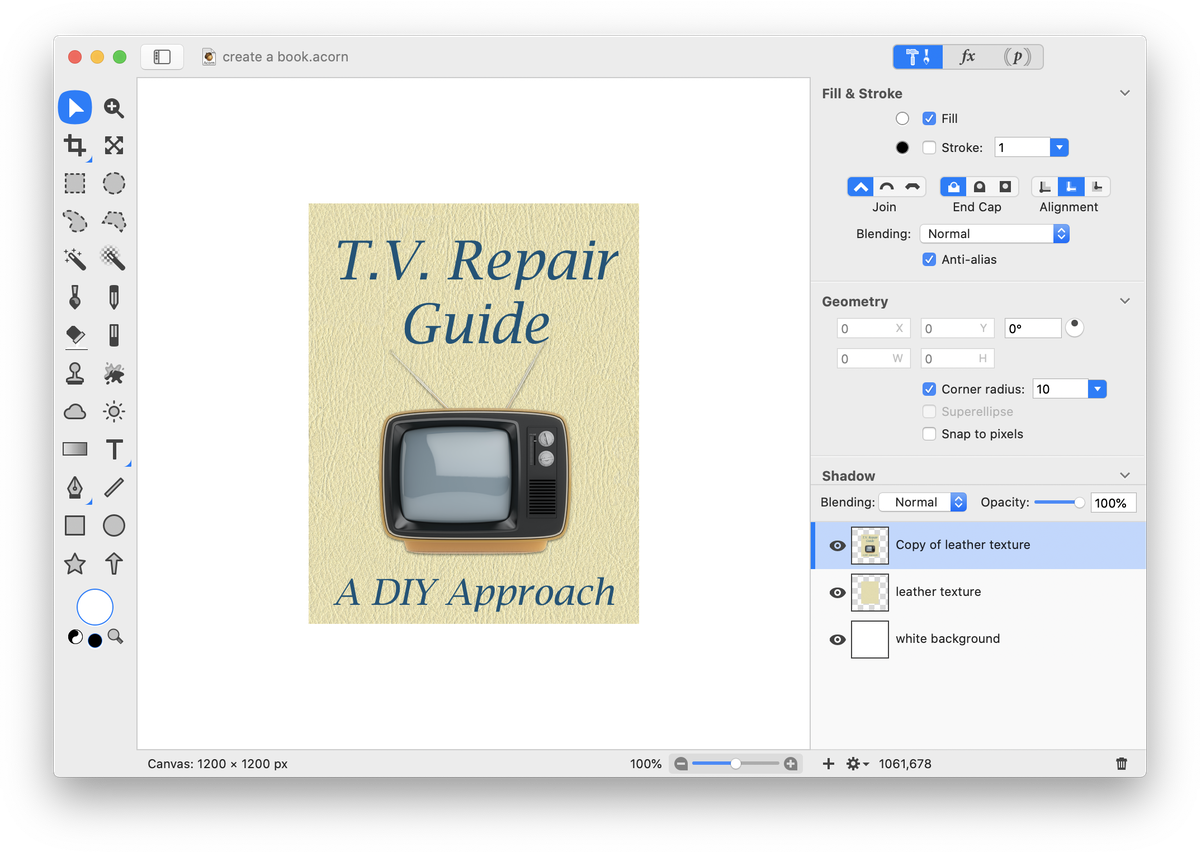
 Click on the ‘leather texture’ layer. Go to Layer ▸ Duplicate Layer.
Using Layer ▸ Merge Down (⌘E), merge your text and television layers down to the duplicate ‘leather texture’ layer. Be sure that you are happy with the text and image appearance because you cannot edit them without undoing subsequent steps at this point.
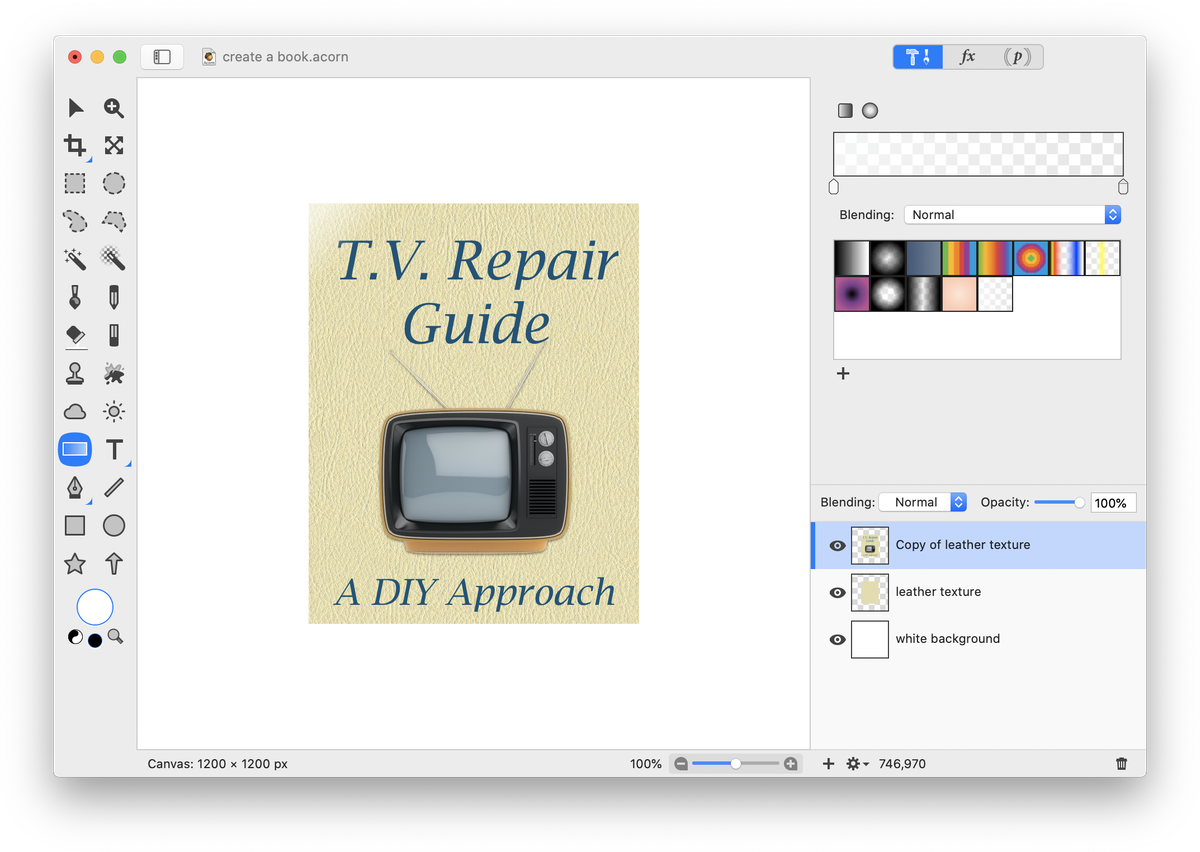
 Go to Select ▸ Make Selection from Layer. Then, choose the Gradient Tool. Create a transparent to 60% opacity white gradient (for more information on how to do this, read up on 'Gradient Tool'). Draw the gradient out diagonally with the white portion in the upper left hand corner. Deselect (⌘D).
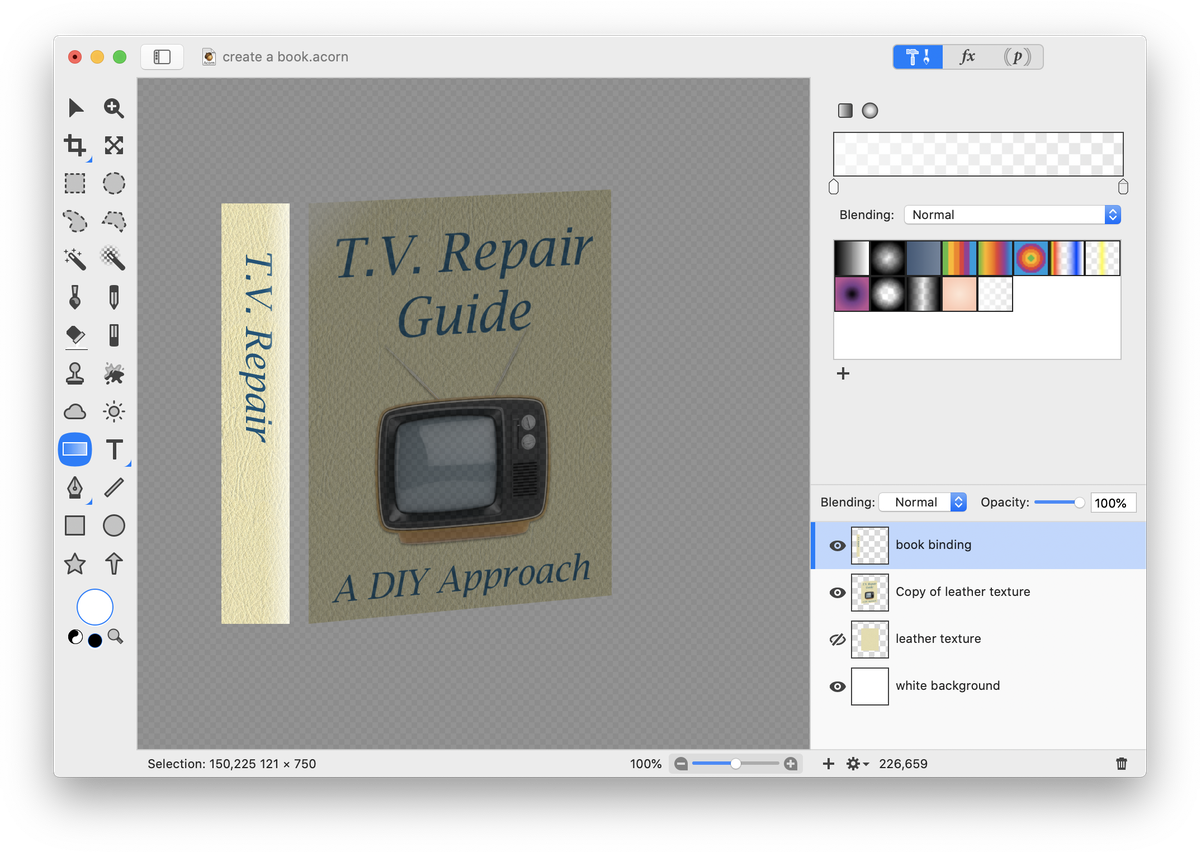
 Hide the visibility of the original ‘leather texture’ layer by clicking on the visibility icon in the layers list. Click on the ‘copy of leather texture’ layer and choose Layer ▸ Rotate and Transform ▸ Perspective Transform. Push the bottom right hand corner in a bit and bring the top right hand corner up to create the appearance of the book sitting at an angle. Double click to commit the transformation.
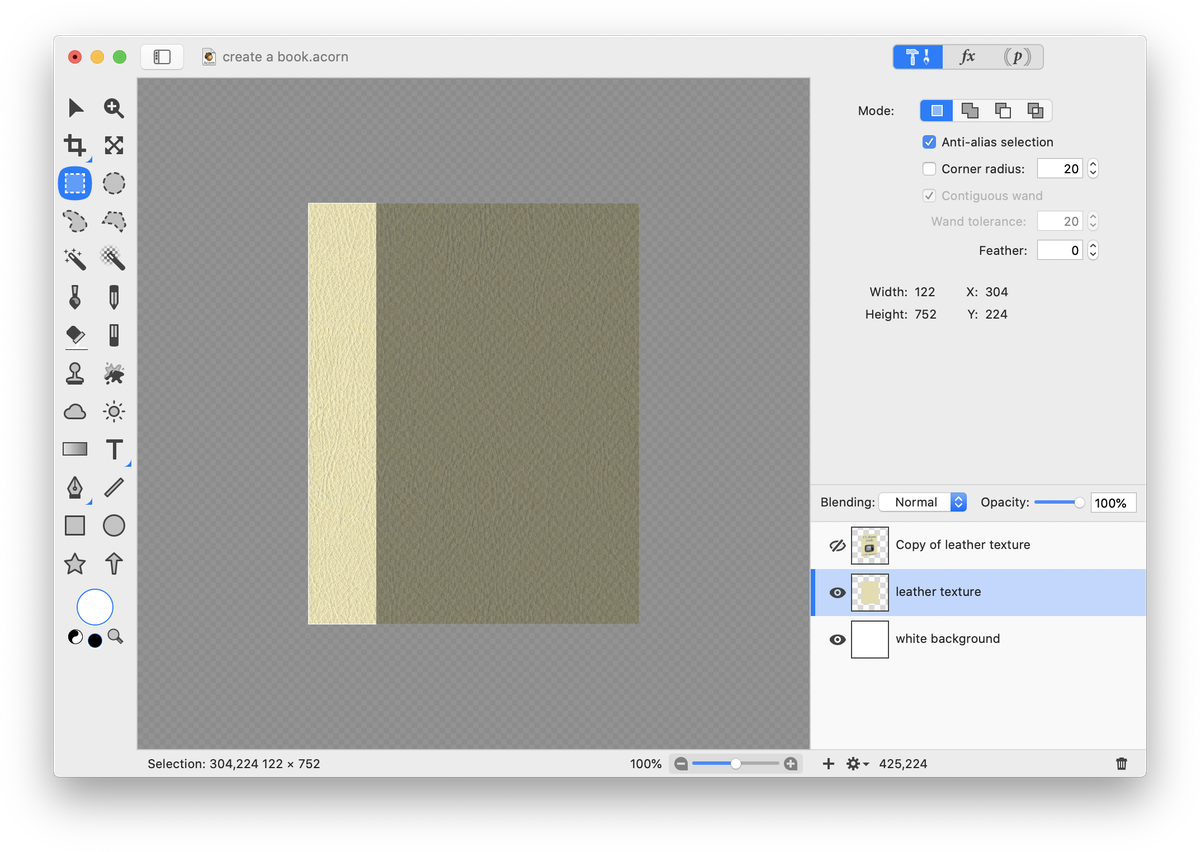
 Hide the visibility of the ‘copy of leather texture layer’. Unhide the visibility of the original leather texture layer. Using the rectangular selection tool, make a selection the length of the leather but only about 1/6 the width. This will serve as the binding end of the book. The selection below is shown as “clipped out” to highlight its position.
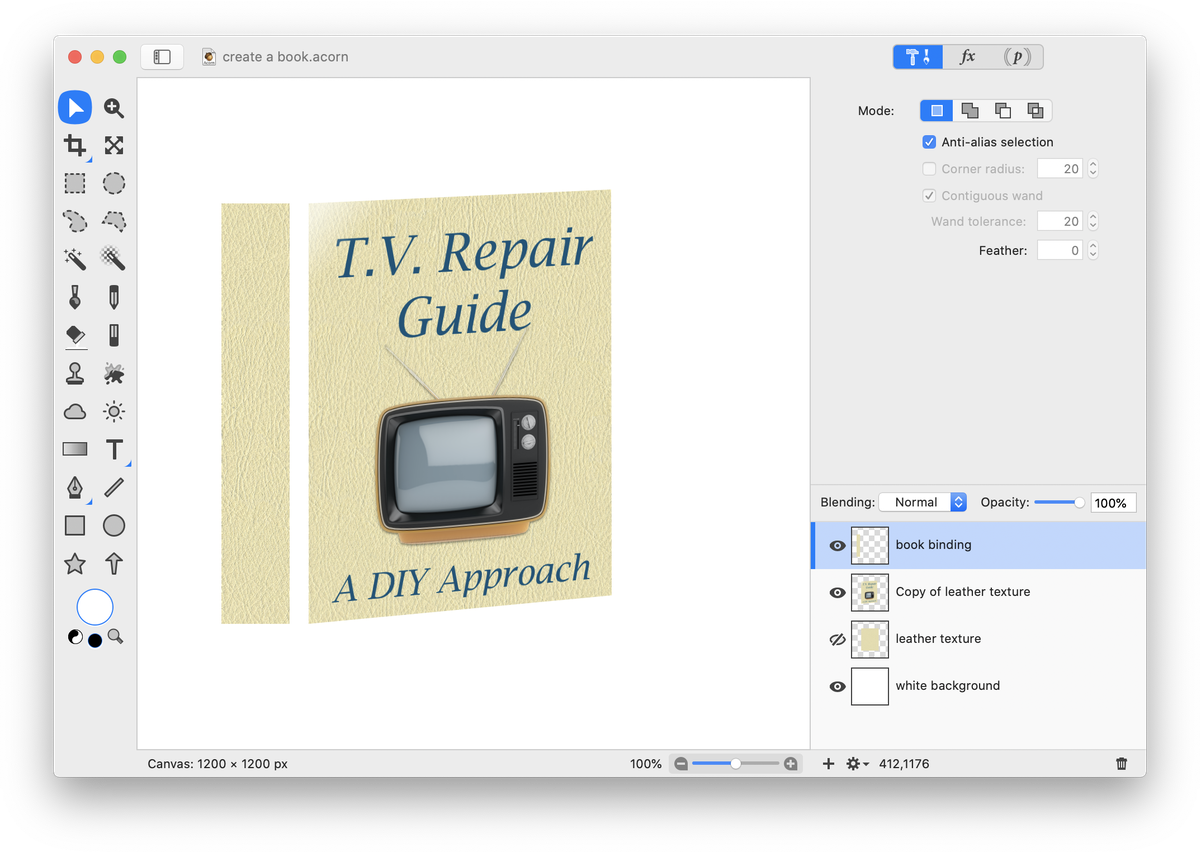
 Choose Edit ▸ Copy (⌘C). Hide the visibility of the leather texture layer, and unhide the copy layer. Paste your selection (⌘P) and deselect (⌘D).
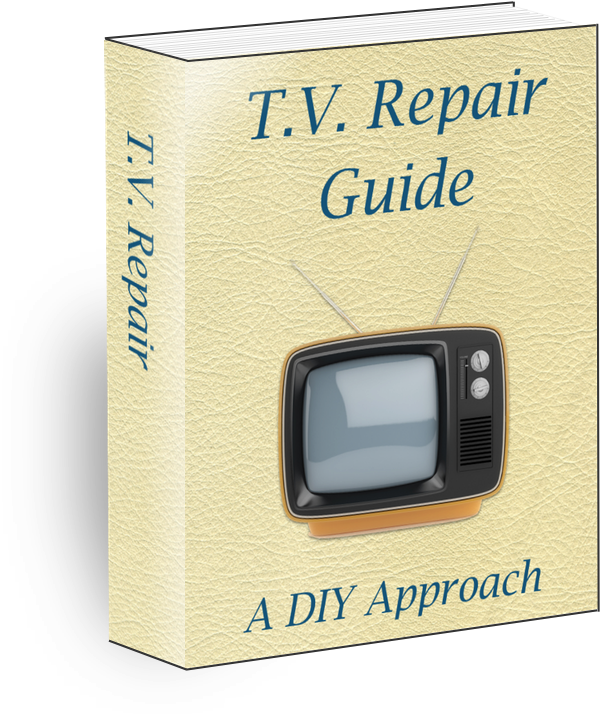
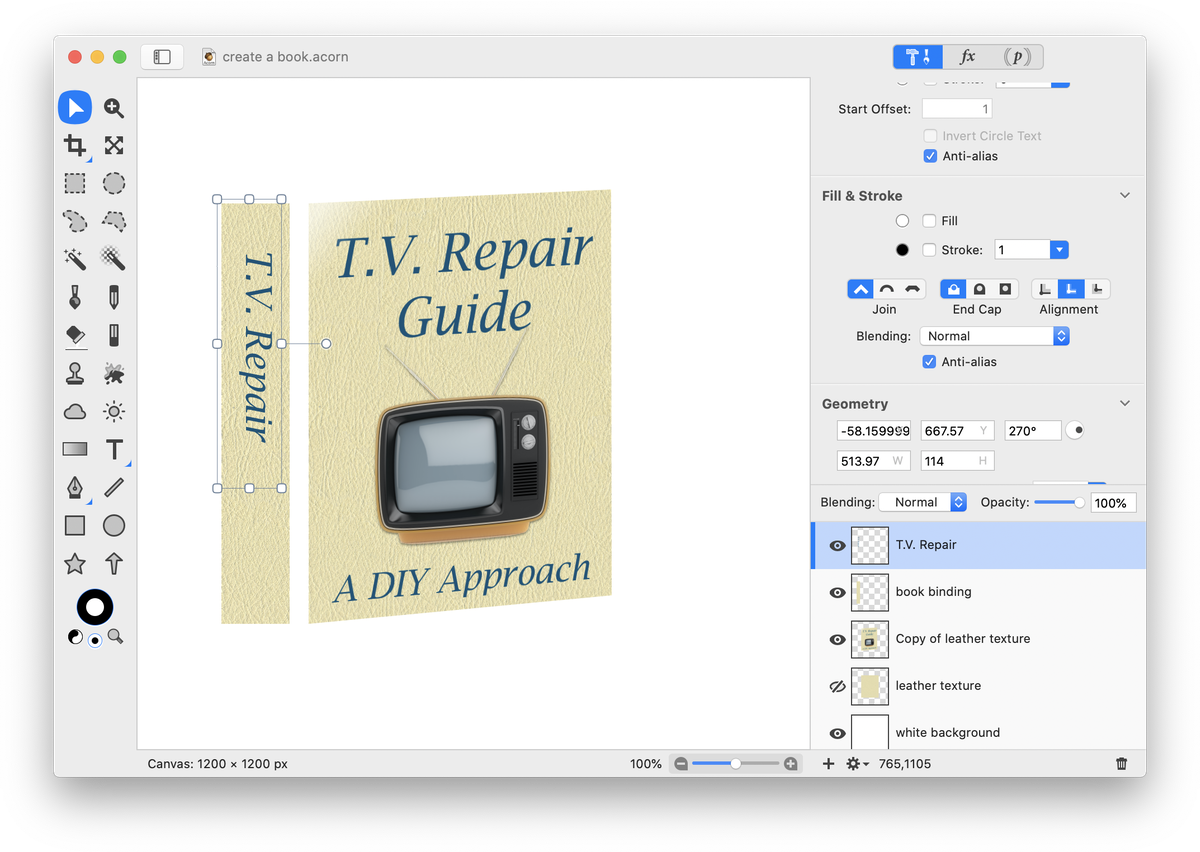
 If you want text on your book binding, type it out, rotate it 90 degrees, and use the move tool to line it up.
 Merge the text layer down to the book binding layer, Layer ▸ Merge Down (⌘E). Go to Select ▸ Make Selection from Layer. Choose the gradient tool again and draw out the same transparent to 60% opacity white gradient as you did previously, but this time have the white portion of the gradient along the right side of the bookend. Deselect (⌘D).
 Choose Layer ▸ Rotate and Transform ▸ Perspective Transform. Push the bottom left hand corner of the bookend in, and bring the top left hand corner up a bit. Double click to commit the transformation.
 Using the move tool, move the bookend to line up with the book cover.
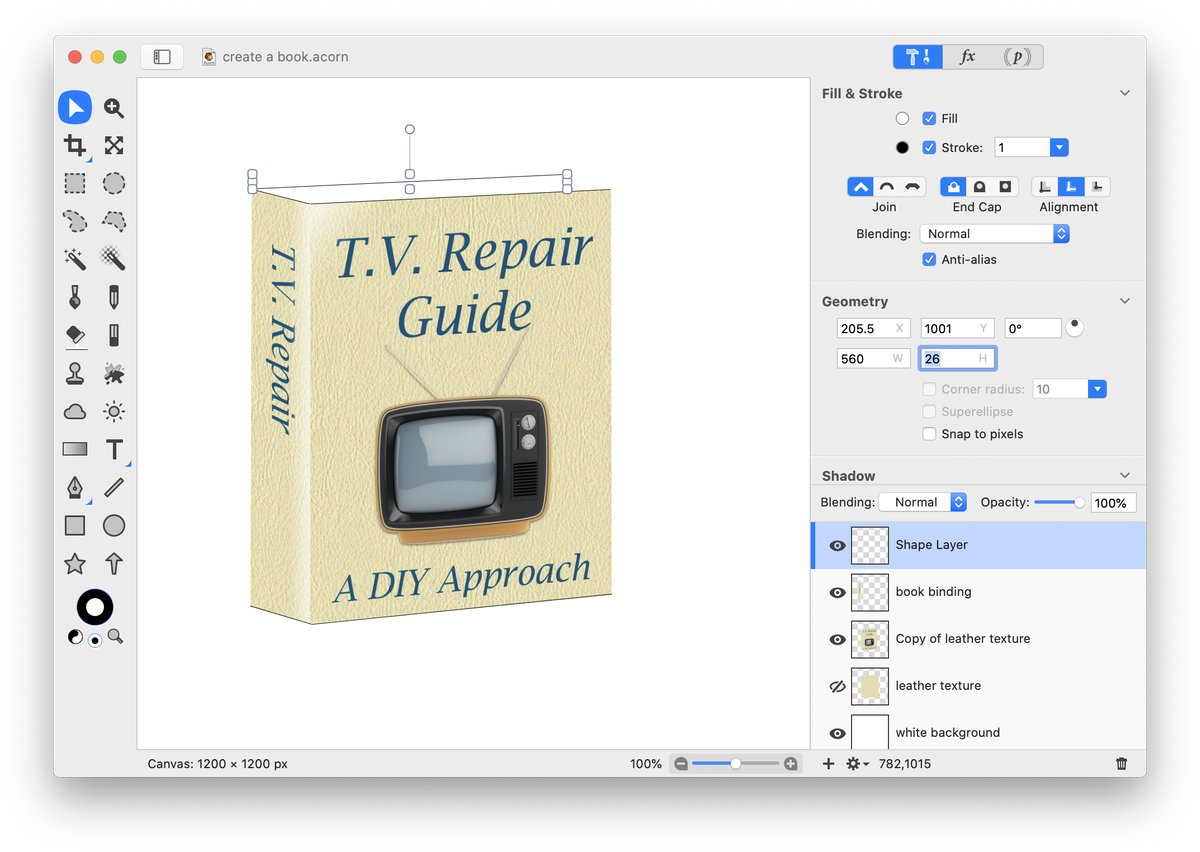
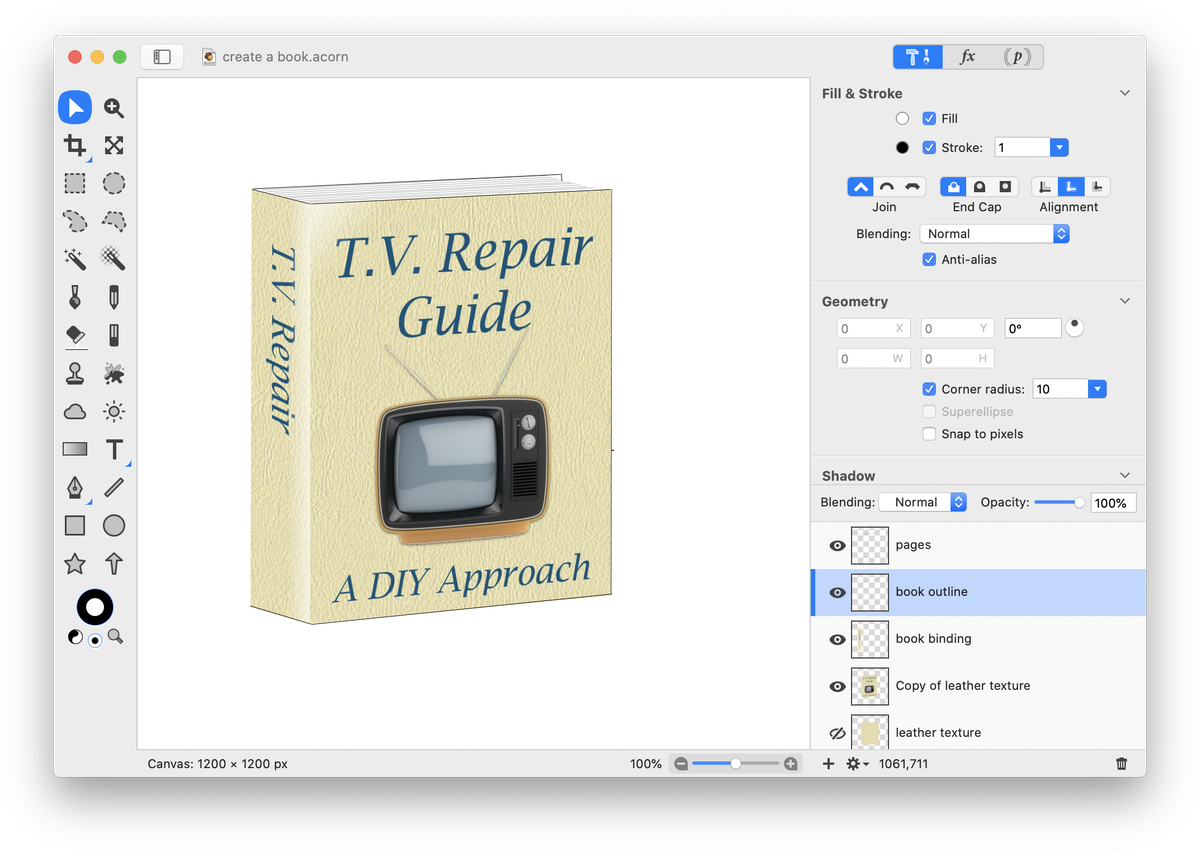
Select the line tool in the tools palette, and create lines outlining the upper and lower boundaries of the book. A black line with a stroke of 1 is used here.
 Add a new shape layer, Layer ▸ New Shape Layer. Draw out even thin gray lines to give the appearance of pages.
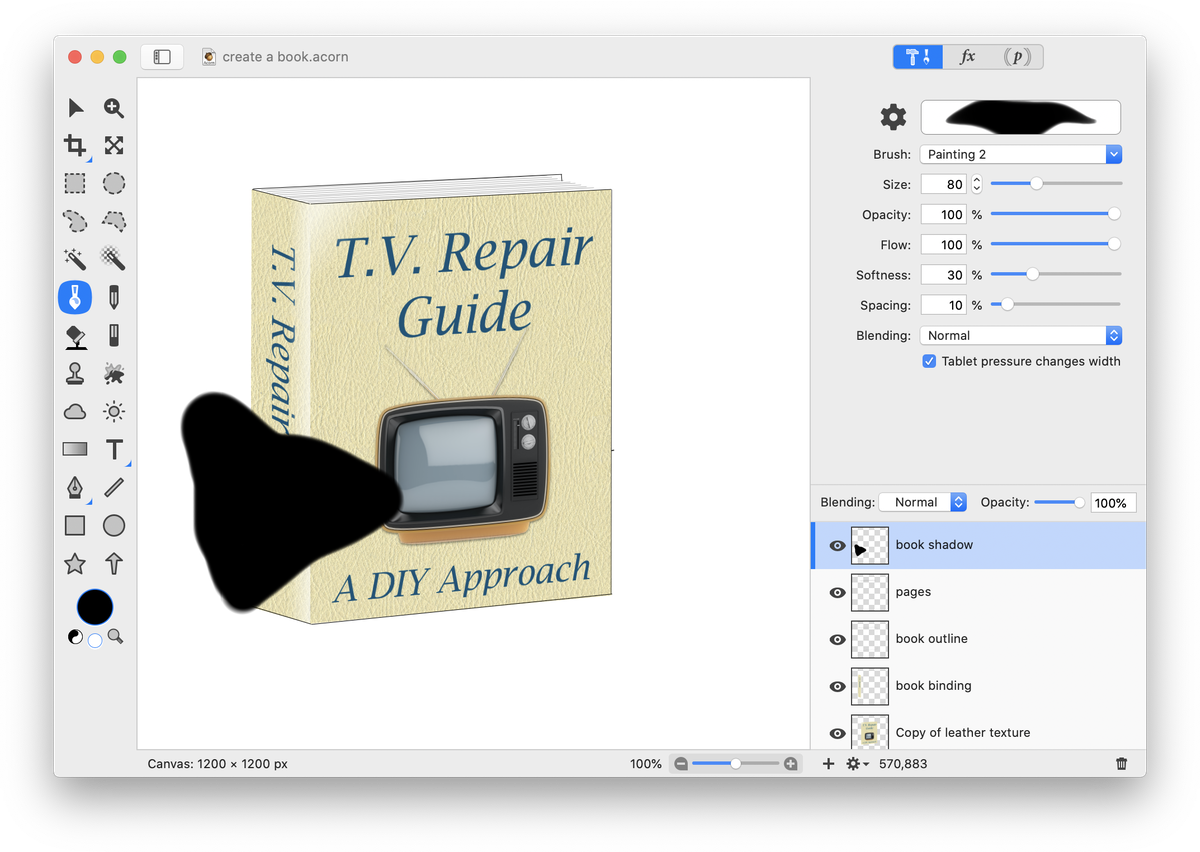
 It's time to give the book a shadow. Create a new layer, Layer ▸ New Layer (⇧⌘N). Choose the paint tool from the tools palette and with a black or dark gray color, draw out a triangular blob.
 Move the shadow layer so that it is second from the bottom in the layers list, just above the white background layer. Choose Filter ▸ Blur ▸ Gaussian Blur. Set the blur to around 50. Decrease the opacity of the book shadow layer to around 60%. Use the move tool or keyboard arrows to move the shadow into place as needed.
 Congratulations on creating a book!
