Heart Path Text
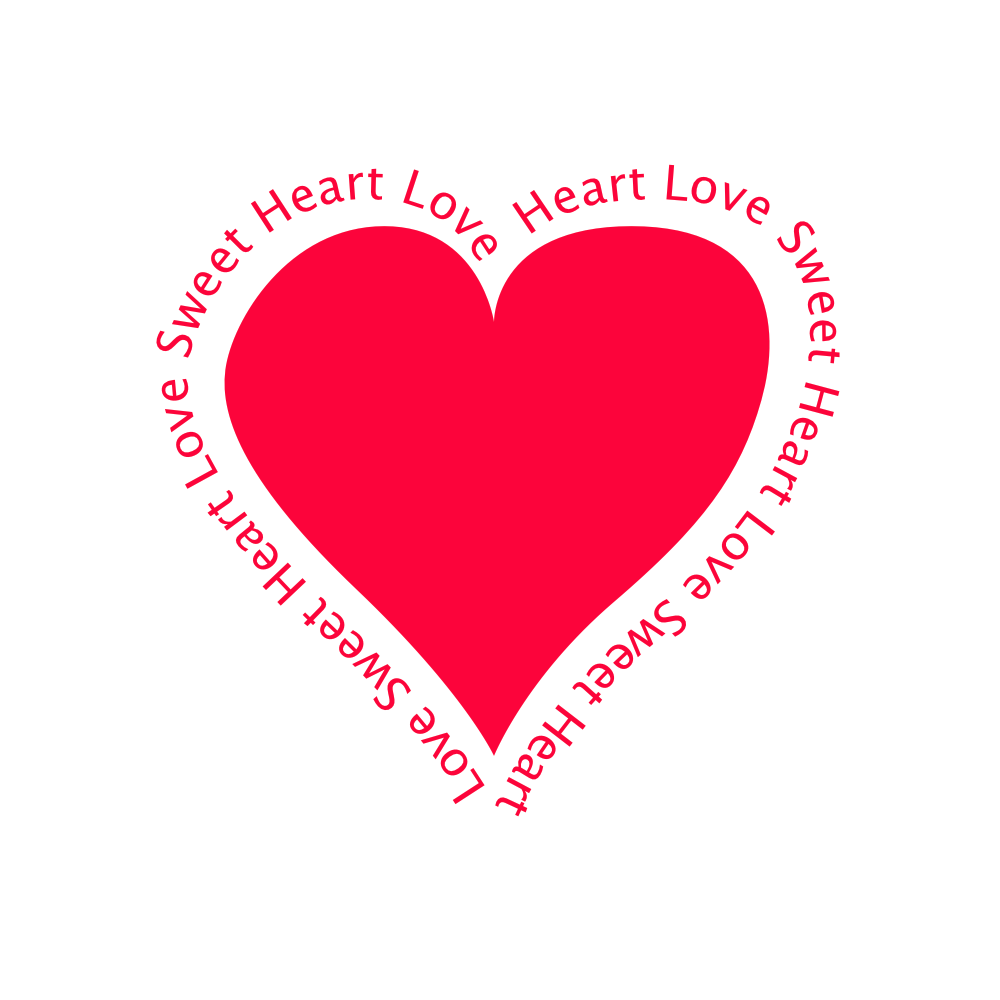
Acorn’s path text makes creating text designs simple. This tutorial will outline how to create a vector heart, then place text around the heart.
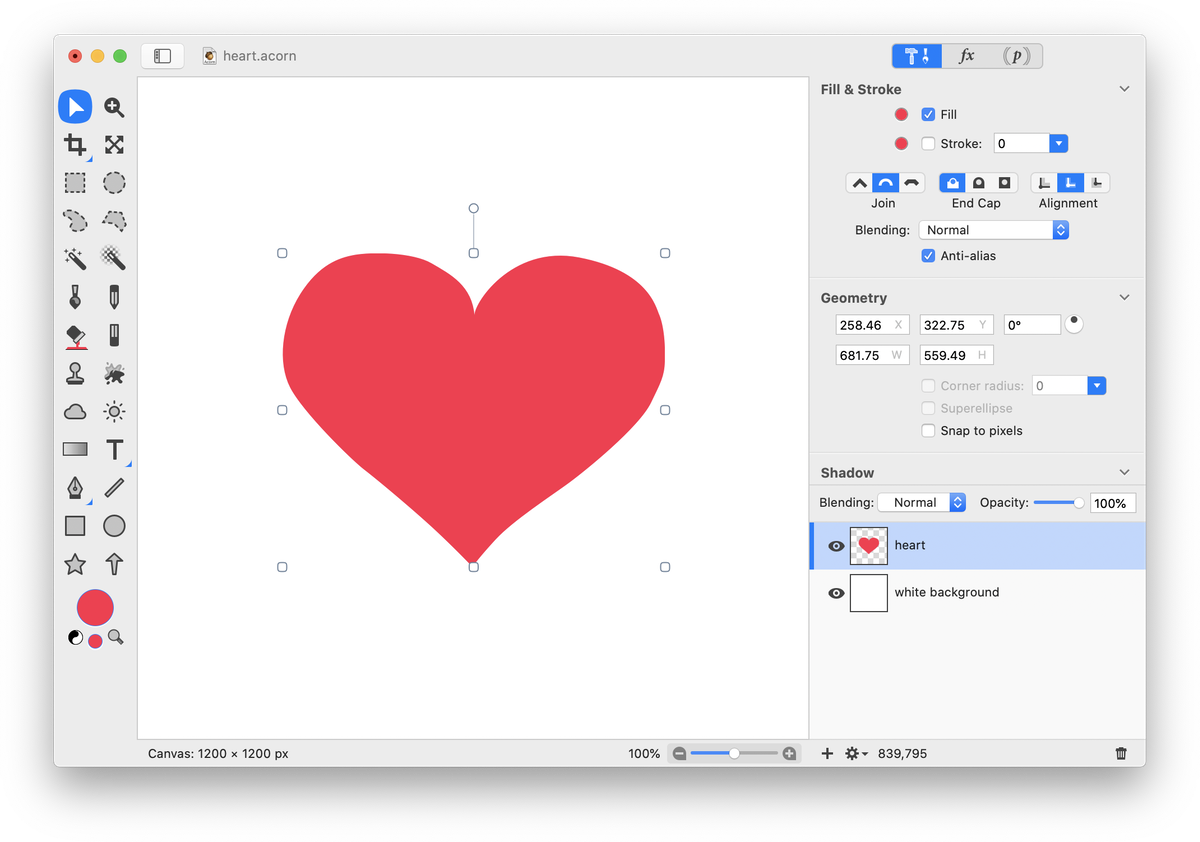
To start, create a new image, File ▸ New. The dimensions used here are 1200 x 1200 pixels with a white background. Select the Bézier pen tool. Be sure to read and watch the video tutorials on how to use this tool: Bezier Curves, Bézier Basics Part 1 (video tutorial), Bézier Basics Part 2 (video tutorial). You can download the heart shape used in this tutorial here.
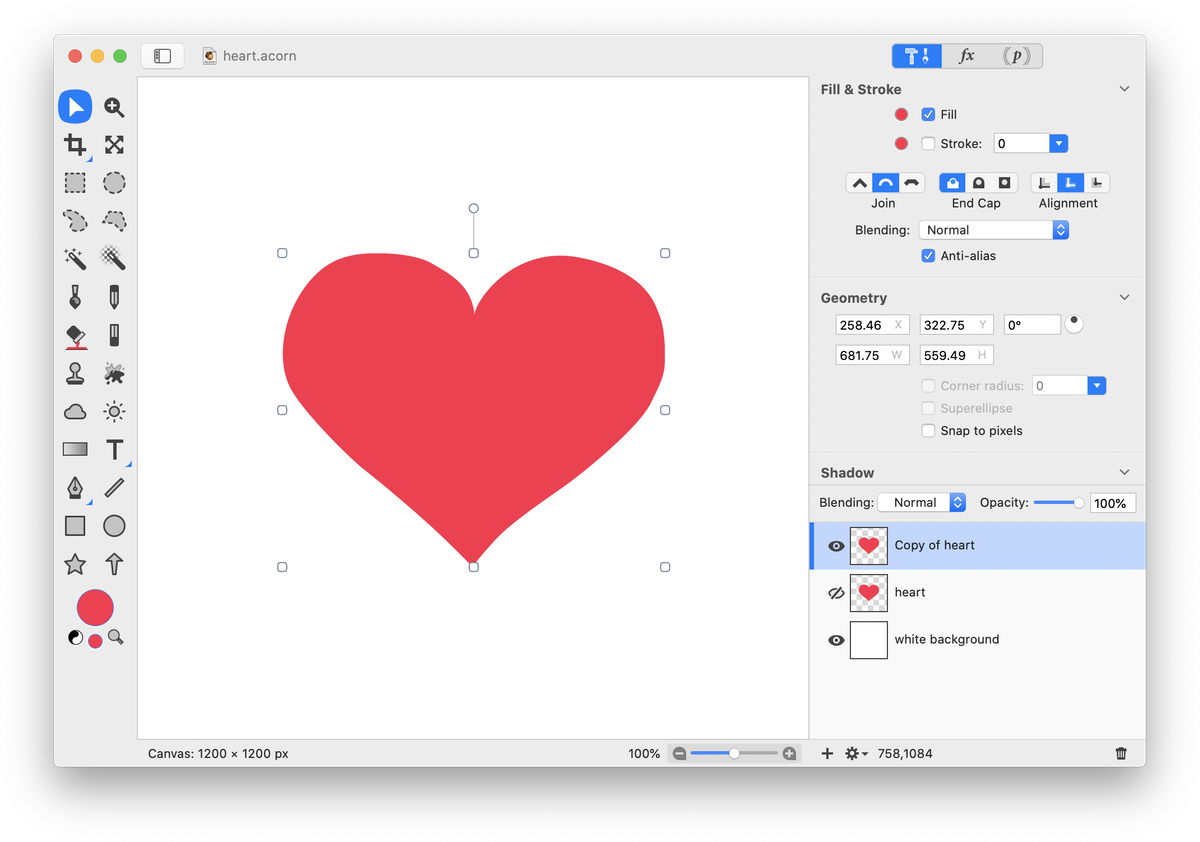
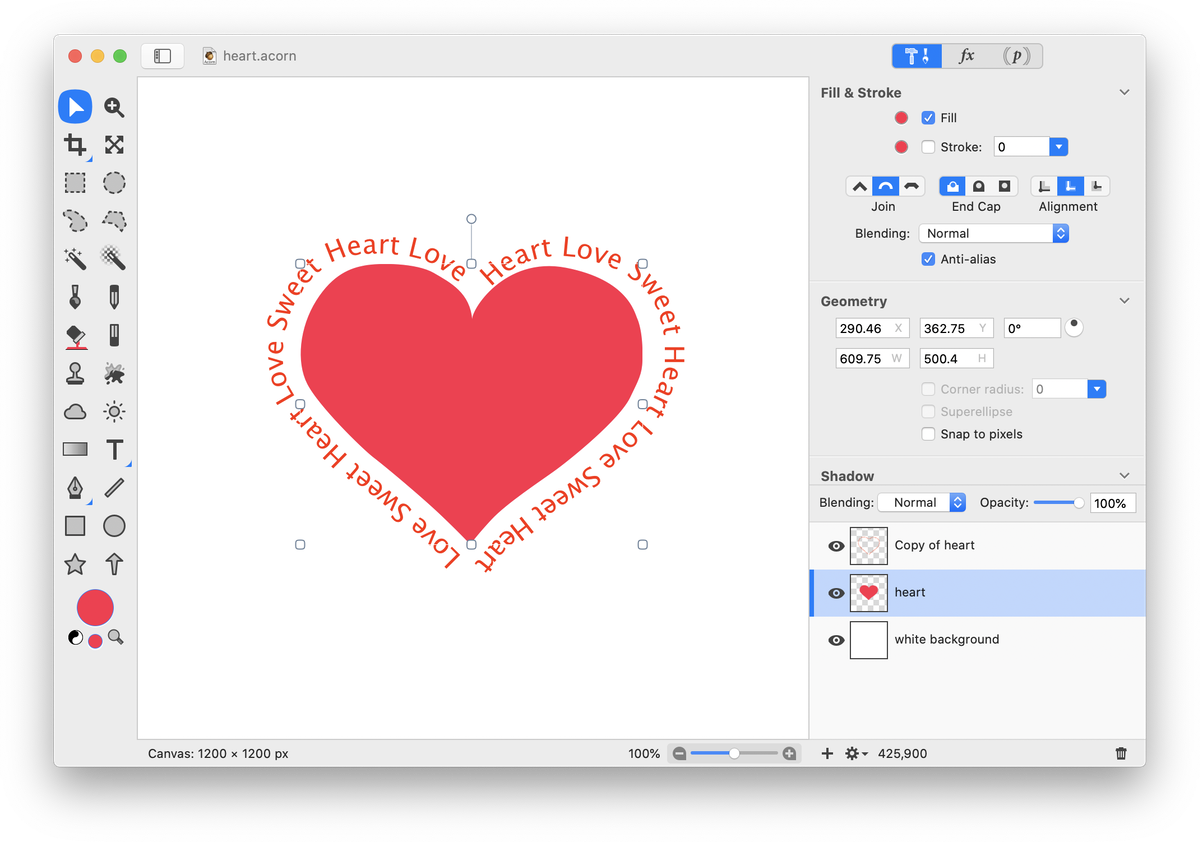
 Once you have your heart shape looking good, go to Edit ▸ Copy, then Layer ▸ New Layer with Selection. You should now have two layers in your layers list with a heart shape. Hide the visibility of lower layer by clicking on the visibility icon. Click on your uppermost layer in the layers list to select it.
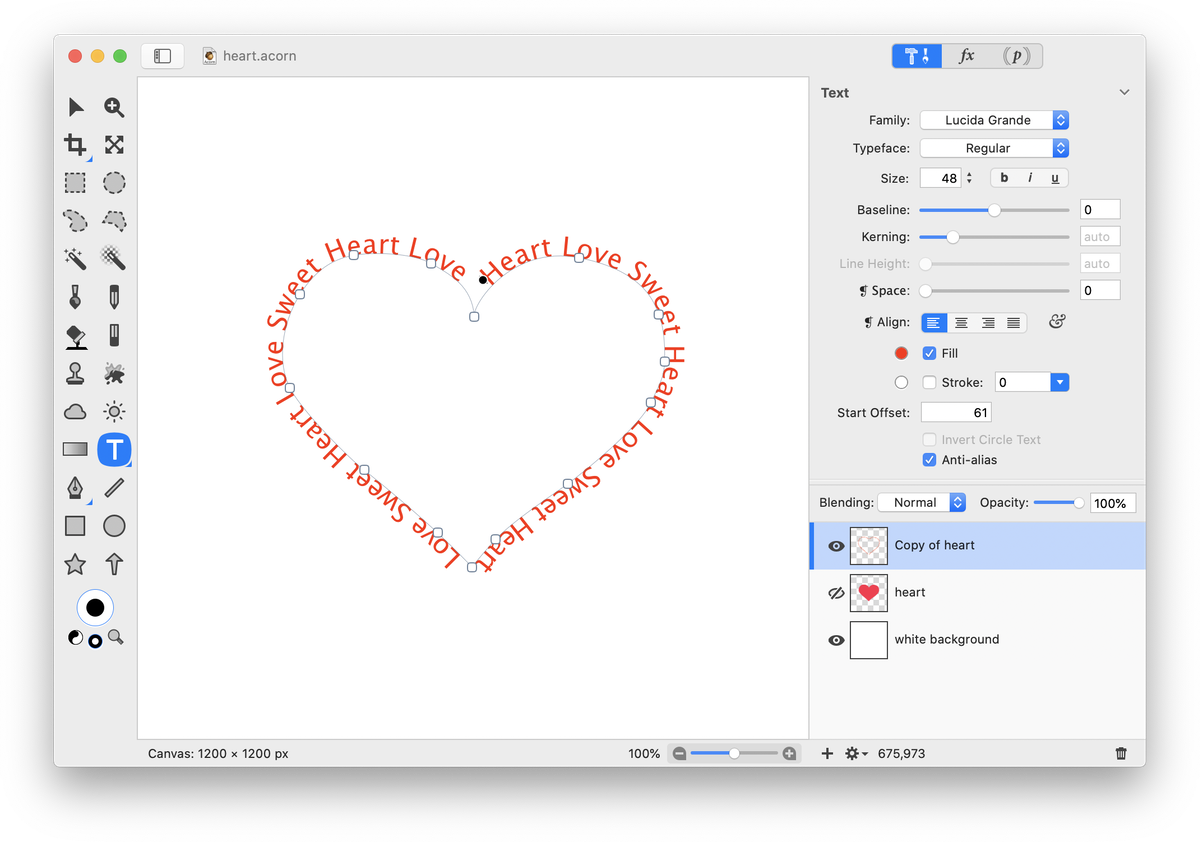
 Click and hold on the text tool and a drop down menu will appear. Choose path text. Click on your shape where you want the path text to start and write out your text.
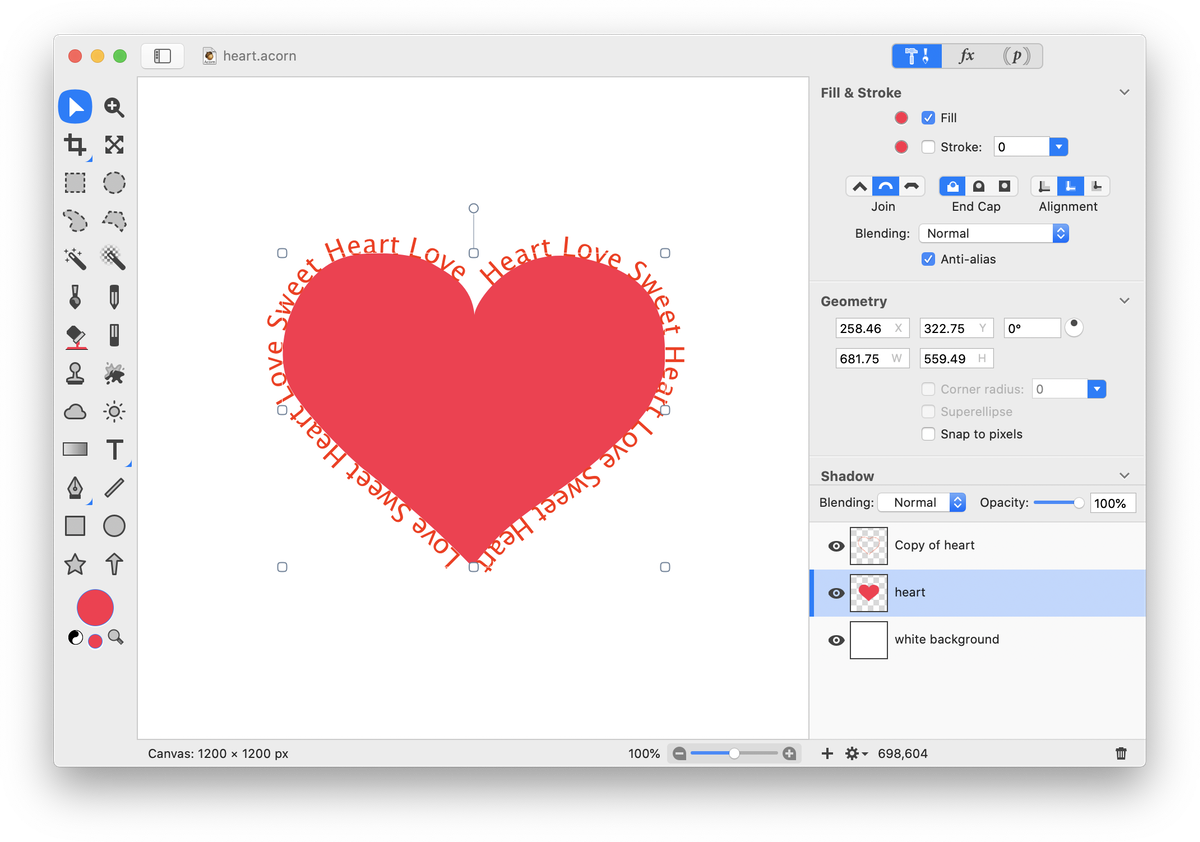
 If you want the heart shape to appear in the middle of your text, click on the visibility icon of the lower heart layer.
 To make the heart shape smaller, click on the heart with the move tool to select it. Hold down the shift key while dragging inwards on a corner boundary. By holding down shift, you can maintain the aspect ratio. Use the move tool to recenter the shape within your text.
 And you’re done!

See Also: Path Text, Path Text on Text, Path Text Basics (video tutorial)
