Vector Clouds
 This tutorial will go over how you can easily create layered vector clouds using shape operations. To start, create a new image in Acorn, File ▸ New. The dimensions used here are 1200 x 1200 pixels with a white background.
Click on the elliptical shape tool. Create 4 overlapping circles towards the left hands side of your image with a very light grey fill and a light blue stroke (a stroke of 10 is used below). Hold down the shift key to create perfect circles. Use the move tool to re-position your circles where you want them.
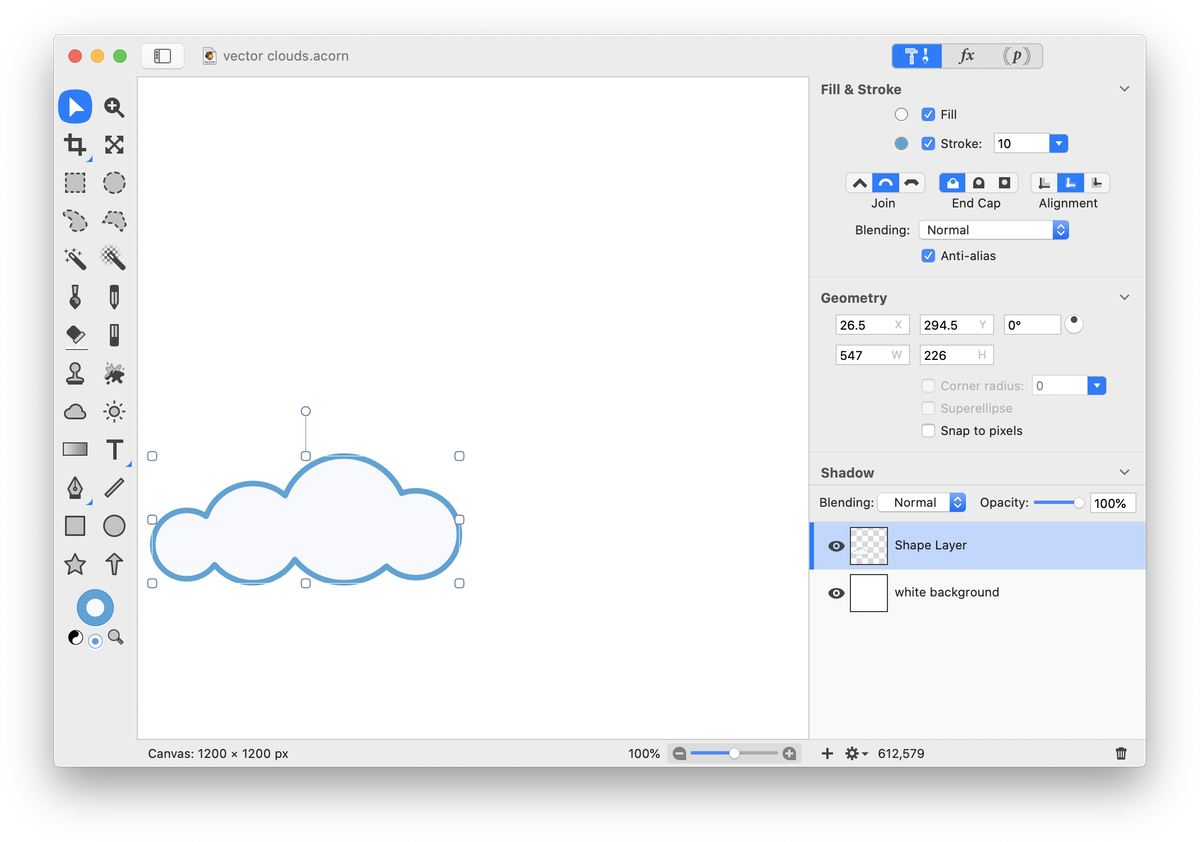
 Go to Select ▸ Select All (⌘A) to select all your circles, then choose Shape ▸ Union Paths to join them into one shape.
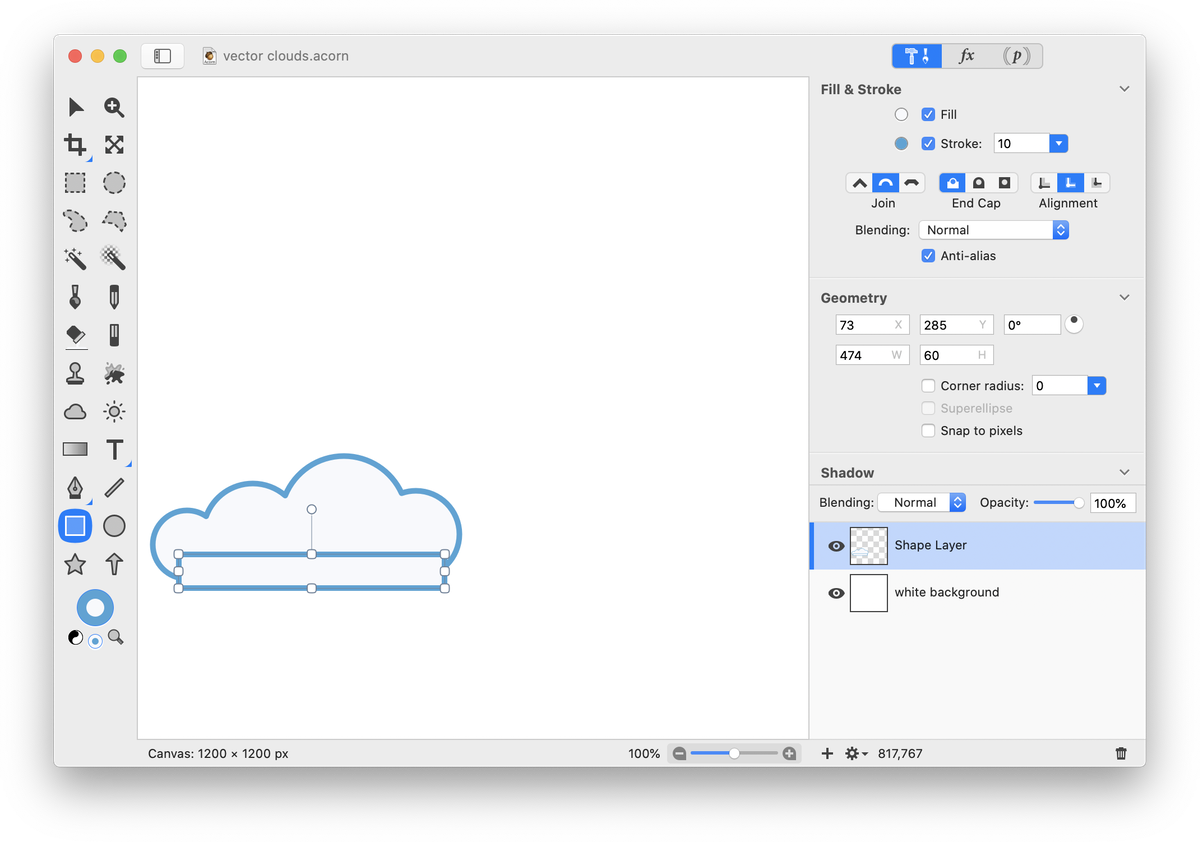
 Select the rectangle shape tool and draw out a rectangle to just barely cover up the bottom part of the clouds. This rectangle will cover up the gaps between the circles to extend the bottom part of the cloud.
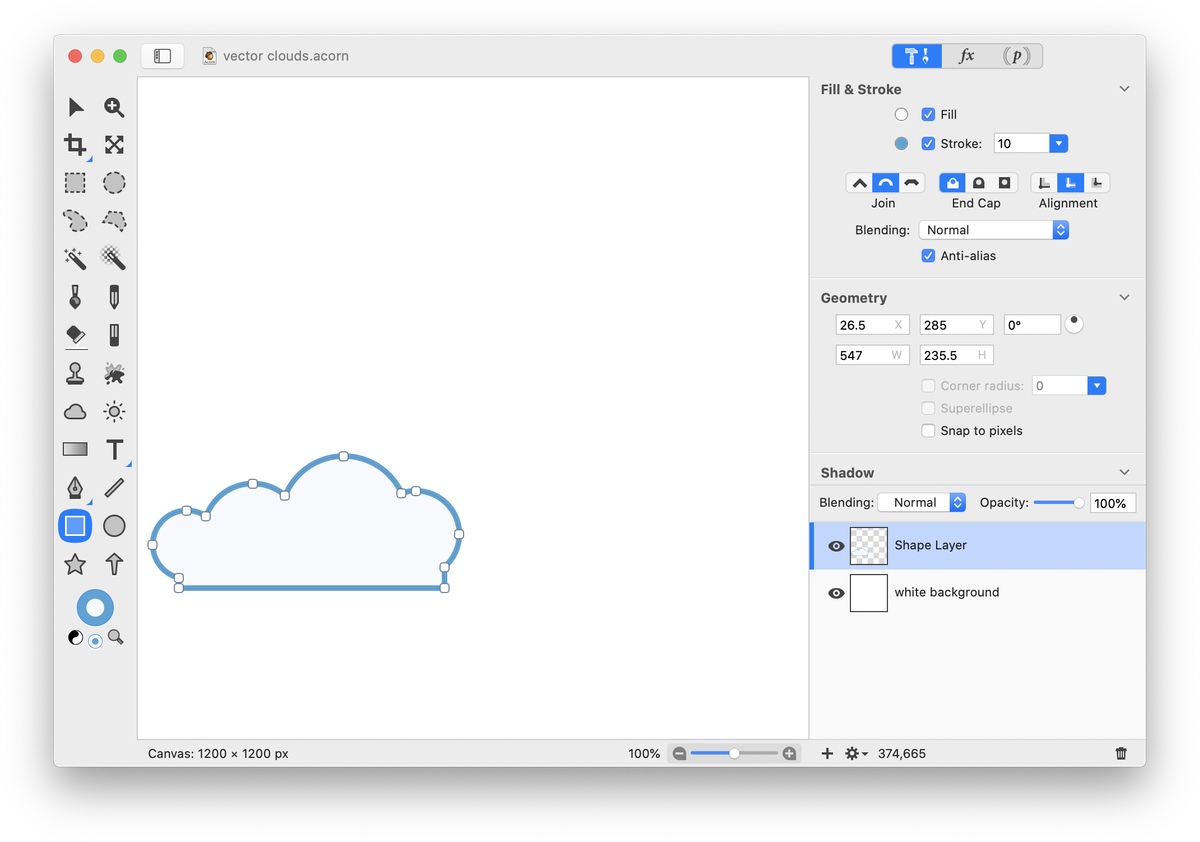
 Select all your shapes again and choose Shape ▸ Union Paths to join them into one shape.
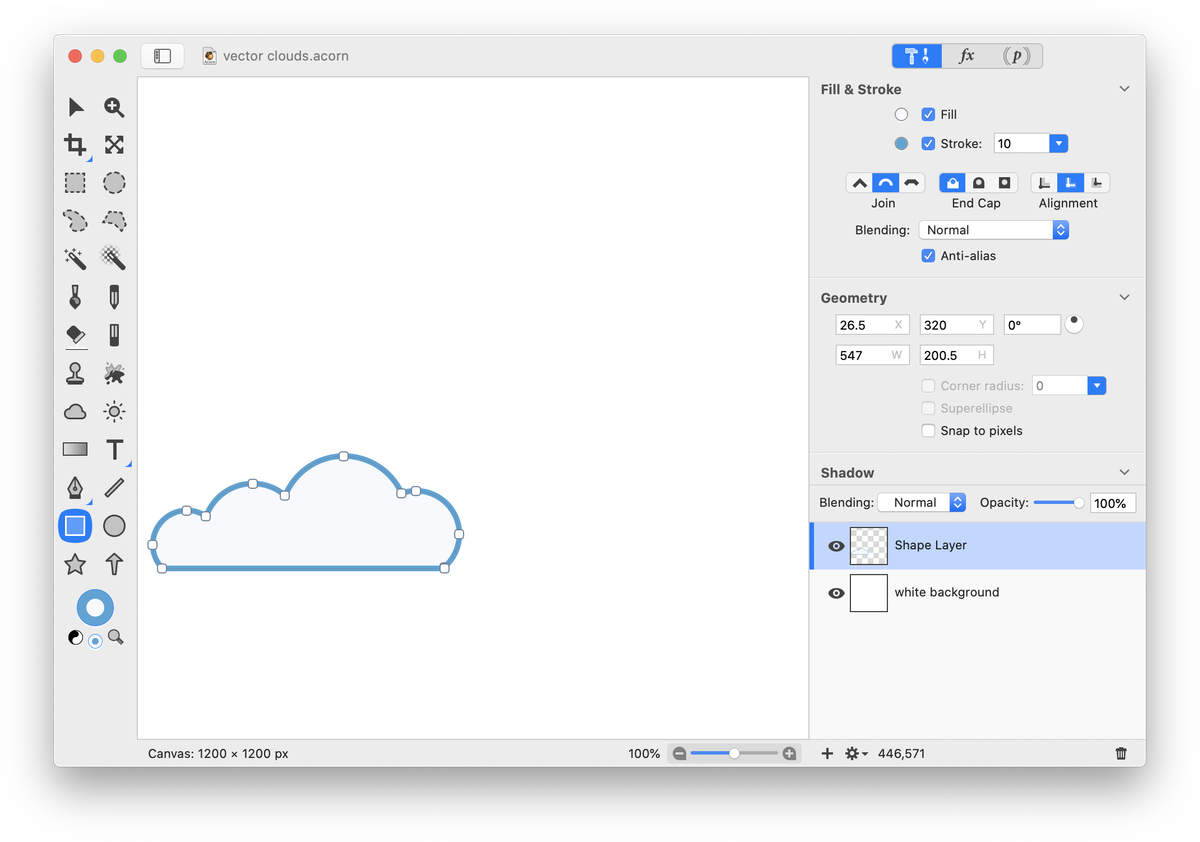
 Draw out another rectangle so it just barely covers up the bottom of the clouds. Select all your shapes again and choose Shape ▸ Difference Paths to subtract the rectangle from the clouds. This will create a flat bottom side to the cloud.
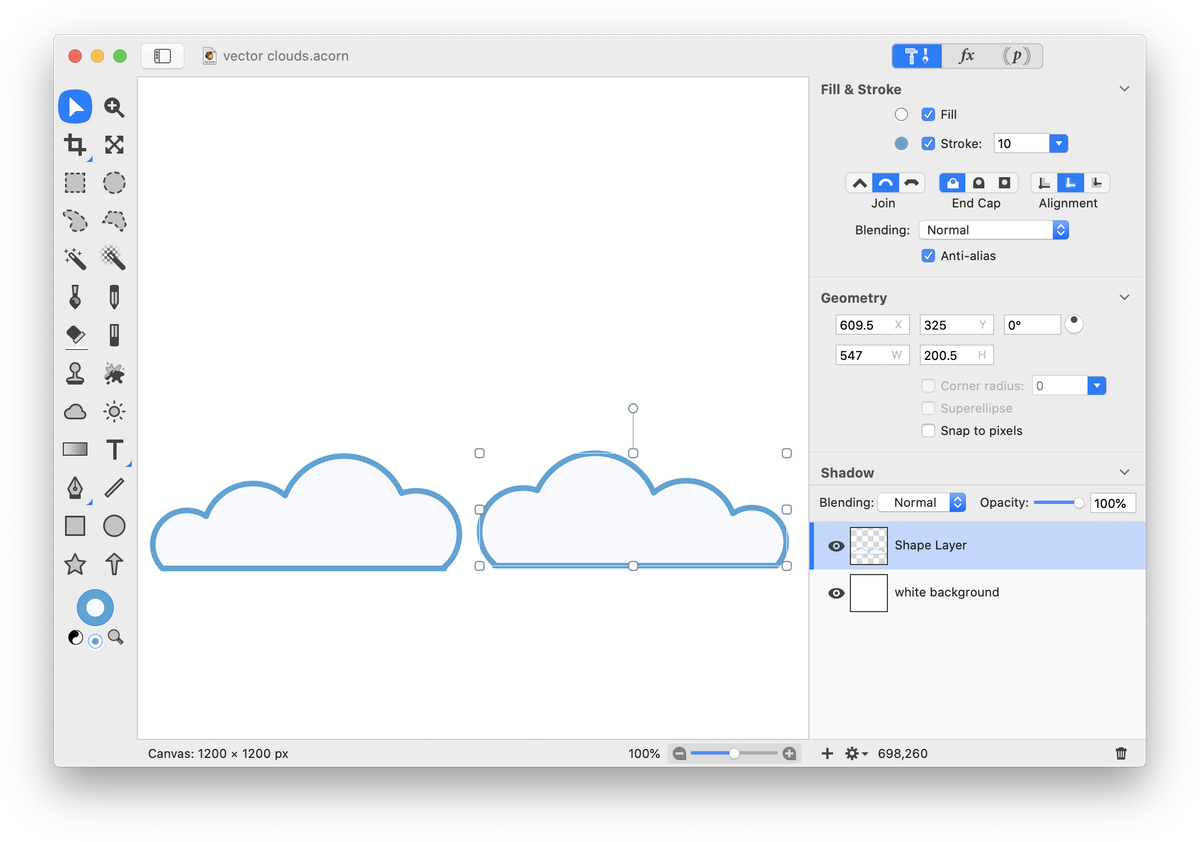
 Now choose Shape ▸ Duplicate Shape and then Shape ▸ Flip Horizontally. Use the move tool to move the duplicate cloud shape into position.
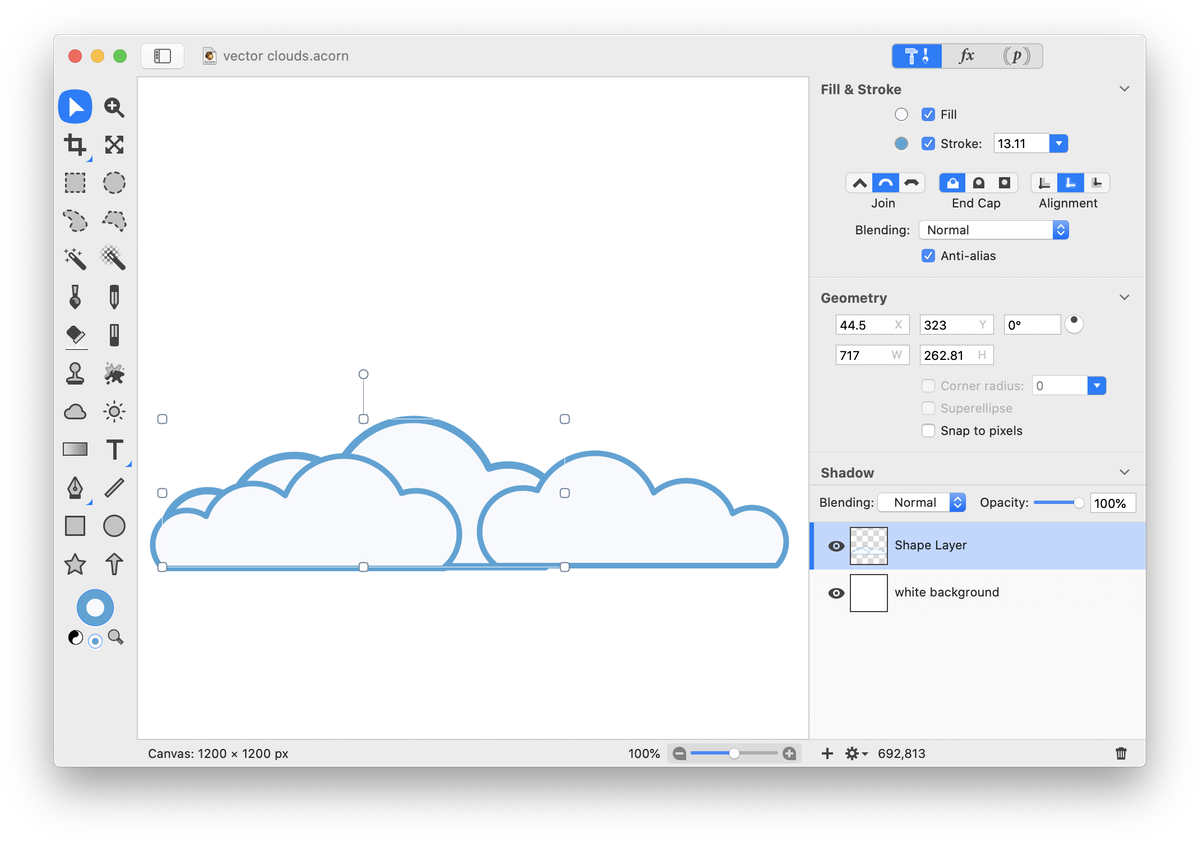
 Using the move tool, select your first cloud shape and duplicate it again. Hold down the shift key and drag on a corner of the selected shape to make it larger. By holding down the shift key you are keeping the aspect ratio intact. Choose Shape ▸ Arrange ▸ Send to Back.
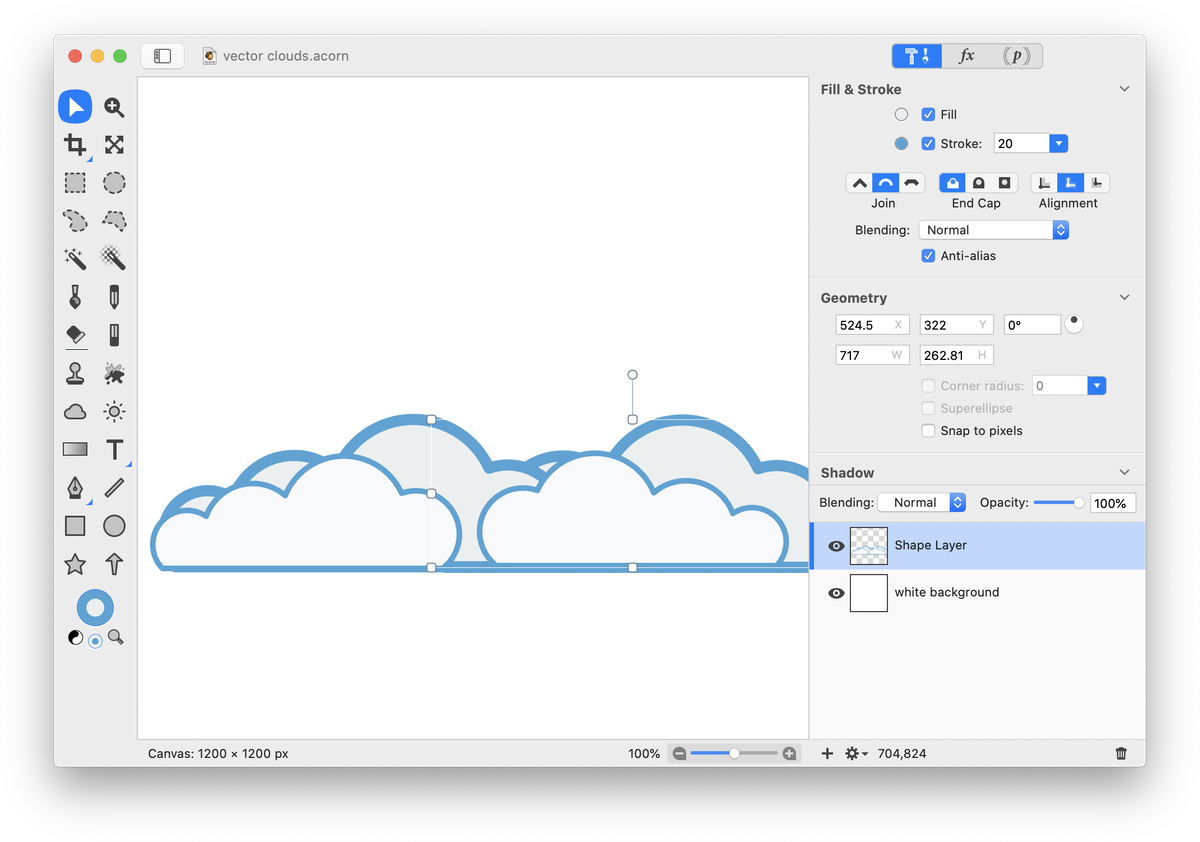
 With the duplicate enlarged shape still selected, change the fill color to a slightly darker gray and increase the stroke to 20. Duplicate this shape, choose Shape ▸ Arrange ▸ Send to Back, and use the move tool to move the duplicate into position.
 Enjoy your pretty vector clouds!
 You can also easily duplicate and rearrange your cloud shapes to create a more layered look:


