Shape Processor

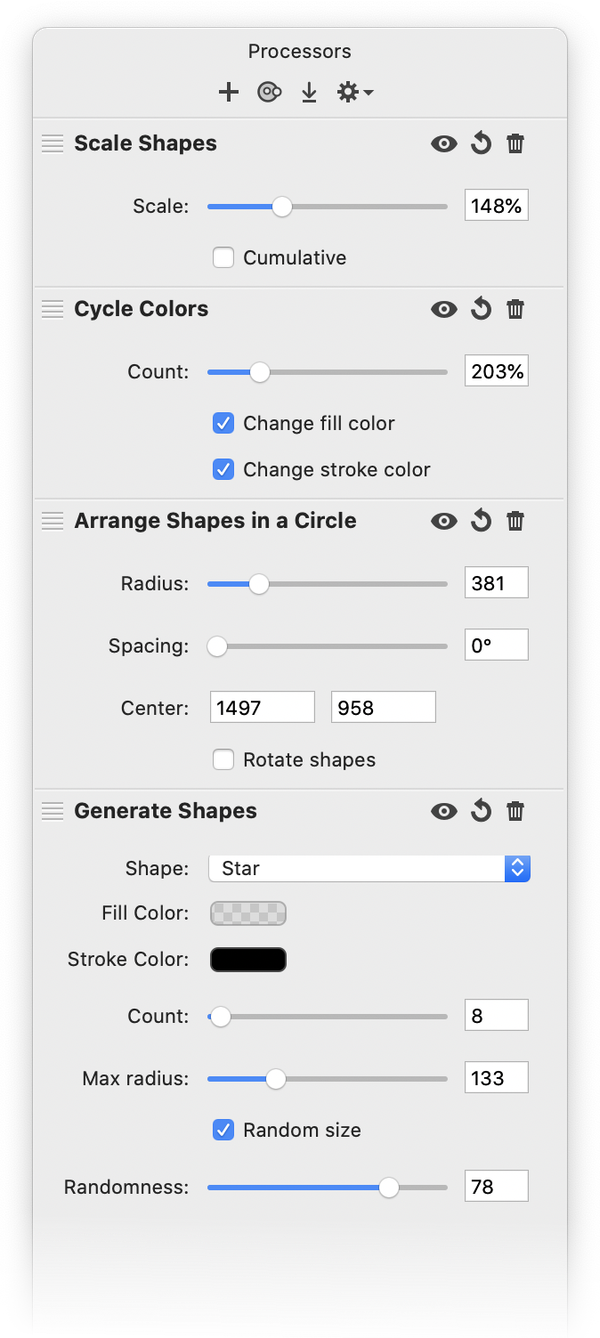
One option to get started is to choose the Shape ▸ Process ▸ Generate Shapes menu item. Acorn will create a new shape layer, and the shape processor window will appear. From there you can modify your generated shapes and add on more options by clicking the cogwheel located on the lower left-hand corner of the window.
The shape processor can also be used on shapes you create yourself. Draw out some shapes using Acorn’s shape tools. Select all the shapes in the layer you want to process. Navigate to Shape ▸ Process. Choose an option, and the shape processor window will appear.
You will know if your layer has active shape processing by the presence of a ‘p’ towards the right hand side of the layer in the layers list.
Shape Processor Basics
Adding Processes: Once you have selected an option, you can add more by clicking on the ‘+’ button in the upper left hand corner of the processor window.
Removing Processes: To delete any option, click on the garbage can icon in the upper right hand corner of that options parameters.
Moving Processes: To move an option up or down in the processor list, just drag and drop it to the location you desire.
Committing Processes: ![]() To make the processor effect permanent on your layer, click the ‘Flatten’ button at the top of the processor window. You will not be able to further edit the processes you have performed unless you undo subsequent work. Flattening will allow you to individually edit the shapes. You can leave your effects open to further modification in the future if you don't click ‘Flatten’.
To make the processor effect permanent on your layer, click the ‘Flatten’ button at the top of the processor window. You will not be able to further edit the processes you have performed unless you undo subsequent work. Flattening will allow you to individually edit the shapes. You can leave your effects open to further modification in the future if you don't click ‘Flatten’.
Duplicating Processes: Hold down the option key while clicking and dragging on a process. Place the duplicated process where you want it in the shape processor window.
Copying Processes: To copy a process, click on the cogwheel on the upper bar of the processor window and choose 'Copy Processes’. You can then select a different layer in your layers list and paste the process in (⌘V or Edit ▸ Paste).
Visibility: Click on the visibility eye icon next to the process in the shape processor window to toggle its visibility.
Resetting Values: You can reset all the values in a process by clicking the circular arrow located between the process visibility and delete buttons. To reset individual values in a process double click on that values name label.
Editing Individual Shapes: Option-click the p icon in the layer list to disable shape processors. When this happens, you can interact with shapes on the layer. You can edit processed shapes separately after you click the ‘Flatten’ button located at the top of the processor window. The shapes will be editable as ’bézier shapes’. For more information on bézier shapes, read here.
Adjusting Shape Processor Parameters
![]()
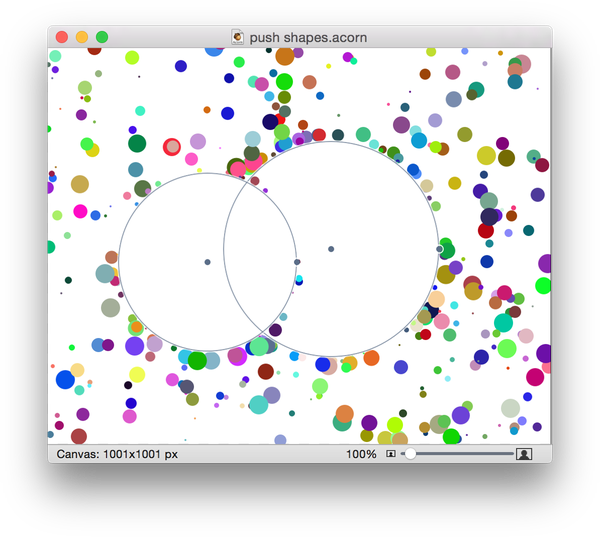
Many processes have values you can adjust in the processor window through sliders or number entry. Some processes contain options that can be manipulated directly on your image such as the 'Center' and 'Radius' options for the ‘Arrange Shapes in a Circle’ process. To toggle the visibility of 'on image' controls, click the button to the right of the cogwheel in the lower left hand corner of the shape processor window.
Quick Shape Processor
Go to Shape ▸ Quick Process to bring up a mini version of the Shape Processor. Available options include offset, duplicate, rotate, and scale. JavaScript can be used to customize shapes.
Shape Processor Examples
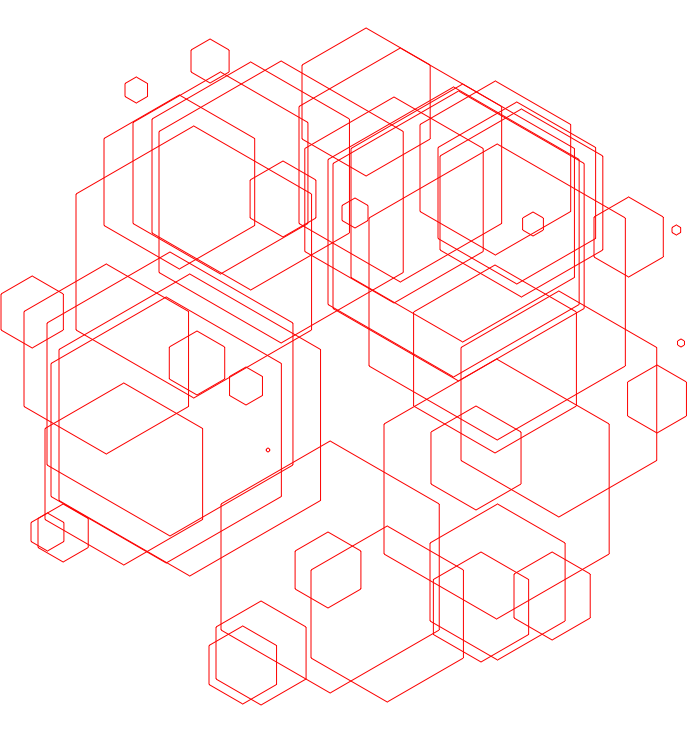
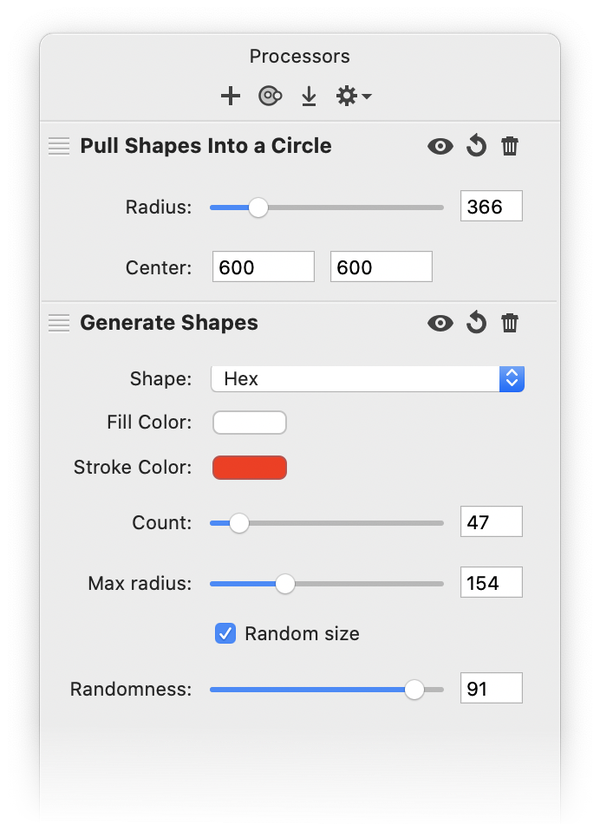
Below are several examples of simple designs you can create using Acorn’s shape processor. The first design was created using only the shape processor. The hex’s have no fill and a stroke of 6.

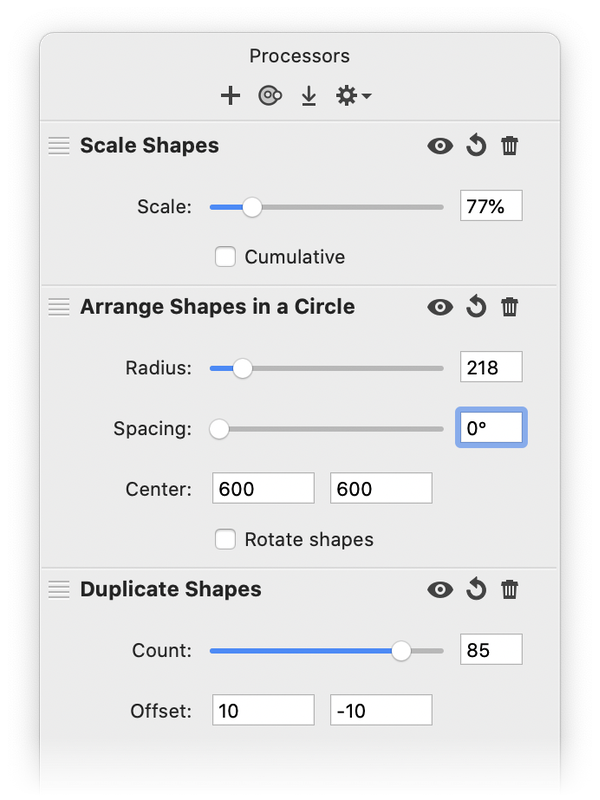
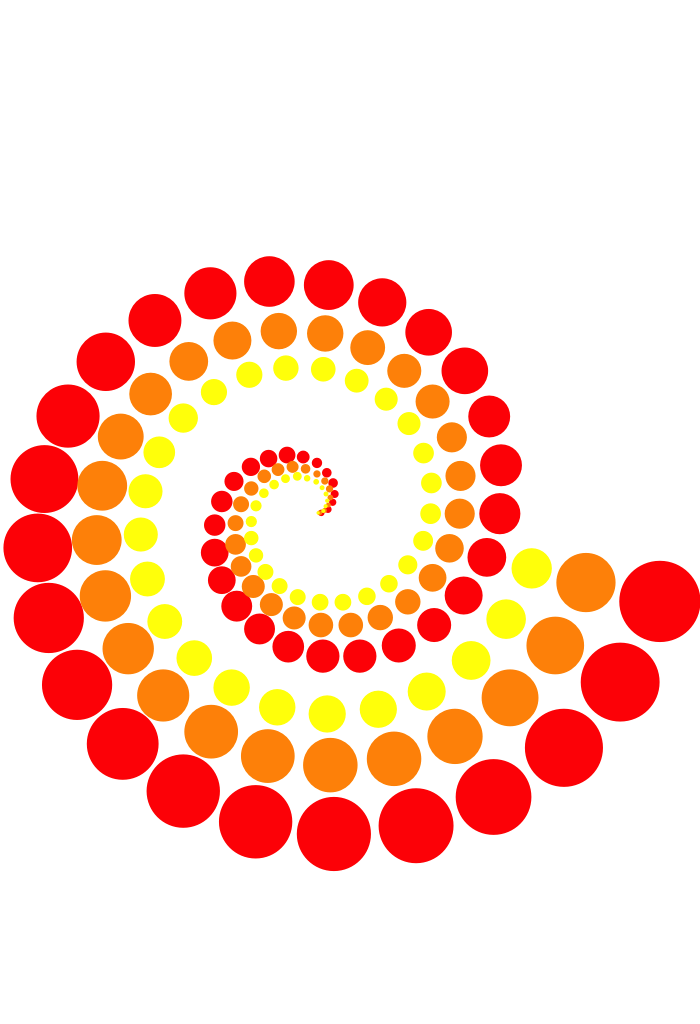
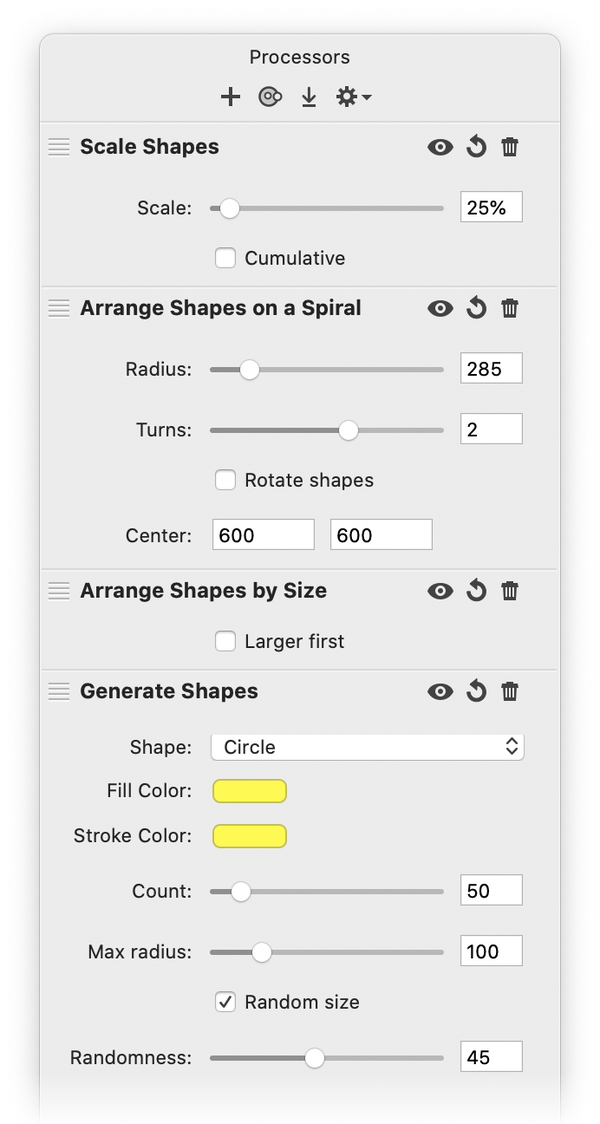
For more examples of shape processor designs, click here.
Pro Tip
To create some really neat effects, try adding filters to your shape processing layer!
Additional Relevant Documentation
Shape Processor (video tutorial)
Shape Processor Designs
Shape Processor Flowers