Using Filters in Acorn
Filter Introduction
Filters are an amazingly easy way to change your image in original and unique ways. What are filters? Filters are effects that can be applied to single layers, group layers, shape layers, and selections. With a little bit of fiddling, filters can create things you never even imagined!
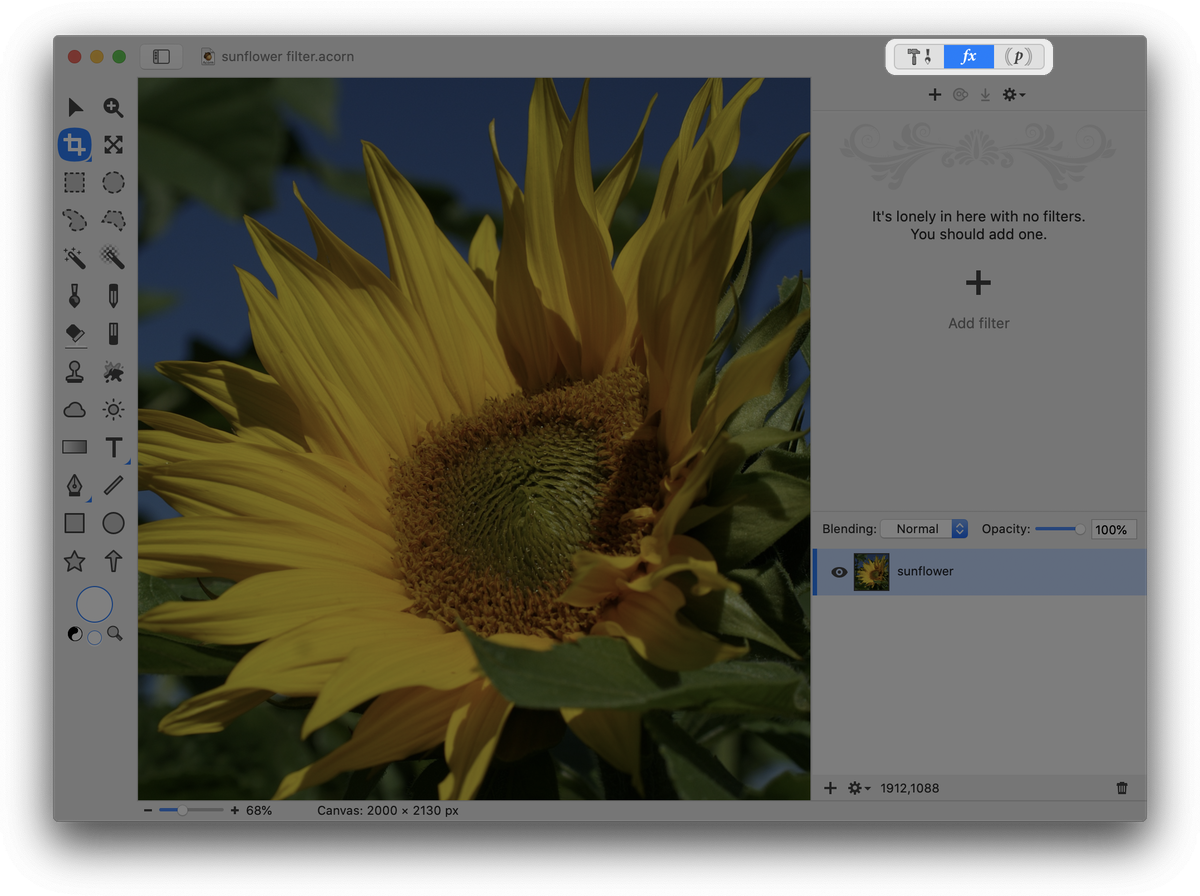
To get started, select the layer you wish to work with in the layers list. This example will use an image of a sunflower.
Bring up the filter window by either picking a filter from the filter menu item or clicking the 'fx' button in the top right hand corner of the inspector palette. You can also use keyboard shortcut ⇧⌘F.
If you need to change the values of the filter later, just return to the filters window by double clicking the 'fx' located next to the layer in the layers list, or use the filters button on the upper right hand corner of the inspector.
Filter Basics
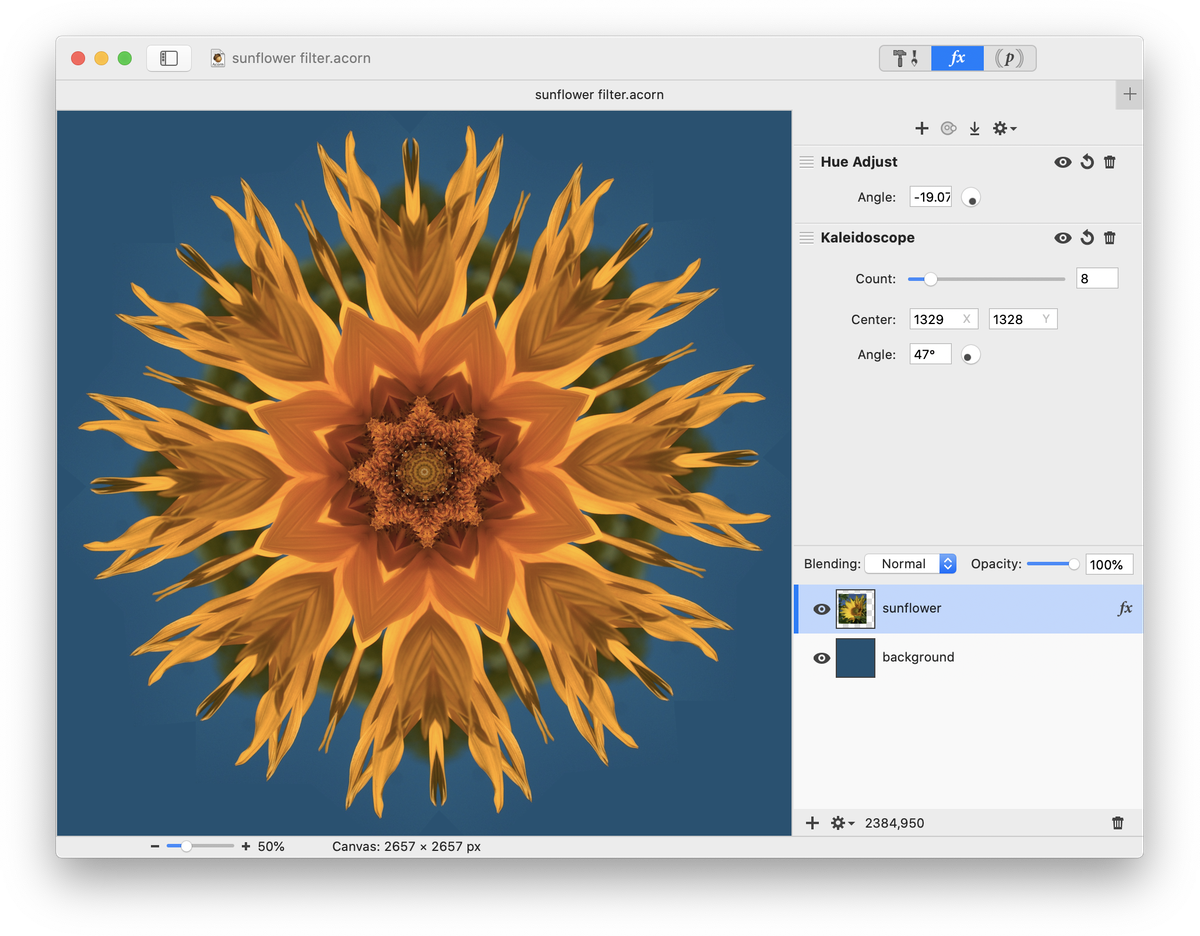
Adding Filters: Once you have selected a filter, you can add more filters to the same layer by clicking on the '+' button in the upper portion of the filter window.
Removing Filters: To remove any filter, click on the trashcan in the upper right hand corner of that filter’s parameters.
Moving Filters: To move a filter up or down in the filters list, just drag and drop it to the location you desire.
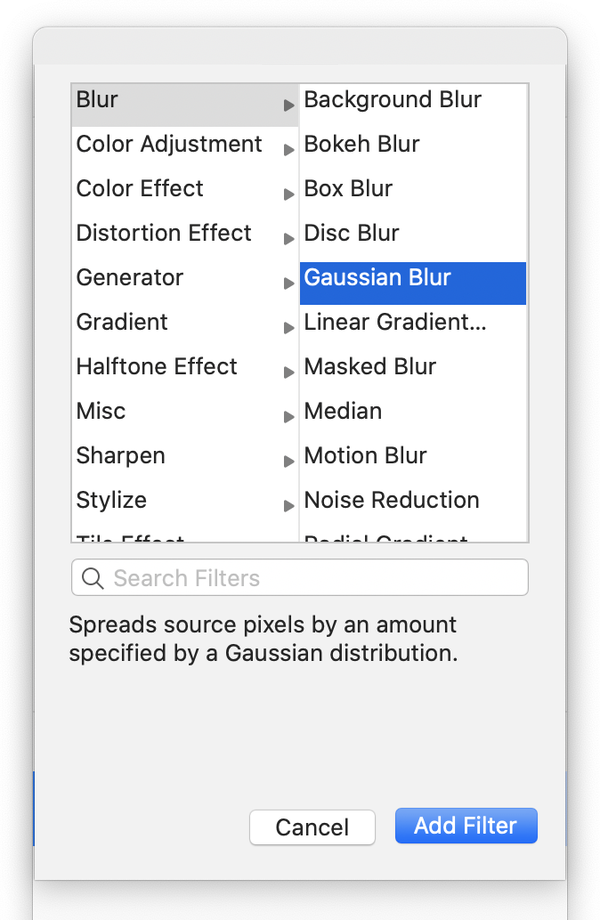 Search Filters: Click the 'fx' button, then the ‘+’ button. The filter search field will appear. Once you've added a filter, you can click the '+' button again to access filter search.
Copying Filters: To copy a filter, click on the action menu in the upper righthand side of the filter window and choose 'Copy filter'. You can then select a different layer in your layers list and paste the filter in (⌘V or Edit ▸ Paste).
Committing Filters: To make the filter effect permanent on your layer, click the 'Flatten' button located on the upper portion of the filter window. You can also choose Layer ▸ Flatten Layer Filters. To flatten all filters across multiple layers present in your image go to the Layers menu item, hold down the option key, and the "Flatten Layer Filters" menu item changes to "Flatten All Layer Filters". You can leave your filter effects open to further modification in the future if you don't click 'Flatten'.
Visibility: Click on the eye next to the filter in the filter window to toggle its visibility. If you wish to toggle the visibility of all the filters in your list you can hold down the option key while clicking the 'fx' in the layers list. Holding down the backslash key ('') will temporarily switch off any layer filters you have on selected layers.
Reseting Filter Values: You can reset all the values in a filter by clicking the circular arrow located between the filter visibility and delete buttons. To reset individual values in a layer filter double click on that values name label.
Enable/Disable Layer Filters: Control click (or right click) on the layer in the layers list to bring up a contextual menu with these options. You can also navigate to Layer ▸ Enable/Disable Layer Filter.
Filter Description: If you select a filter in the filters window, a brief description will appear at the bottom of the window.
Last Filter: The Filter ▸ Last Filter menu item is enabled when you hit the "Flatten" button in the filter window. You can then use keyboard shortcut Command-F to add the last filter chain to another layer.
Adjusting Filter Parameters
![]()
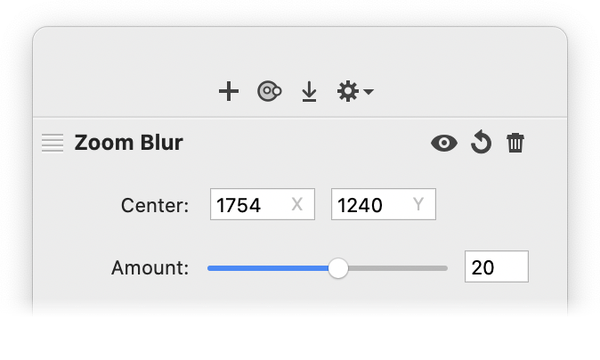
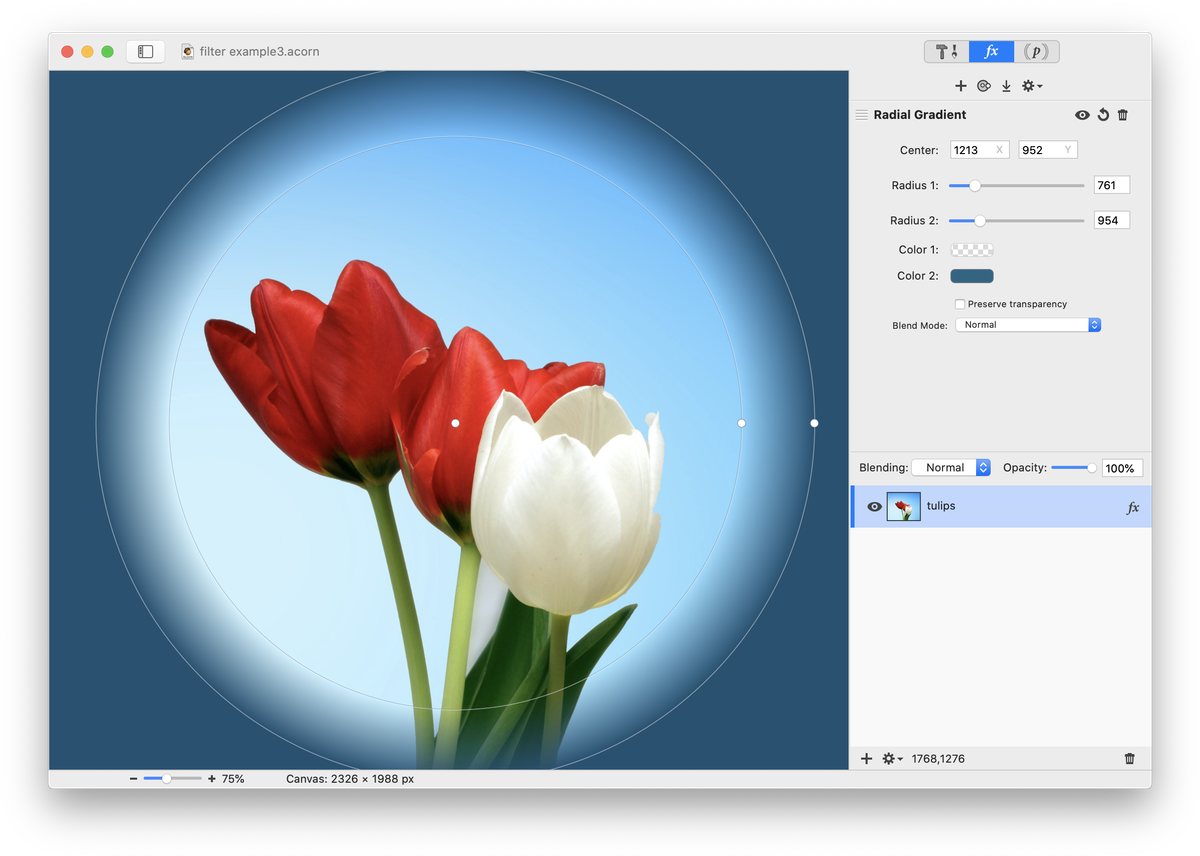
Many filters have values you can adjust in the filters window through sliders or number entry. Some filters contain options that can be manipulated directly on your image such as the 'Center' and 'Radius' options for the radial gradient filter. To toggle the visibility of 'on image' filter controls, click the button to the right of the ‘+’ in the upper portion of the filter window.
Lookup Table (LUT)
LUTs are an easy way to enhance images. To install LUTs, drag and drop the LUT file into Acorn's application support folder (Finder ▸ Go ▸ Library (hold down option key for Library to appear) ▸ Application Support ▸ Acorn ▸ LUTs). You will need to quit and restart Acorn for the LUT filter to be present in Acorn's filter window. Imported LUTs can be found under Filter ▸ Color Adjustment ▸ Lookup Table ▸ LUT ▸ Select LUT.
Creating, Exporting, and Importing Filter Presets
Creating Presets: In order to create a filter preset, first add all the filters you want included in the preset to your filters list. Then click on the action menu and select 'Save FilterPreset'. Name your new preset and click 'save'. The filter combination you created will now show up in the presets list for easy use in the future.
Deleting Presets: To delete a preset, hold down the option key while clicking on the preset in the preset list.
Exporting Presets: To export a filter preset, have the preset currently pulled up in the filter list. Click on the action menu and select 'export filter preset'. You will be asked to name it and save it to a directory. Share and trade your filter presets with friends!
Importing Presets: To import a filter preset (a file ending in .acstyle) just double click on the file. Acorn will install it automatically.
Filters on a Selection
Filters can be placed on a selection, but once you deselect the filter becomes permanent and cannot be modified again unless you undo subsequent work. To bring up additional options for filters on selections, click on the action menu located on the upper portion of the filters palette. Options include:
- Blend with canvas selection: This is the standard behavior when applying filters to the selection. Acorn will apply your filter(s) to the currently selected area on your bitmap layer, and then draw the results of that filter over your layer.
- Copy over canvas selection: This option will apply your filters to the current selection, and then replace the pixels in your selected area with the results of the filter. For example, if the filter returns transparent pixels, your layer will become transparent in those areas.
- Ignore canvas selection: This option will ignore the canvas selection, and the filter will be applied over your entire layer.
Acorn will remember your selection when you save your image. If you have a selection and you are modifying the filters- you can close your file and quit Acorn. When you re-open the image, your selection will still be there, and you can change the values of the filters.
Filter Example
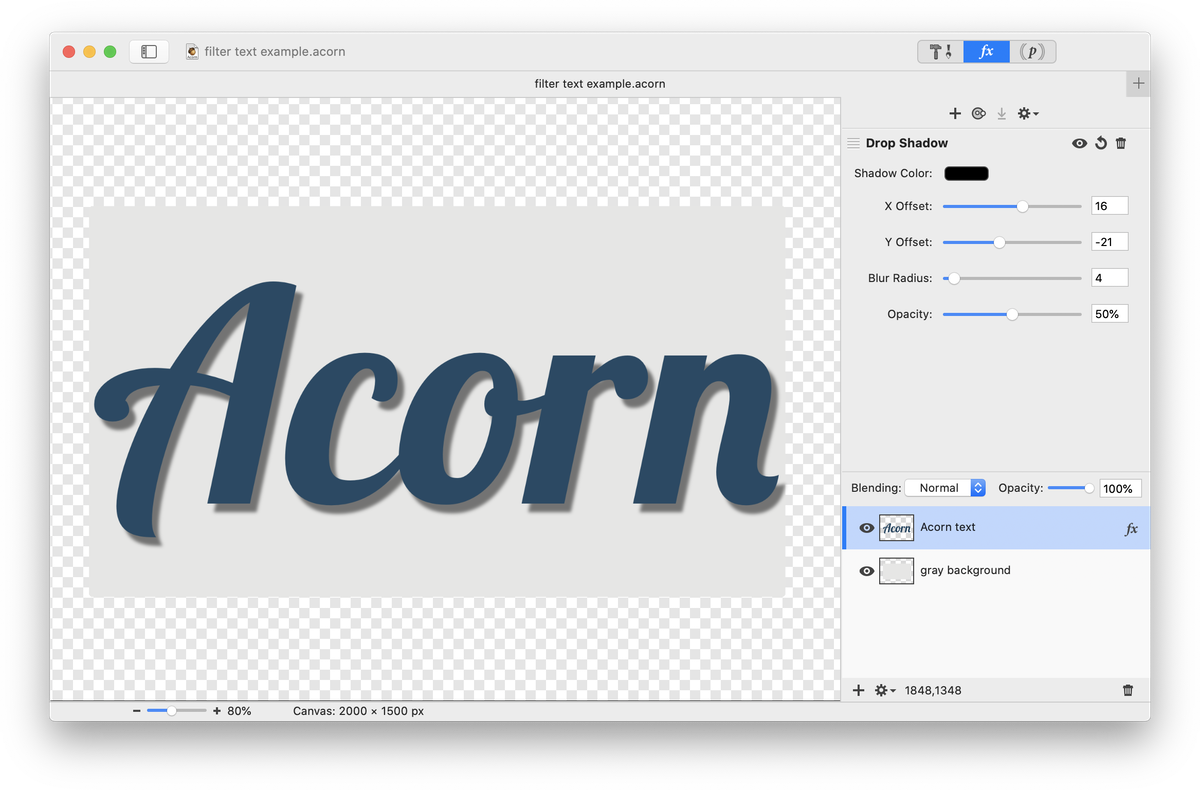
A drop shadow filter is applied to the gray background layer in this image.

Try playing around with some of the filters and experiment, experiment, experiment. For more information, check out the Tutorials or send an email to support@flyingmeat.com and request a tutorial.
Additional Relevant Documentation
Filters Basics (video tutorial)
Drop Shadows
Filter Examples