Coloring a Sketch

Open the sketch image in Acorn, File ▸ Open. You can scan in your own sketch and open it in Acorn or see the link in the photo credits to use the one in this tutorial. Also, you can follow the steps in the 'Image to Illustration' tutorial to create an outline from a photo or non-sketch image.
Add a new layer, Layer ▸ New Layer (⇧⌘N). Using the flood fill tool, fill the new layer with the color white. Move this layer to the bottom of your layers list.
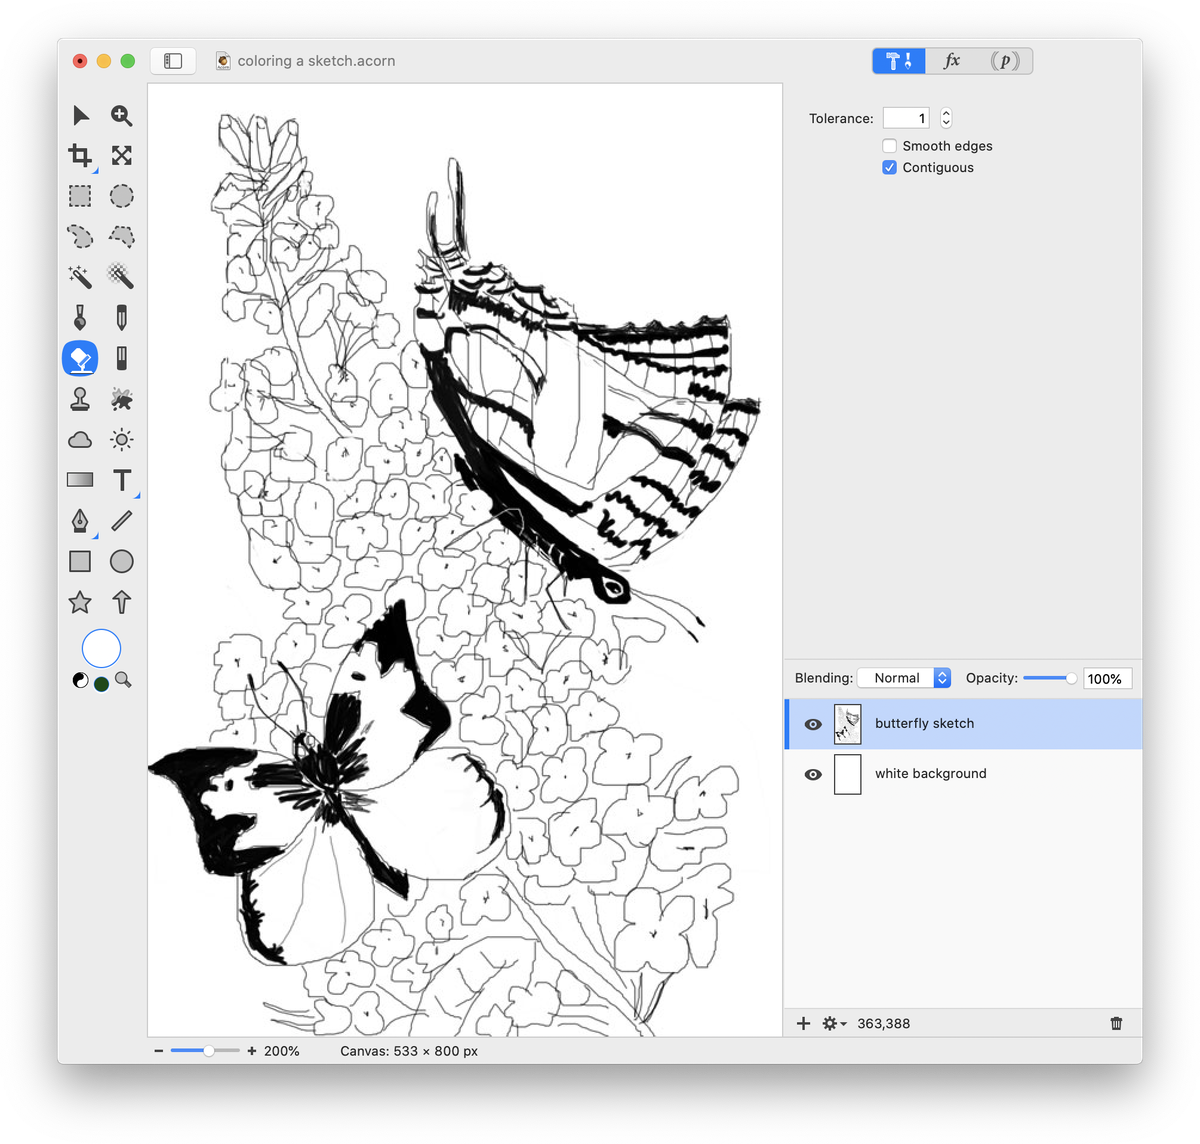
Change the blending mode of the sketch layer to 'Multiply'. This will allow the black lines of the sketch to stay present, while allowing colors added to take the place of the white. The sketch layer must always be the top-most layer in the layers list.
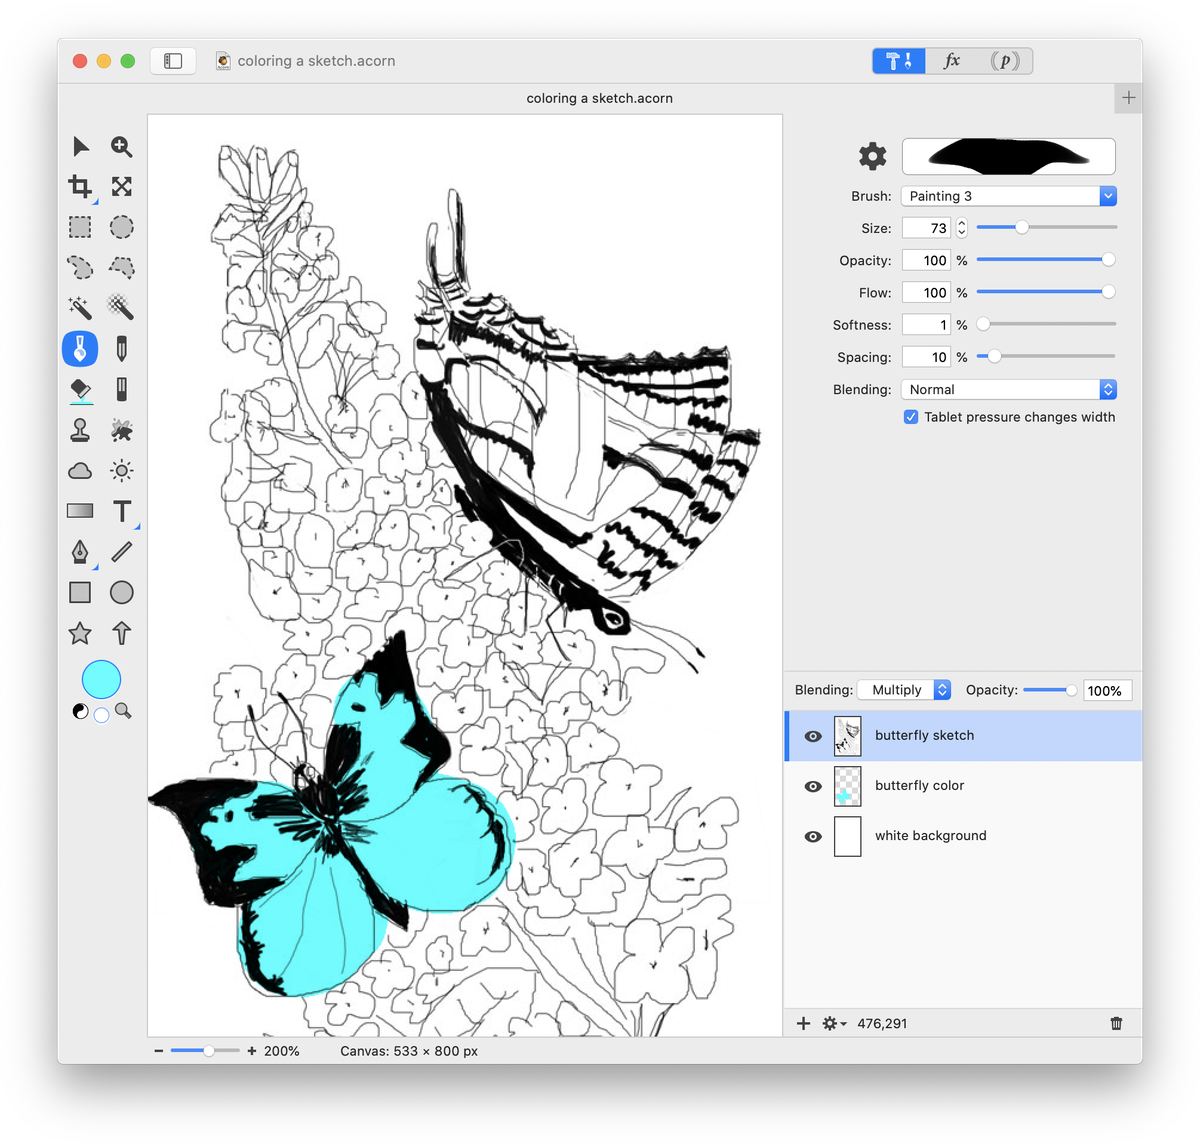
Add a new layer, Layer ▸ New Layer (⇧⌘N). Place it under the sketch layer but above the white background layer in the layers list. Choose the paint tool in the tools palette and click on the color well in the tools palette to pick your color. Begin coloring.
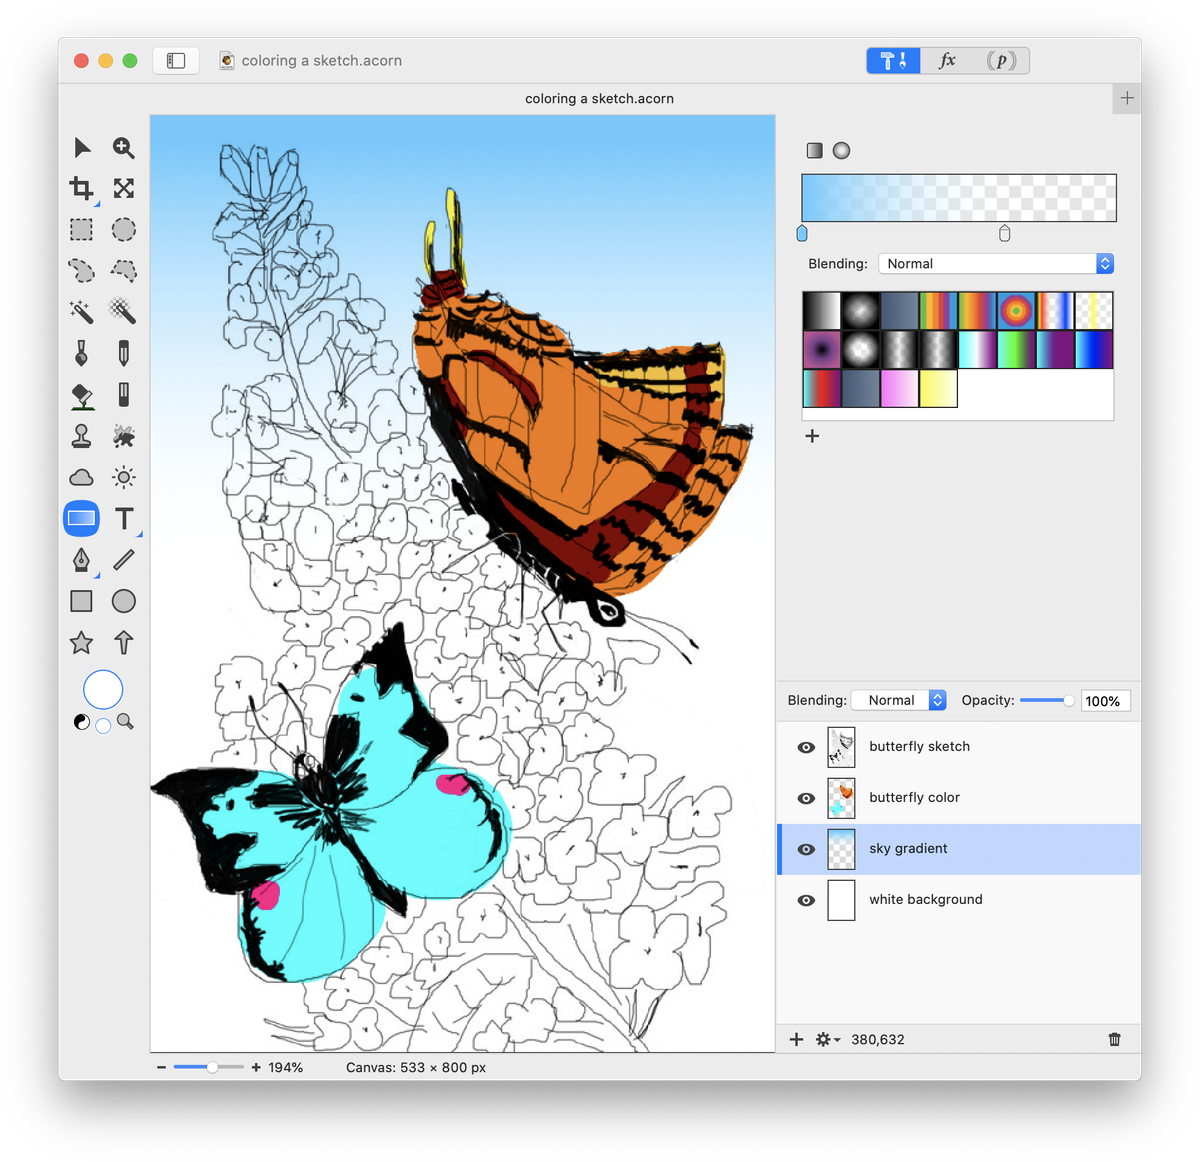
Add a layer to your layers list just above the white background layer, Layer ▸ New Layer (⇧⌘N). Click on the gradient tool and create a light blue to transparent gradient to give the appearance of sky. Read up on the gradient tool documentation if you aren't familiar with how to create gradients.
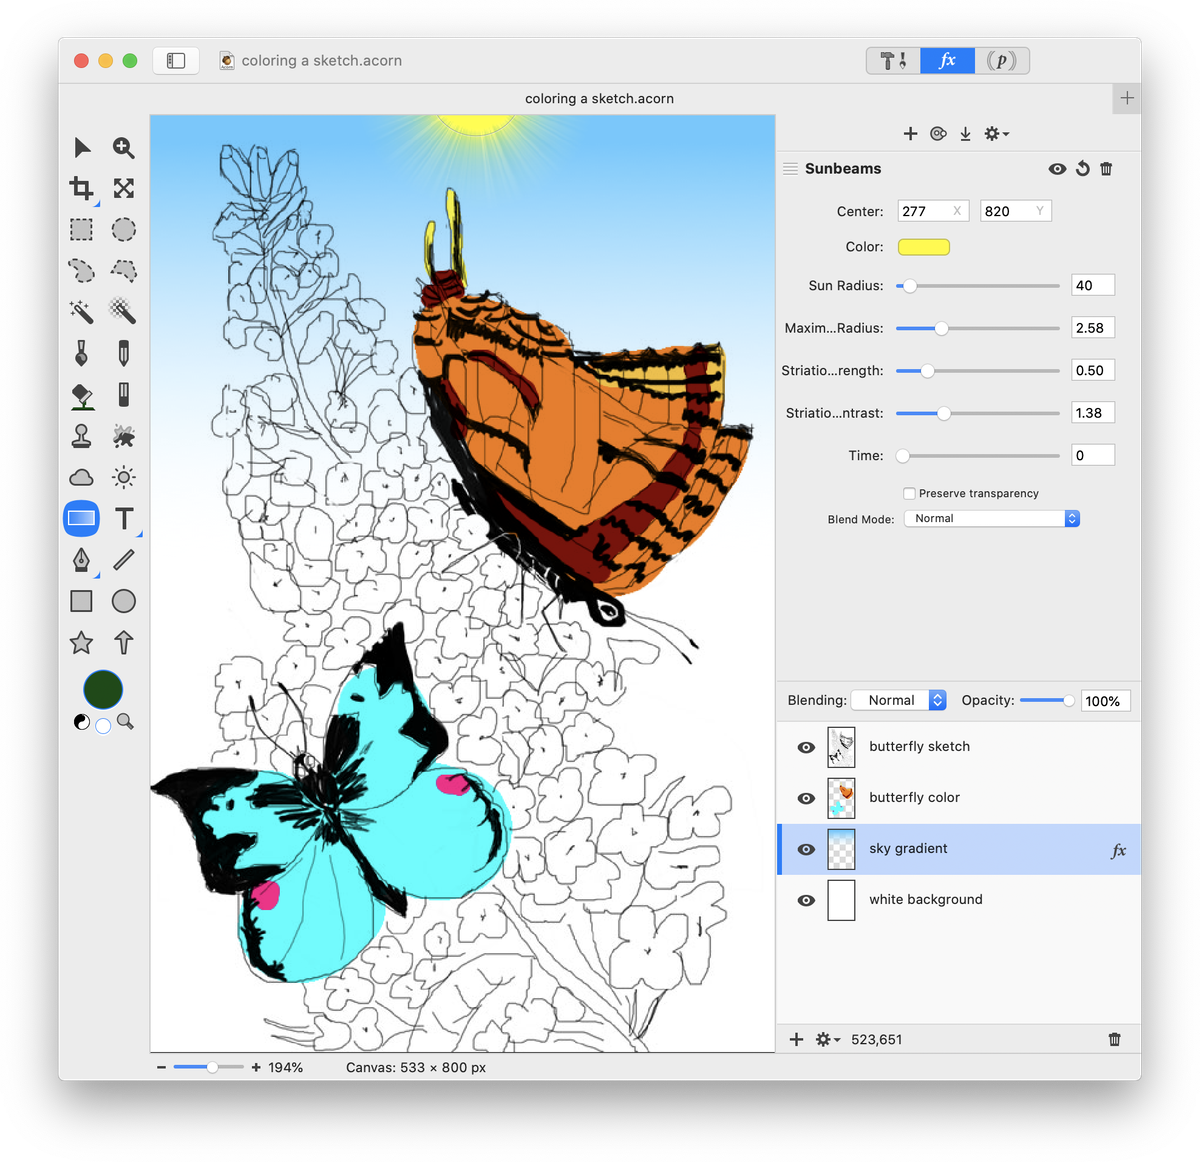
For a little extra fun, try adding a sun to the image. While still on the gradient layer, choose Filter ▸ Generator ▸ Sunbeams. Adjust the color of the sun and move the sun into position.
Continue to color. Add new layers for different colors if you want more control over changing the colors as you work.
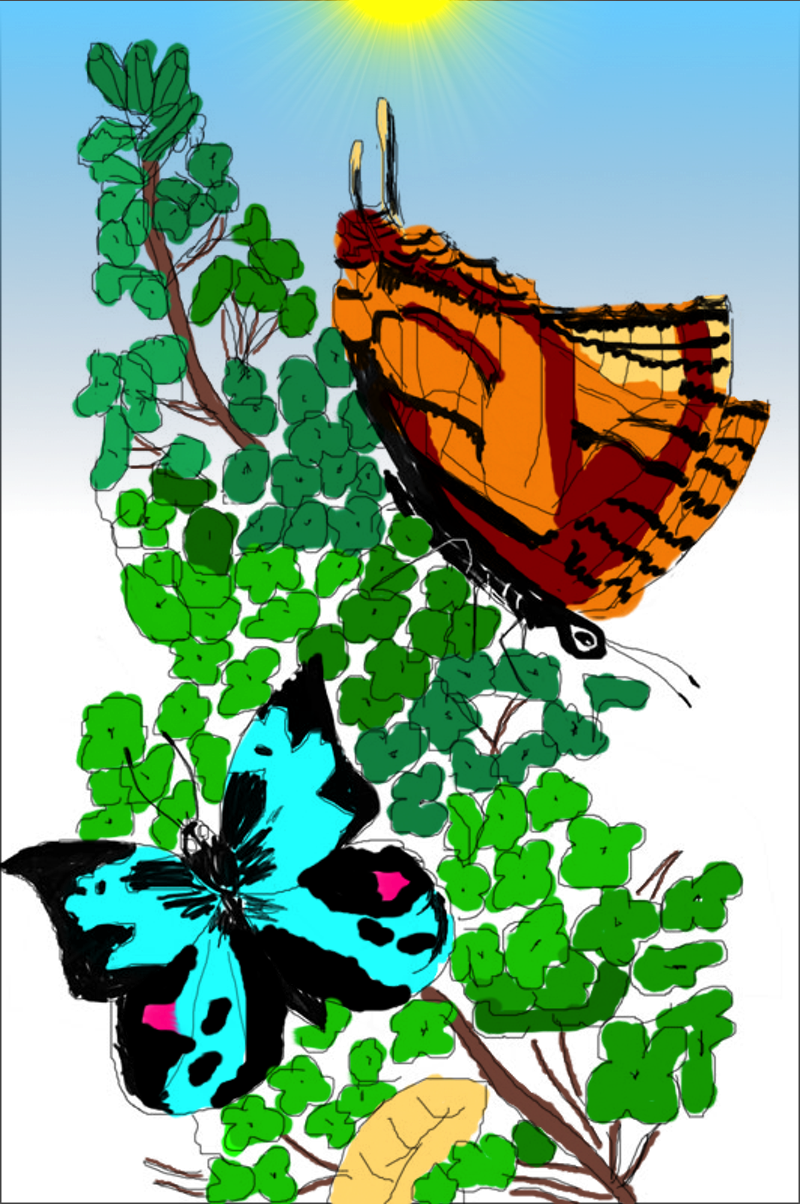
Photo Credit