How to Create a Cogwheel or Gear

This tutorial will guide you through an easy way to create a cogwheel or gear using vector shapes. To start, create a new image in Acorn, File ▸ New. The dimensions of 1200 x 1200 pixels with a white background is used here. Select the star shape tool in the tools palette and make a star with a fill but no stroke. The color of the star doesn't currently matter.
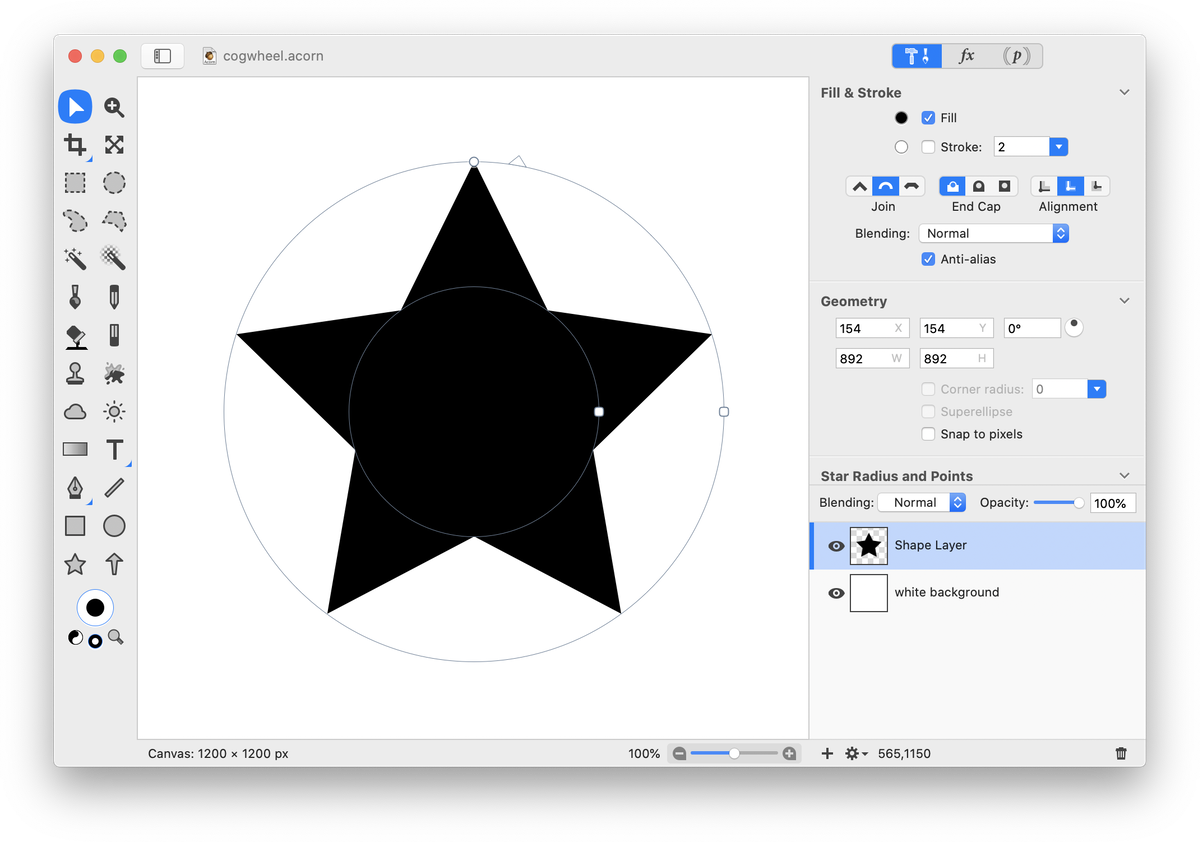
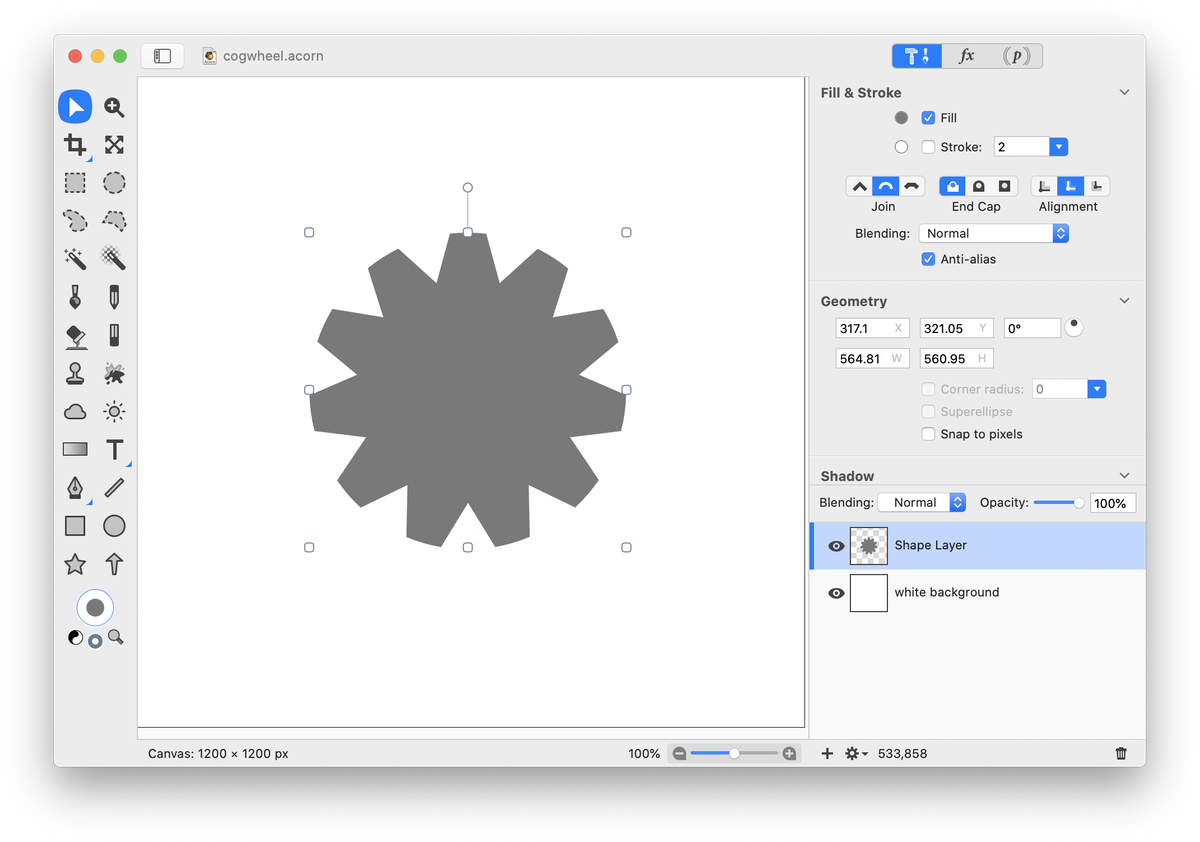
With the star shape selected, change its radius to 400 pixels in the inspector palette. Go to View ▸ Guides and Grids, and make sure "Snap To Canvas” is checked. Using the move tool, move the star to the center of the canvas.
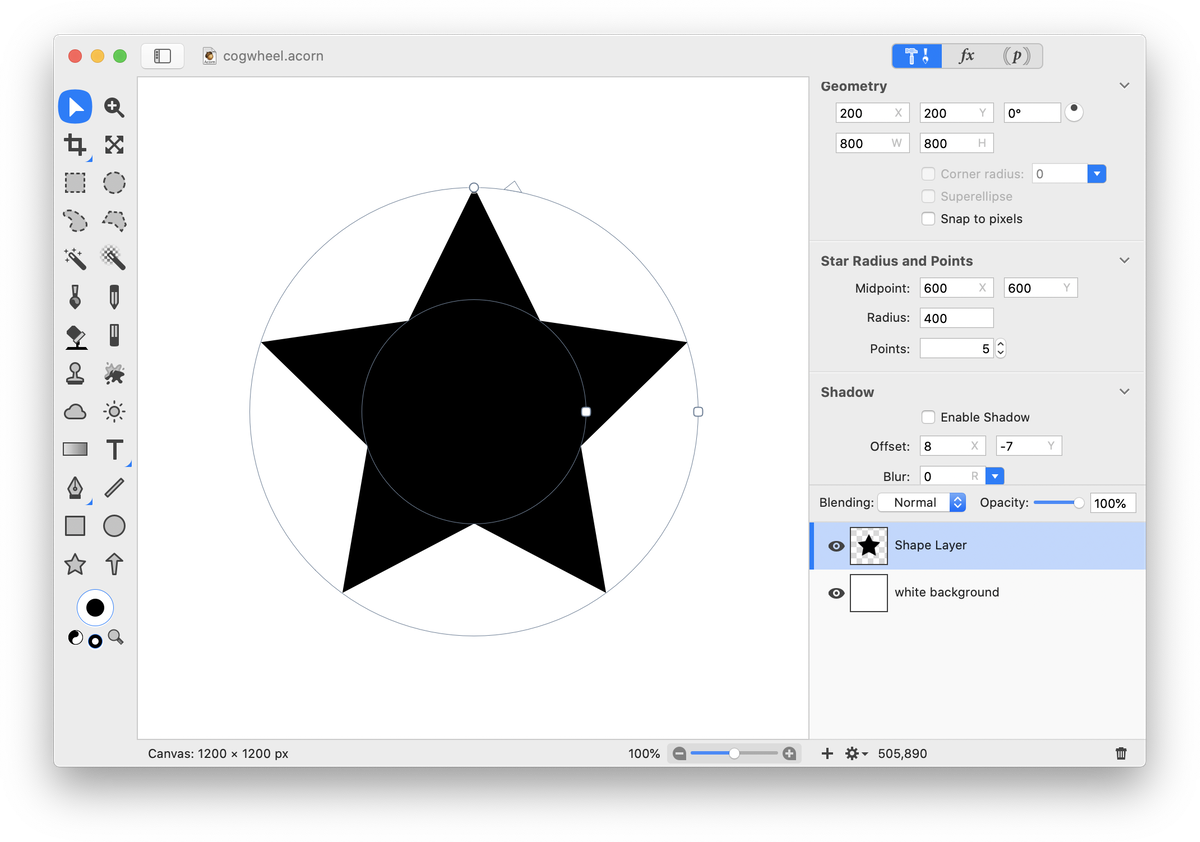
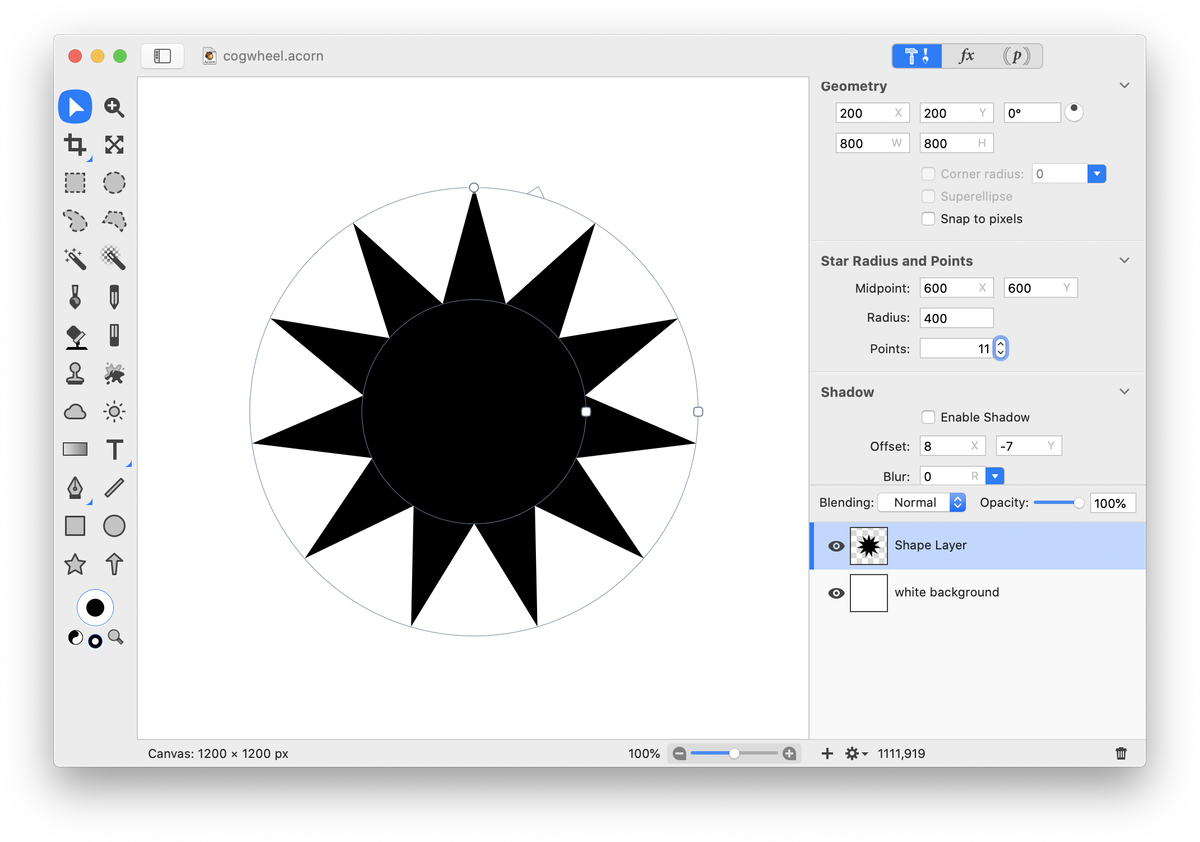
In the inspector palette, change the number of star points to 10 or 11.
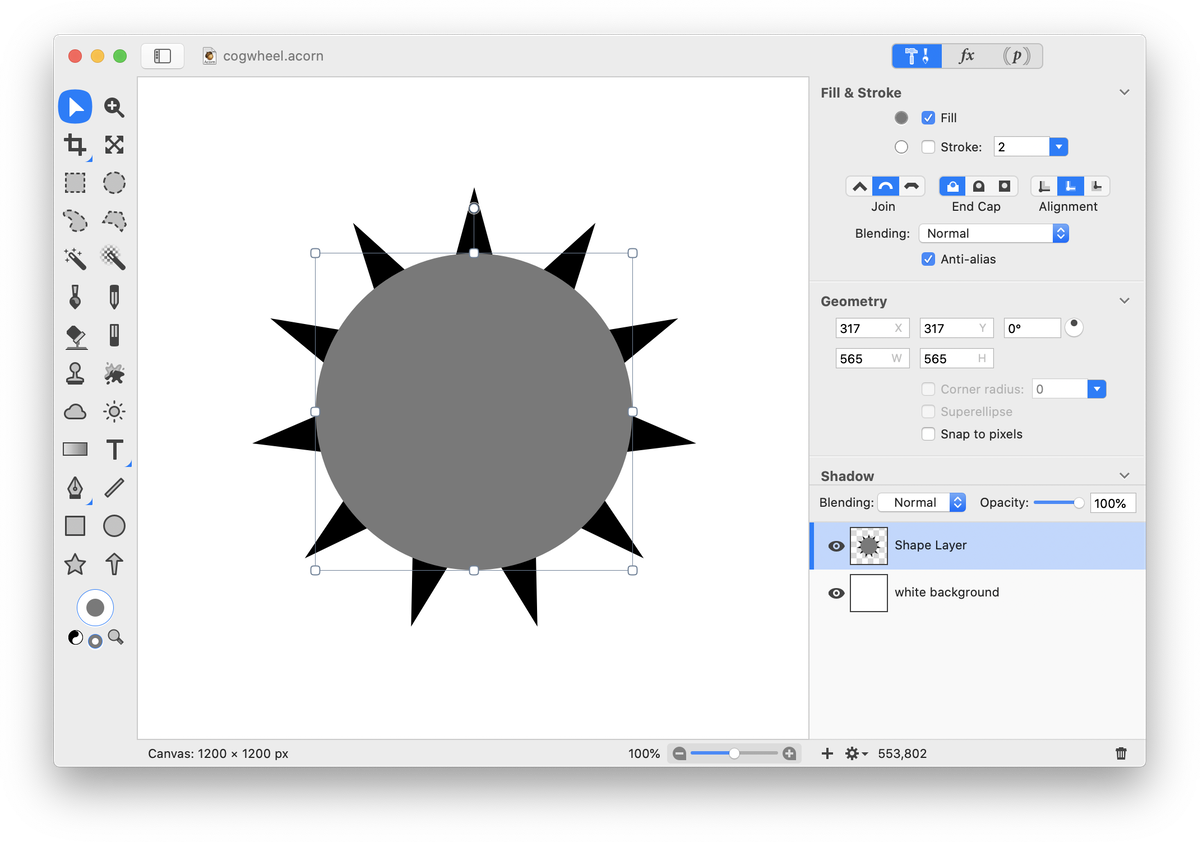
Select the oval shape tool from the tools palette and draw out a circle with a fill but no stroke. The color of the circle doesn't matter as it can be changed later. Change the width and height of the circle in the inspector palette to 565 x 565 pixels. Using the move tool, move the circle to the center of the canvas.
Choose Select ▸ Select All from the menu. Then go to Shape ▸ Intersect Paths.
Choose the oval shape tool and draw a circle. With the shape you just drew still selected, change the width and height in the inspector palette to 460 x 460 pixels. Using the move tool, move the circle to the center of the canvas.
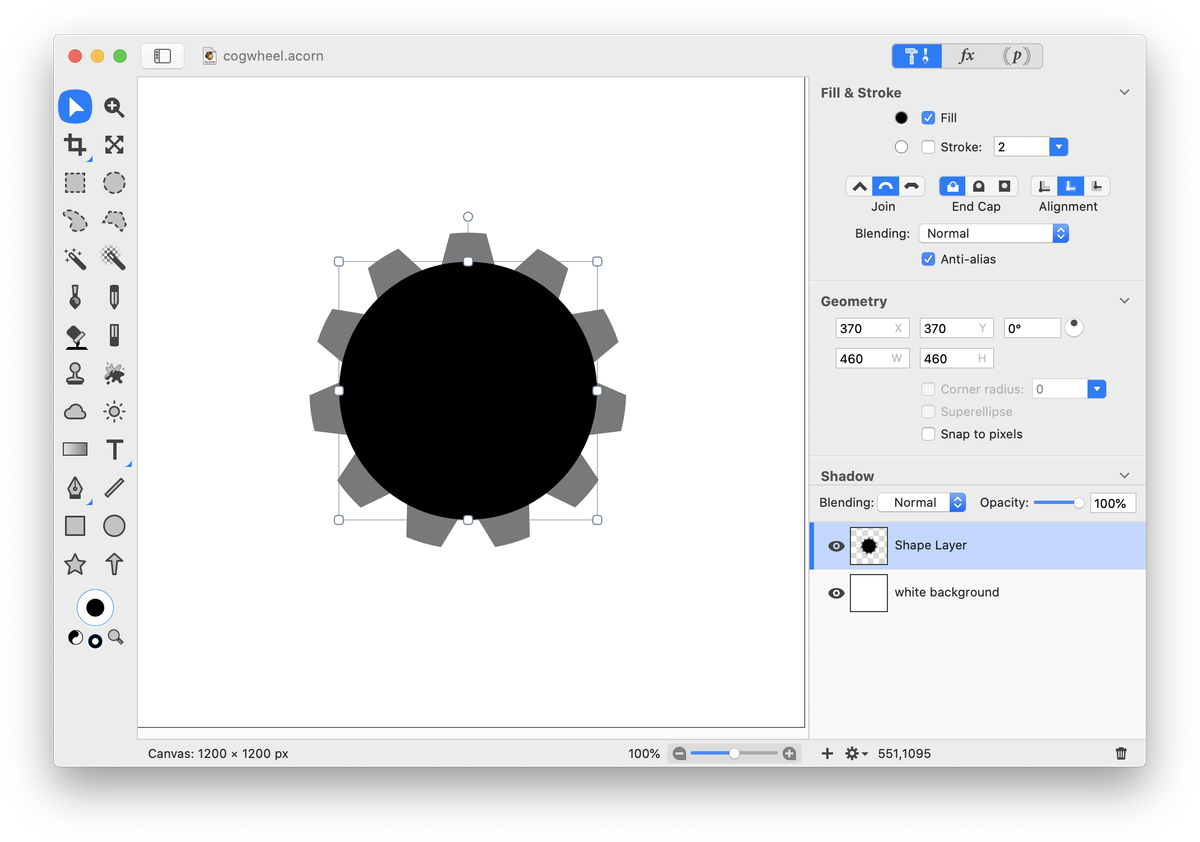
Choose Select ▸ Select All from the menu. Then go to Shape ▸ Union Paths. Change the width and height of the shape to 500 x 500 in the inspector palette.

Select the oval shape tool again and make another circle. Change the width and height of the new circle to 230 x 230 pixels and move the circle to the center of the canvas.
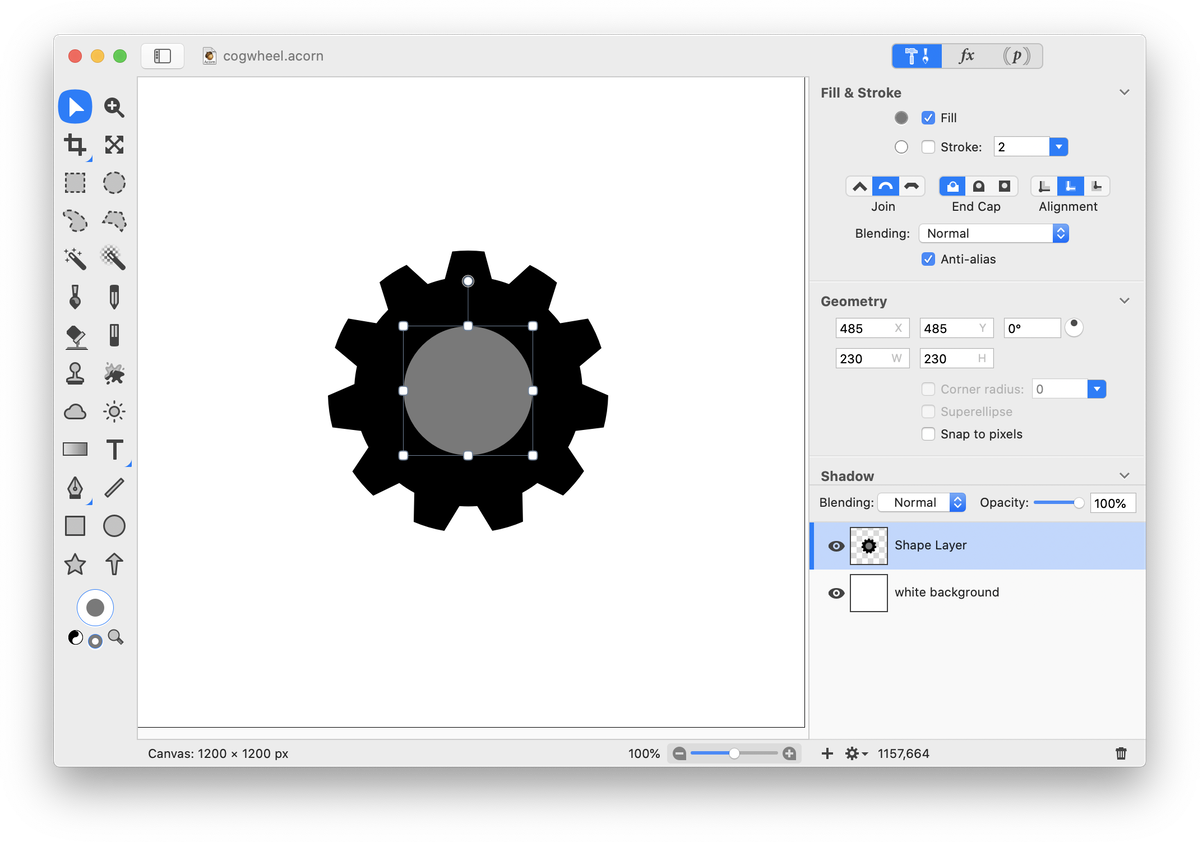
Choose Select ▸ Select All from the menu. Then go to Shape ▸ Exclude Paths.
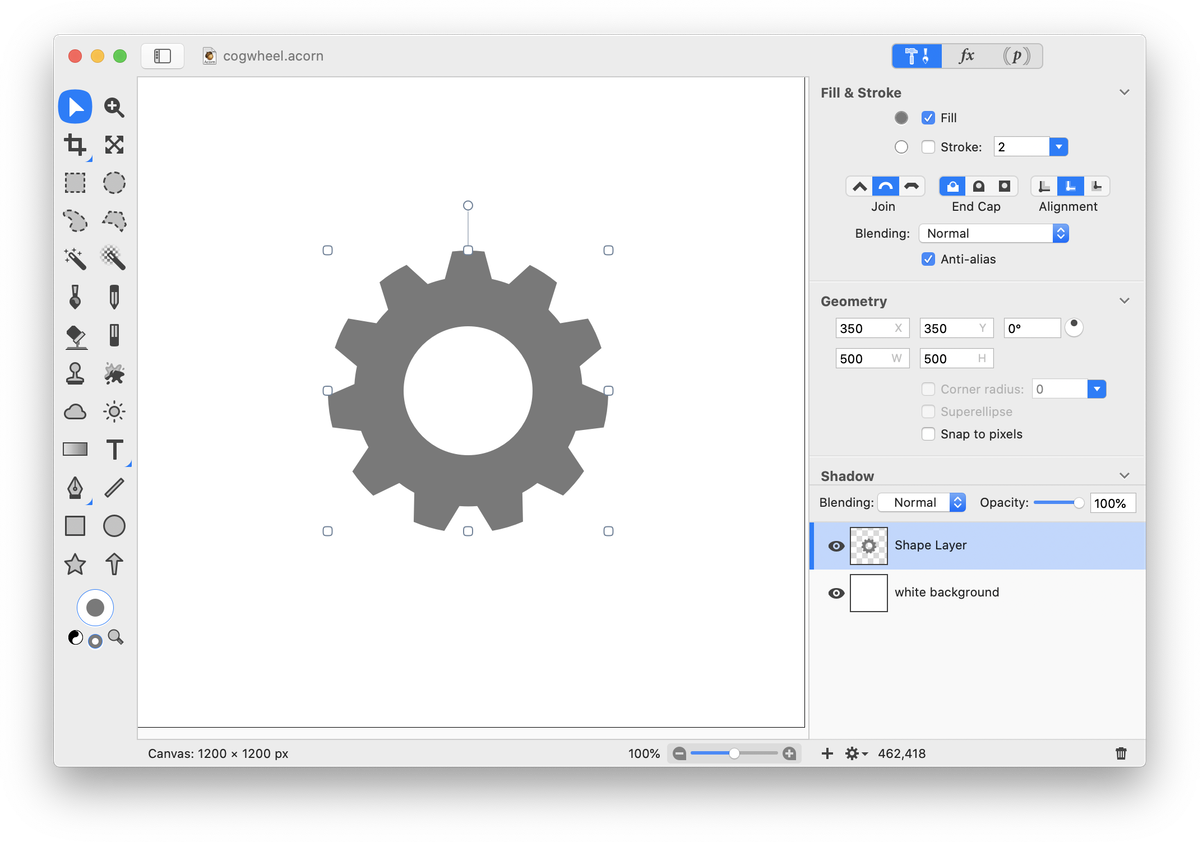
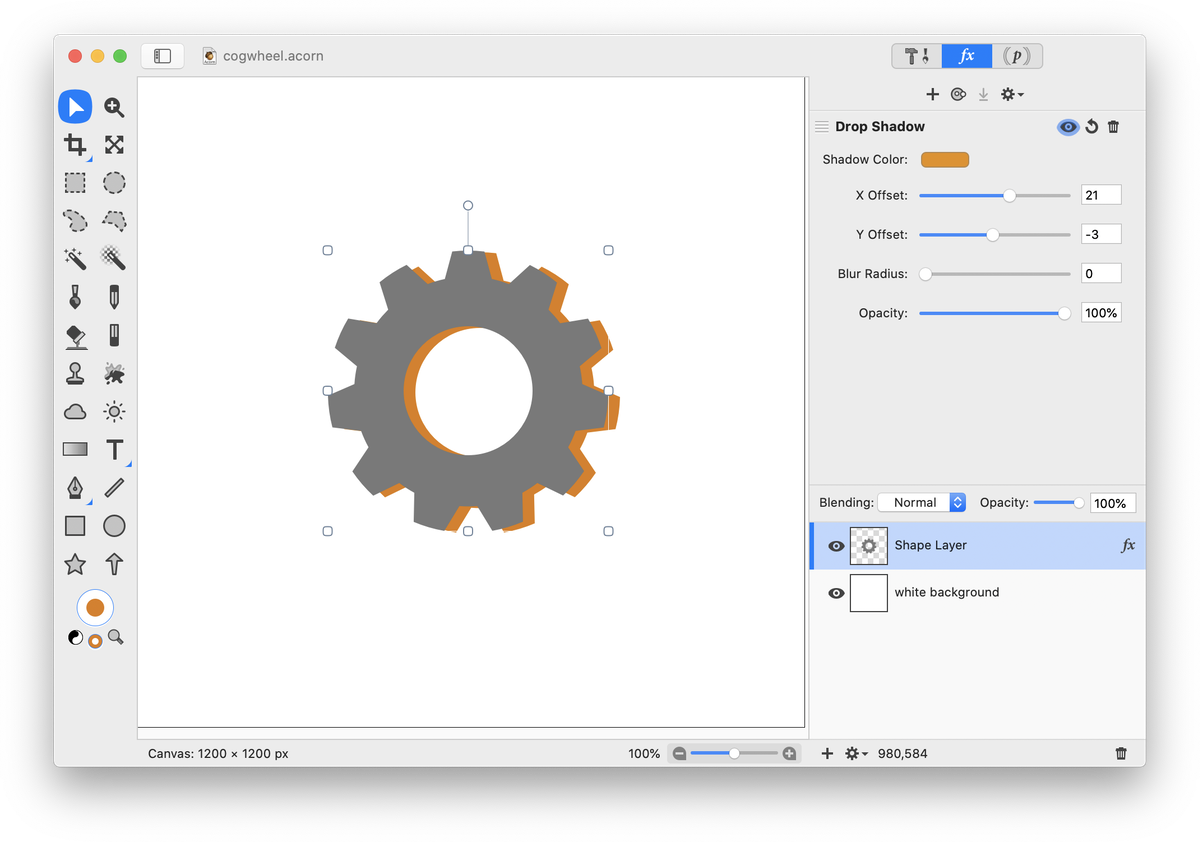
With your shape selected, change its color to whatever you desire by clicking on the fill color well in the tools palette and choosing a color from the colors palette. Then, click on the 'fx' button at the top of the inspector palette. Choose Stylize ▸ Drop Shadow. The drop shadow settings used here can be seen below.

Tutorial Credit: Thank you to Troye Hering for outlining the steps to this tutorial.